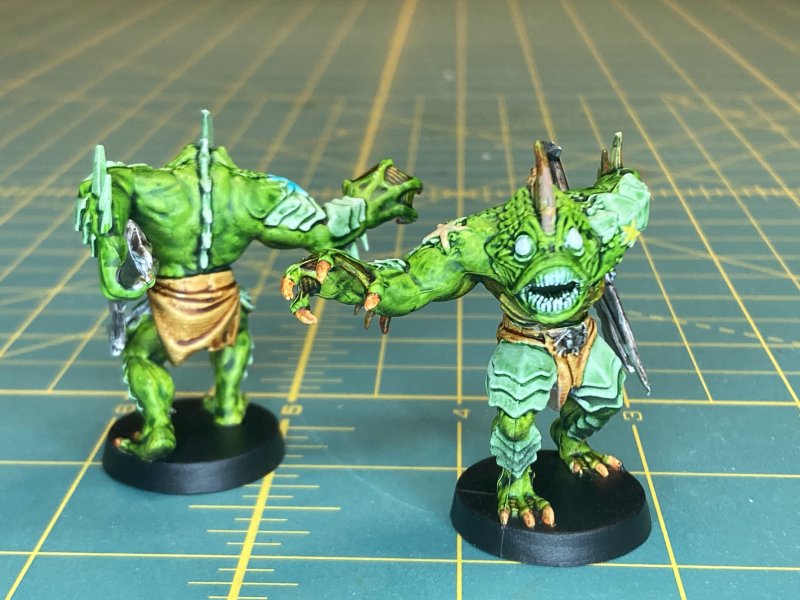
Cyberpunk Red Zone Minis
01.18.2026
This is one of those painting posts that has taken longer than I thought due to a bunch of things.
I had no gumption to paint through most of December. Not sure why - I just didn't want to. I had a good run of 3D printing for a week during Christmas, but honestly that has nothing to do with painting time other than a notch that I was doing something fun/hobby oriented.
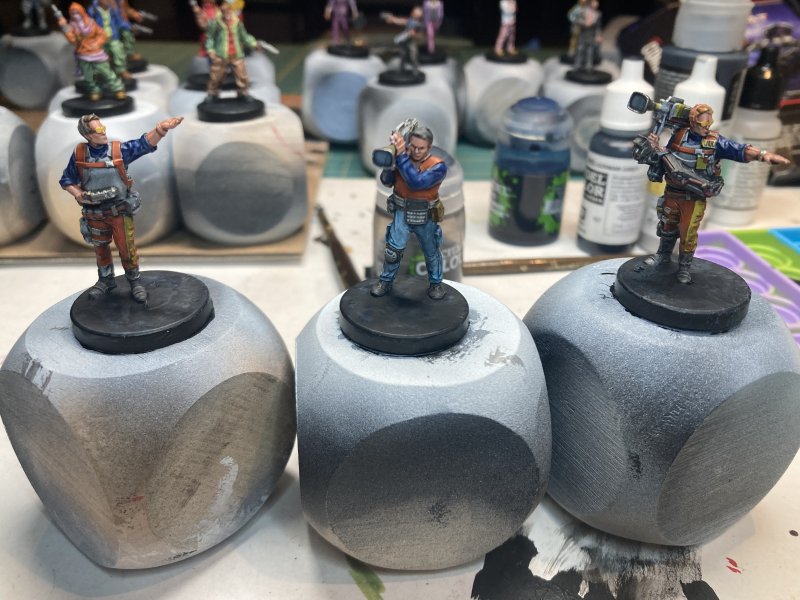
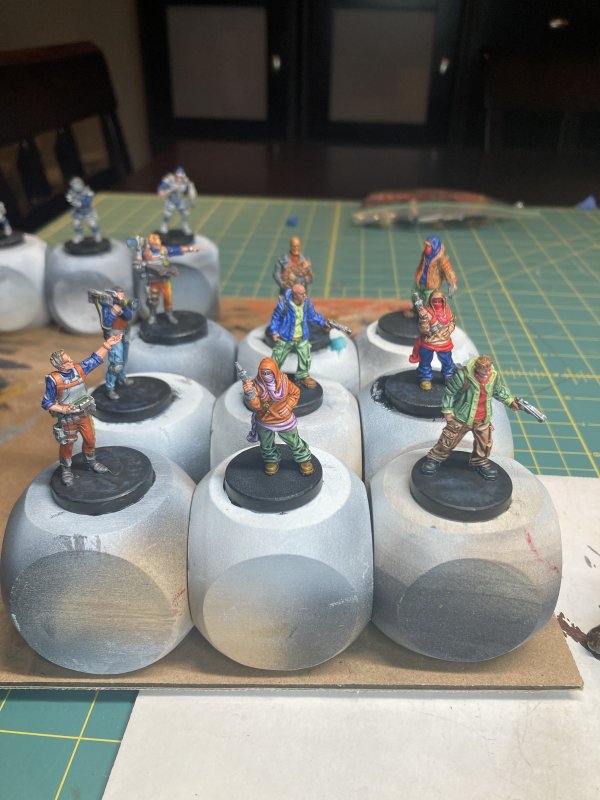
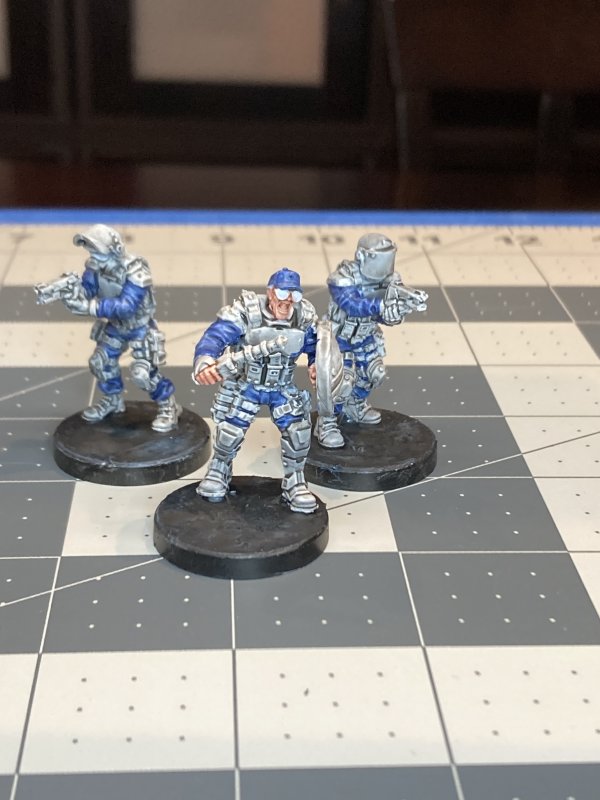
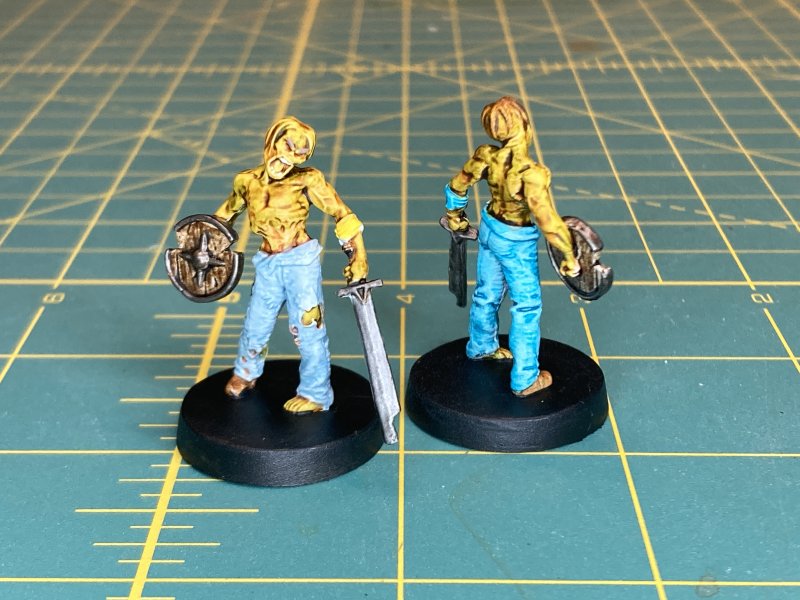
I glued and primed 20-ish of these minis before my last post at the end of November. I have to admit to myself - I don't like assembling these (brand/manufacturer) of minis. There are always gaps. Huge gaps. No matter how I try to trim things, they never fit. And there's something about the way I attach heads - they look too small by the time they're affixed. The trio of police minis really show this - all the hands or arms had to be glued on, and they all look like crap. I also admitted to myself that it's ok to essentially abandon a mini at that point. Gap filling is not a strength of mine, so I can use these to practice on later. Along with the admission that I don't like this line of minis came the cognizant thought to quit buying them. This was important during Black Friday sales. This line fell under "cool looking minis for a game I don't have/plan on getting" so I'm not going to be missing out on anything by no longer buying this stuff.
While prepping minis, I managed to break 3 (although I only remember 2) when I got a little aggressive with an xacto knife. Brittle resin, maybe? It was female characters of a similar mold - maybe that mold/pose just didn't like me and my knife? Normally a mini breaking would bother me, and I might find some battle-damage equivalent to use it. These just got tossed in a box of bits for now - because you can't just toss mini parts.
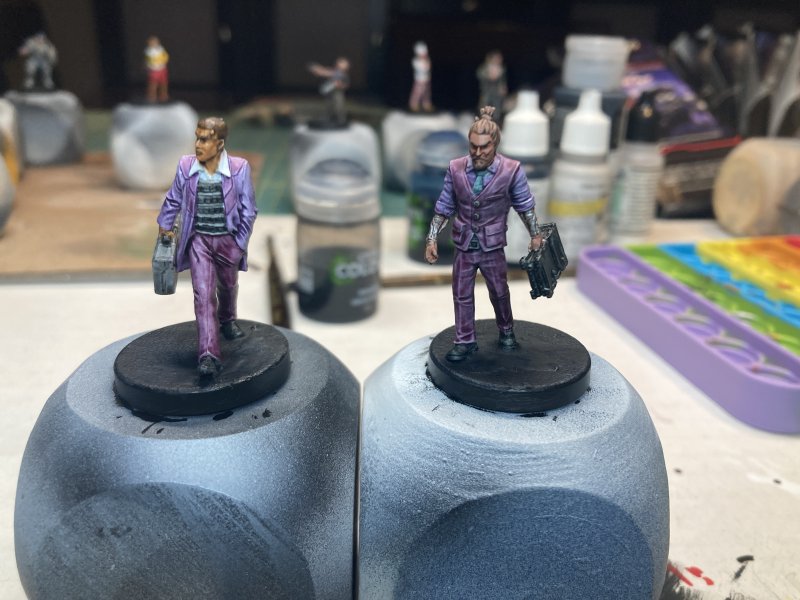
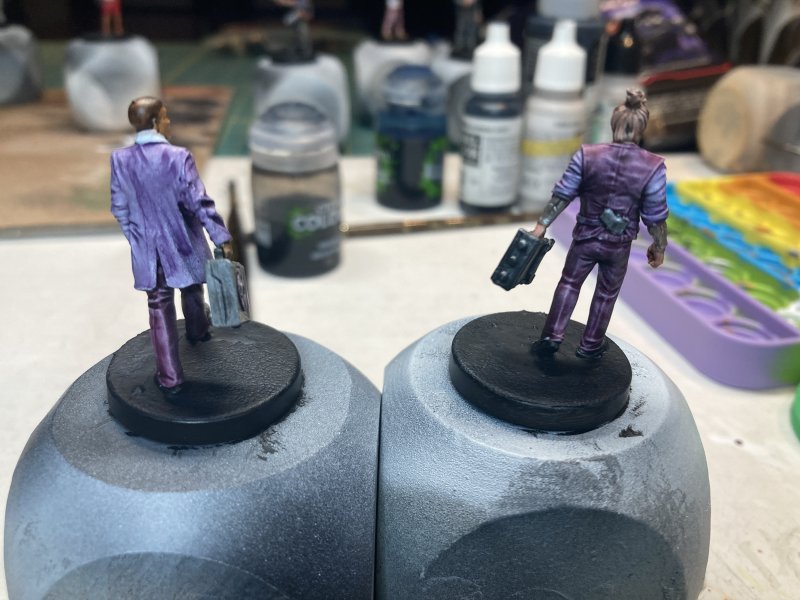
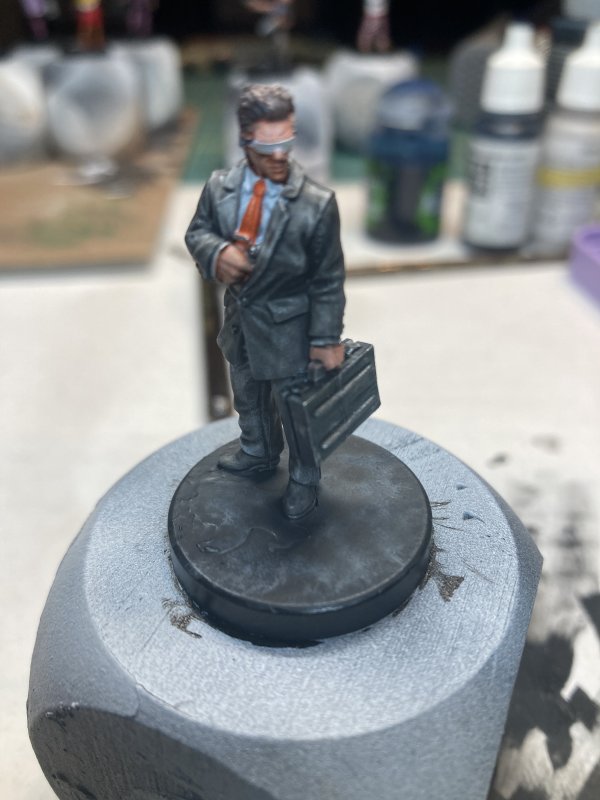
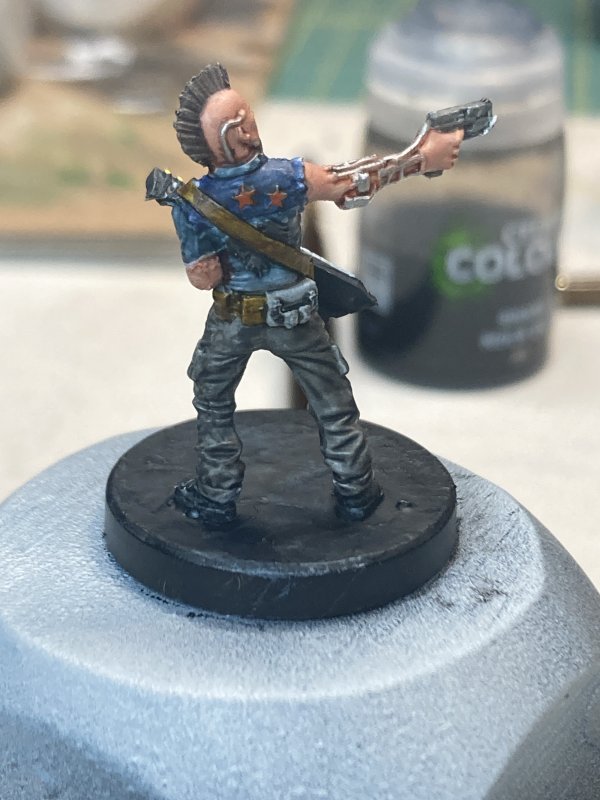
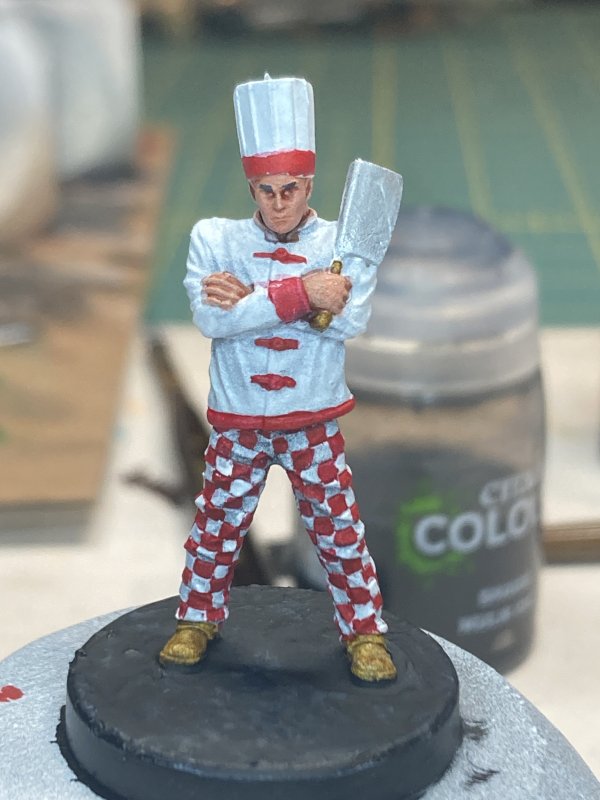
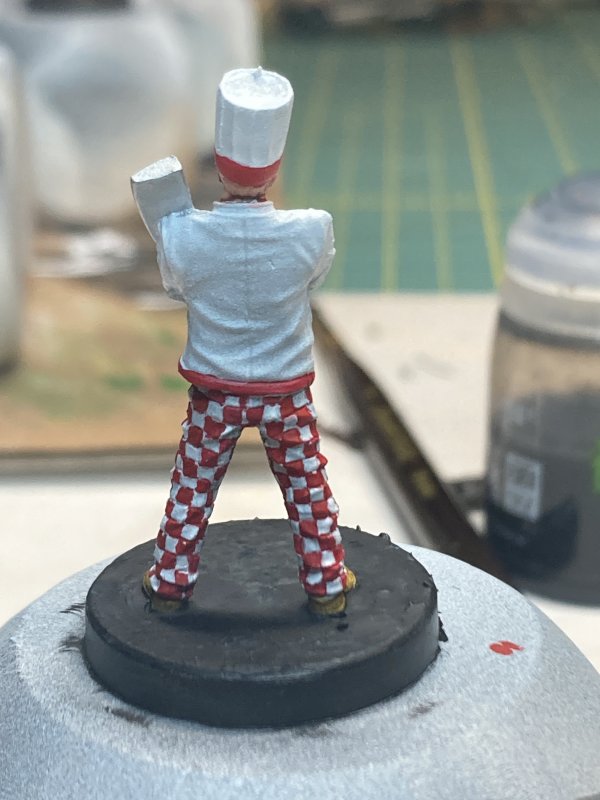
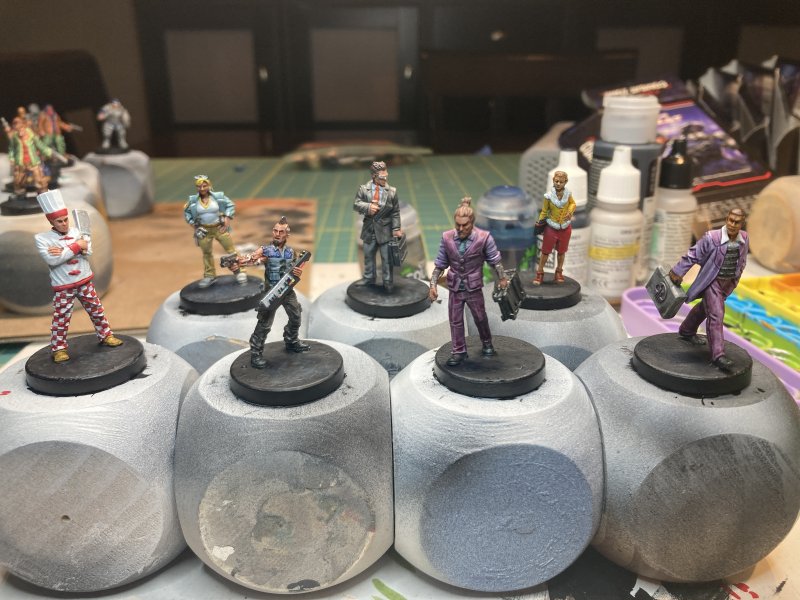
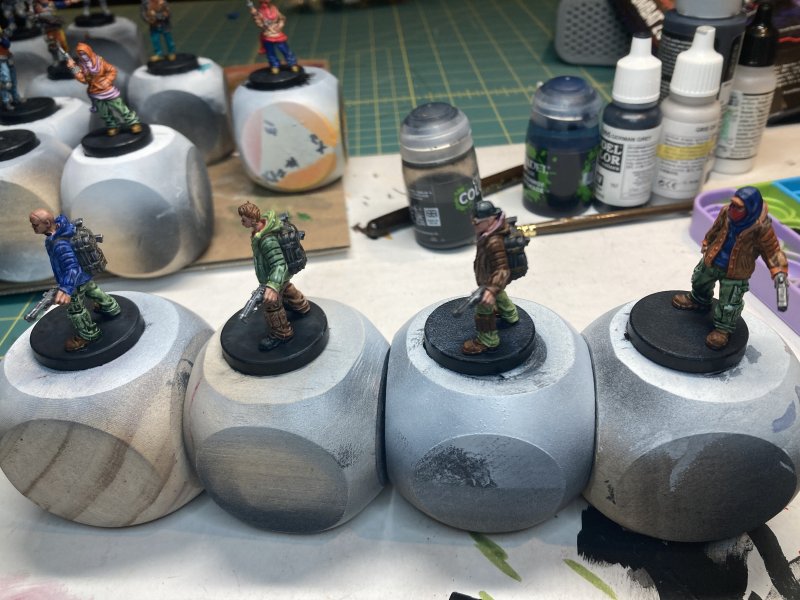
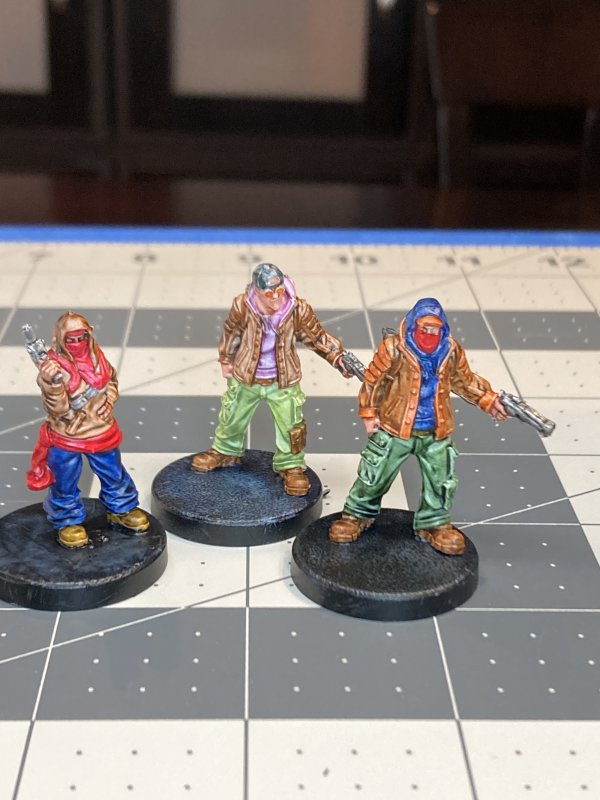
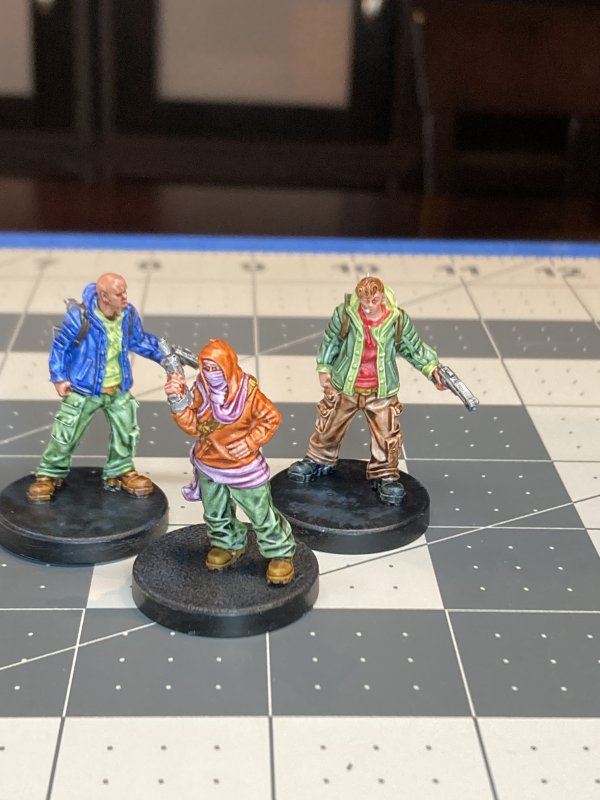
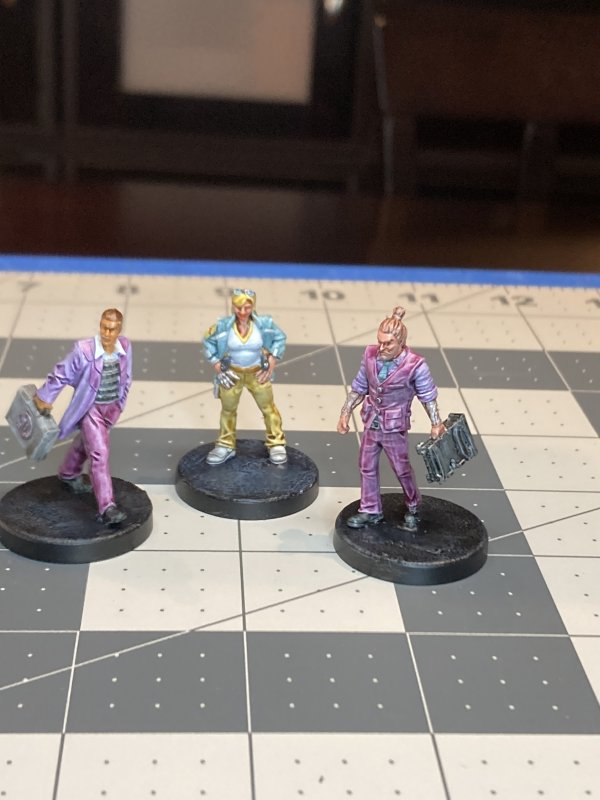
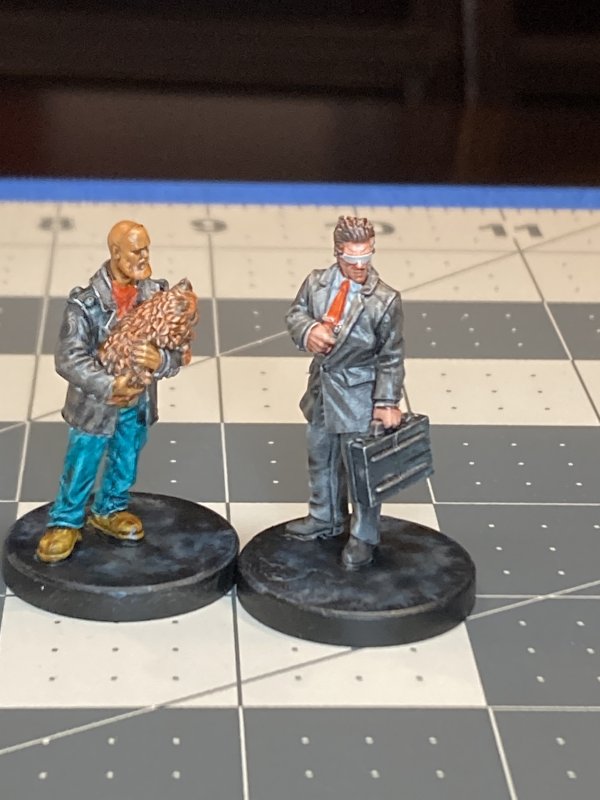
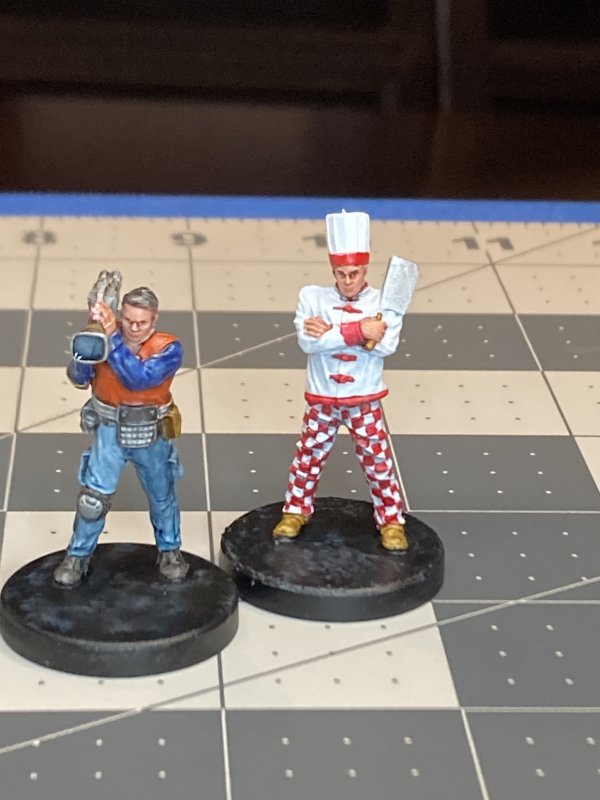
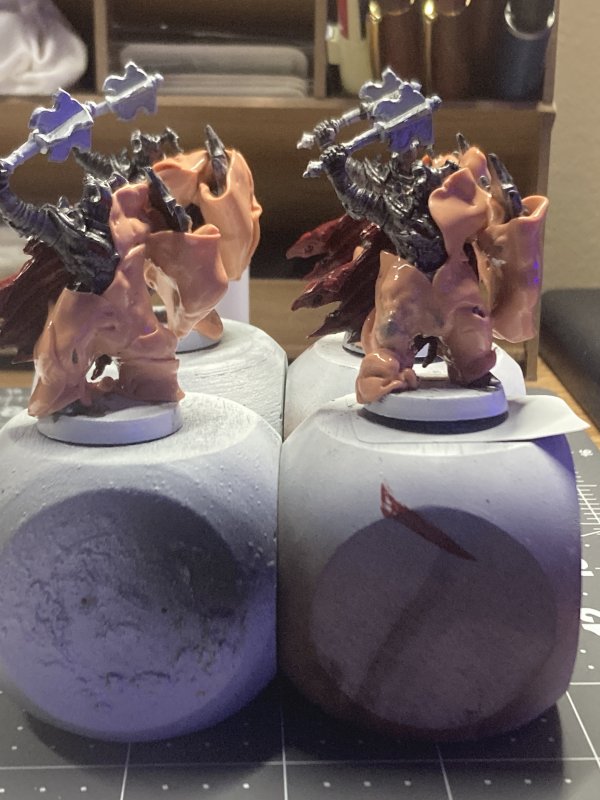
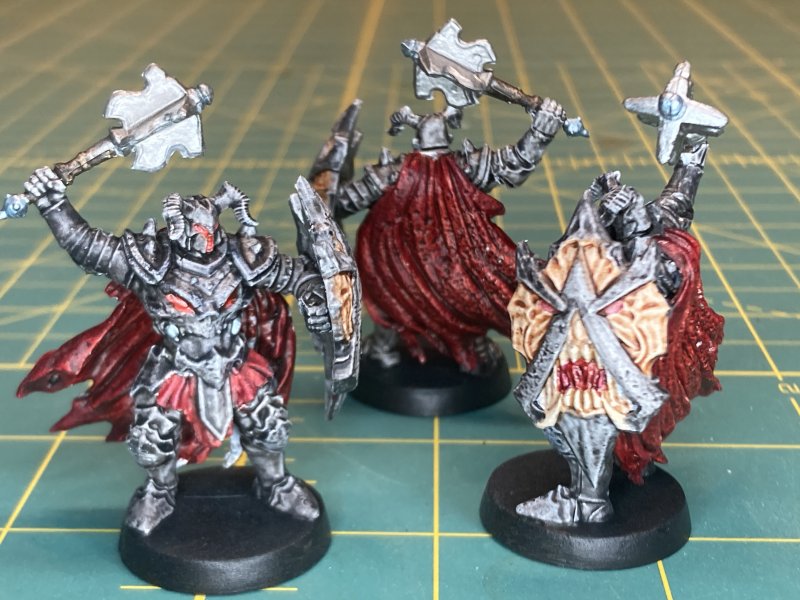
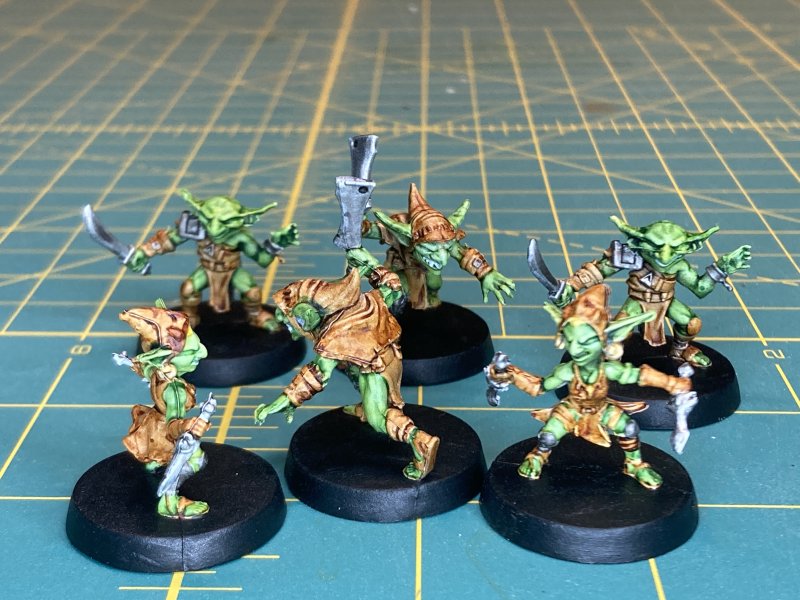
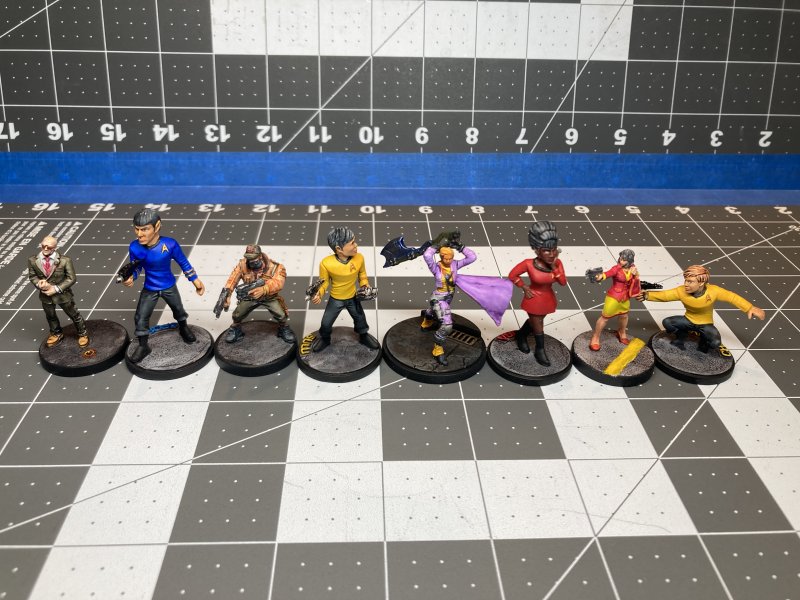
Ok, so those are my excuses for the lull in painting update(s). Beyond my griping, I did have fun with a few of them. The cook with the checkerboard pants was fun. I was rethinking those checkerboard squares at least 3 times when I was painting them. The 2 purple-suited guys I like. They were more practice for an upcoming Prince mini, which I'm feeling more confident about after painting these. The dark suited bodyguard is another I like. Traditionally when I try to go all black/dark on clothes it doesn't turn out well. I went with 2 shades of grey contrast paint this time.
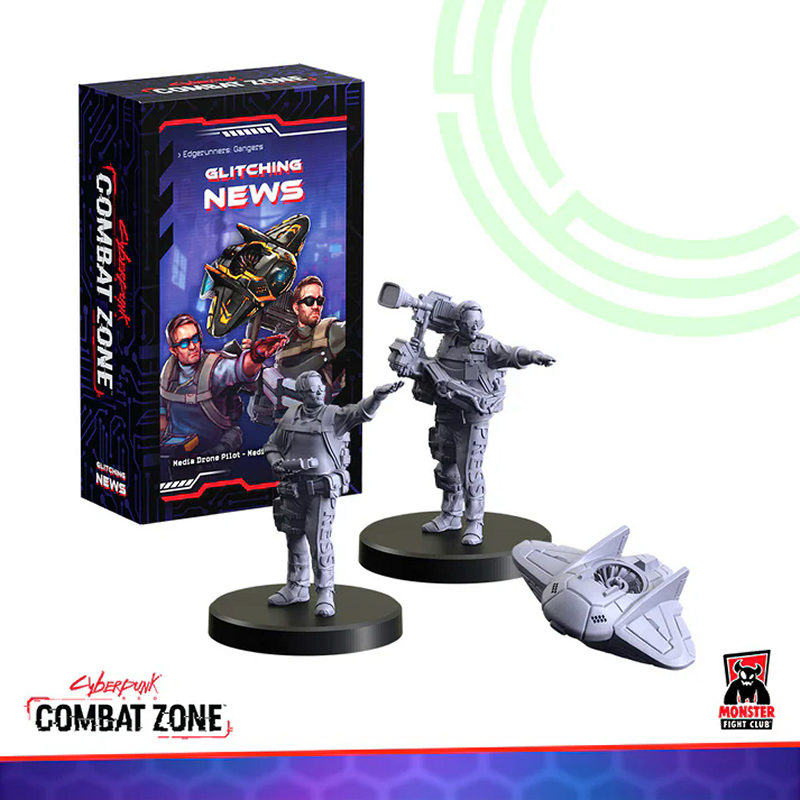
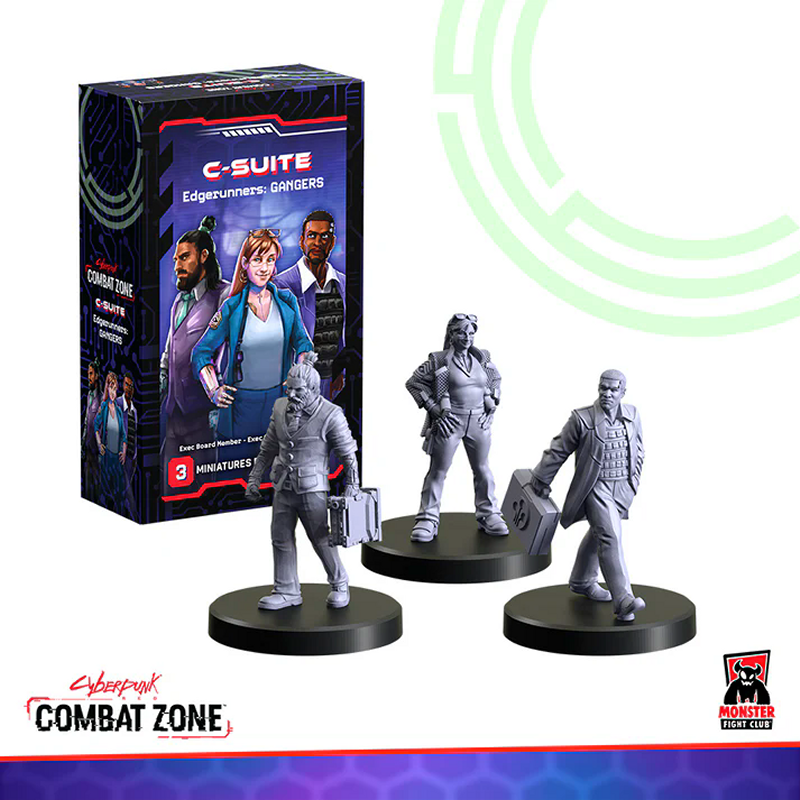
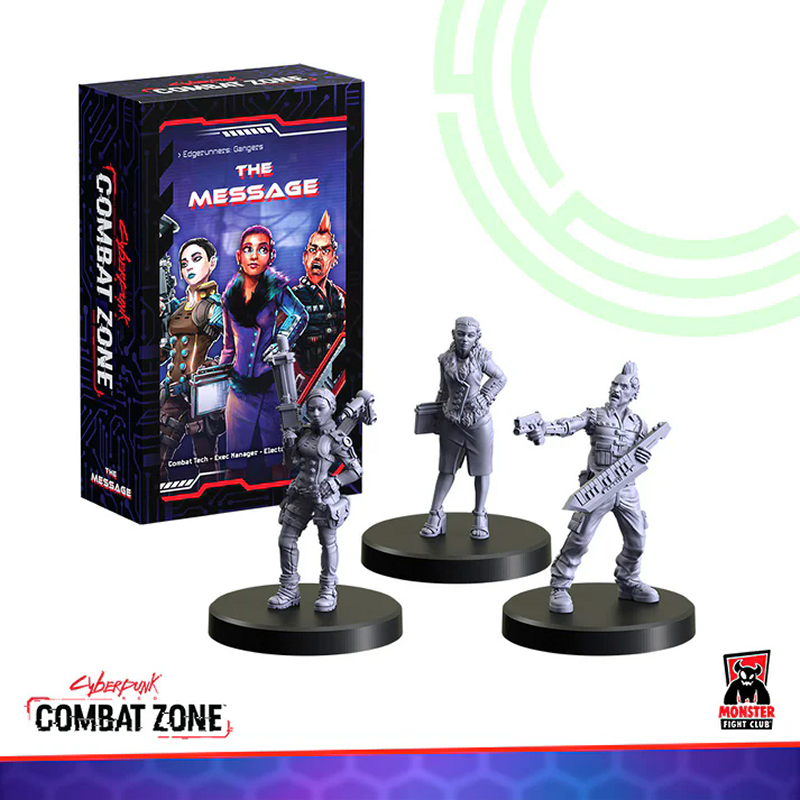
From the Monster Fight Club site, here are the sets I (mostly) put together:
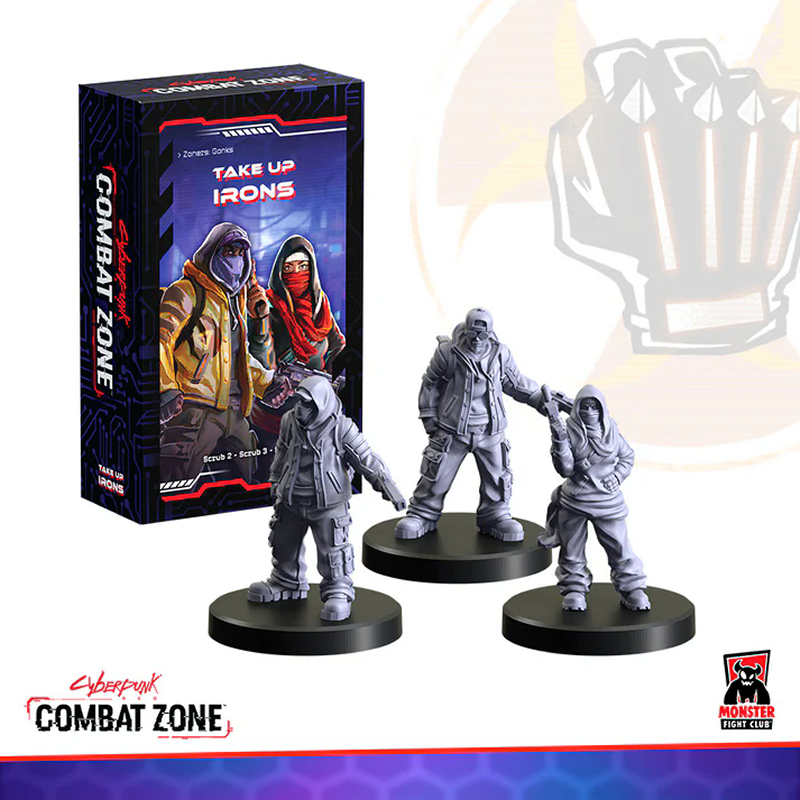


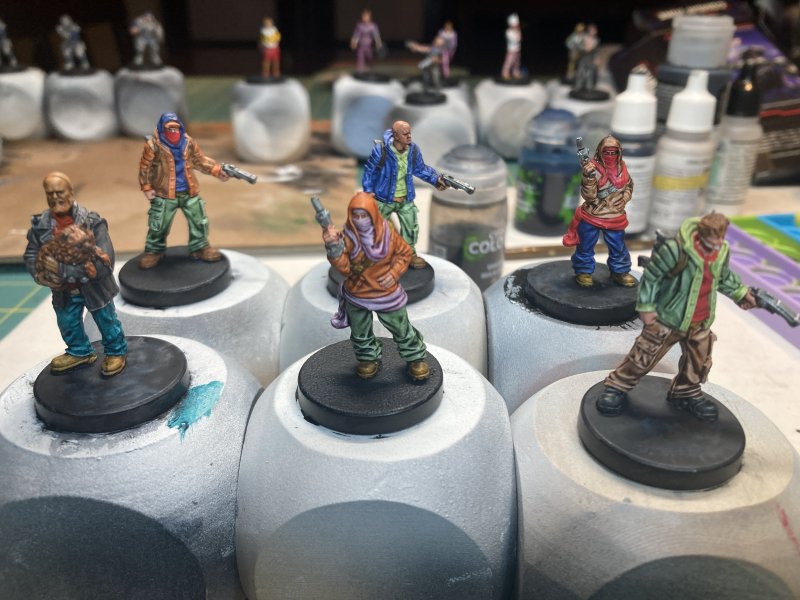
Take Up Irons with Scrubs. 2 sets of these, with mixed up heads.
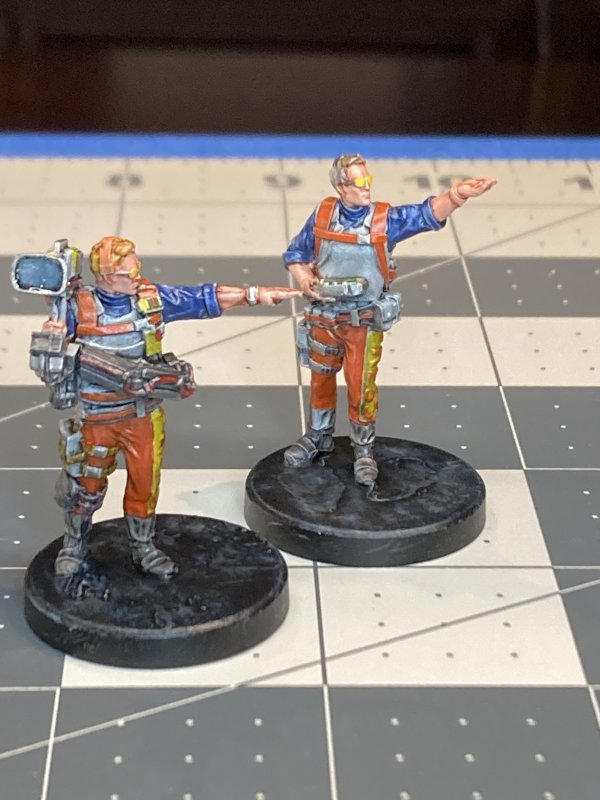
Glitching News with Media Drone Pilot, Media Drone (that I left out), and Hackette.
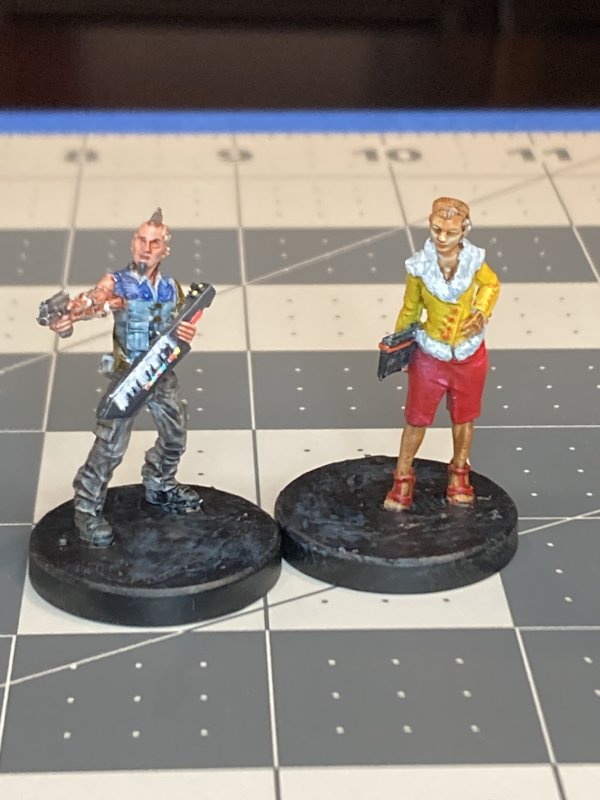
False Flag with Daring Tech (didn't survive an xacto blade), Influential Fixer, and Solo Bodyguard.
C-Suite with Exec Board Member, Exec CEO, and Exec Director.
The Beat with Rookies and Tactical Response Rookie.
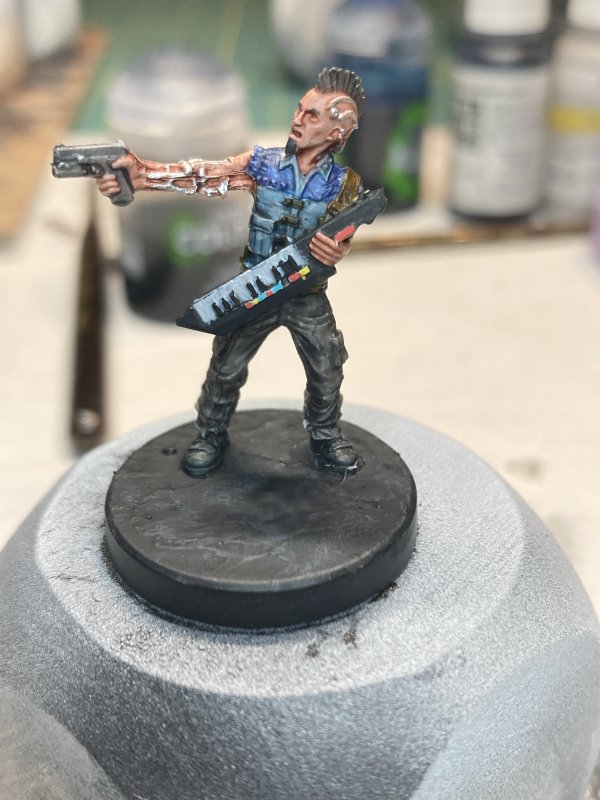
The Message with Combat Tech (also an xacto knife casualty), Exec Manager, and Electronica Rockerboy.
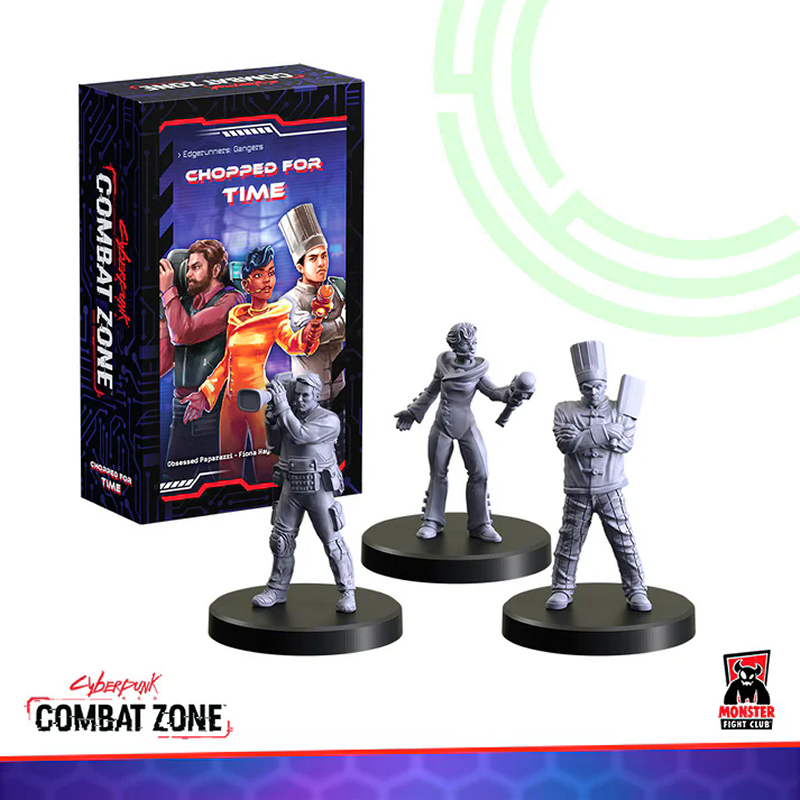
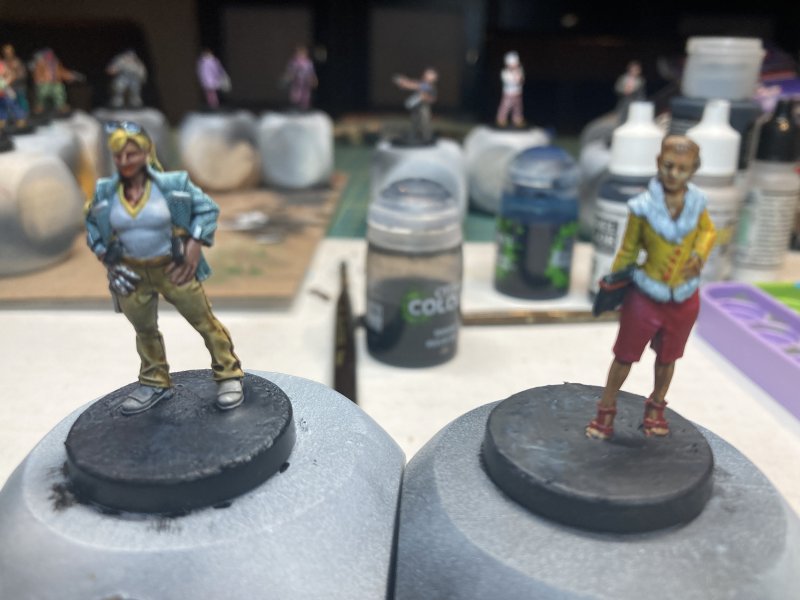
Chopped For Time with Obsessed Paparazzi, Fiona Hayes, and Solo Noodle Chef.

I'm holding off on printing project updates - a pic of a finished print when the garage temperature and humidity cooperate aren't that much fun to look at. Plus I don't see much happening until sometime in March with that. I have some more minis picked out to assemble and paint. This is another line I've never used before, and there's equal chances that these will suck and never see the light of day, or be the coolest Aliens-esque marines ever made. Either way, the odds are good I'll be quiet here for another month or two.
Permalink
Cyberpunk Red Zone gaming miniatures
HeroQuest - Core Set Good Guys
09.16.2025
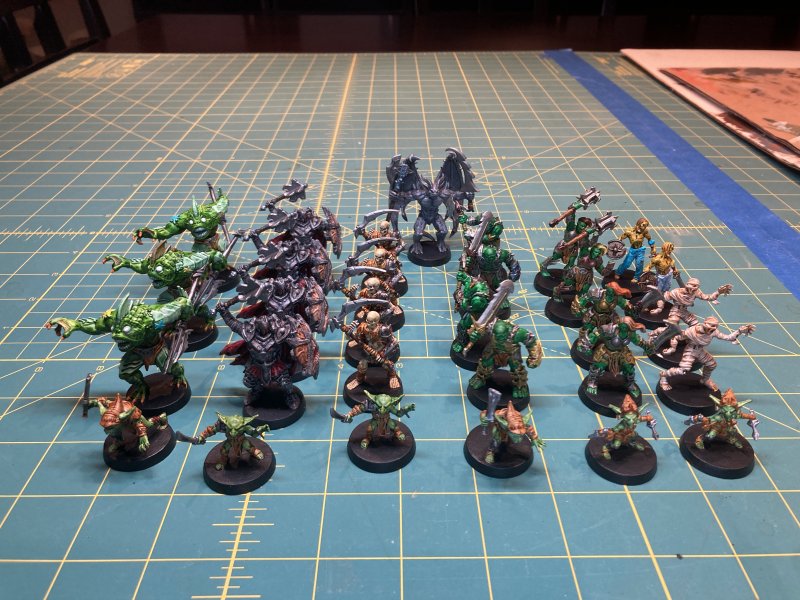
The wrap up to this year's painting goal of finishing the Hero Quest core set can now be checked off. The 4 good guys and evil dungeon master stand-in are now painted. As an extra challenge, I tried to stick close to the card are for each one. I think all of these qualify for a decent tabletop quality paint job. Zoom in a little and you can tell where there's still work that needs to be done better.
With that, the overall Hero Quest project isn't complete. Magnetically linked 3D printed dungeon tiles are still on the to-do list. Will they get to-done by the end of the year? Dunno. I've been playing with some new 3D printing - BambuLab A1 FDM printer, even though I've got 2 resin printers (still in their boxes) that have been sitting around for up to a couple of years. Originally the dungeon tiles were intended to pawn off on Jer and his fresh Bambu printer. Should I join in on the printing there?


Permalink
boardgames gaming miniatures HeroQuest
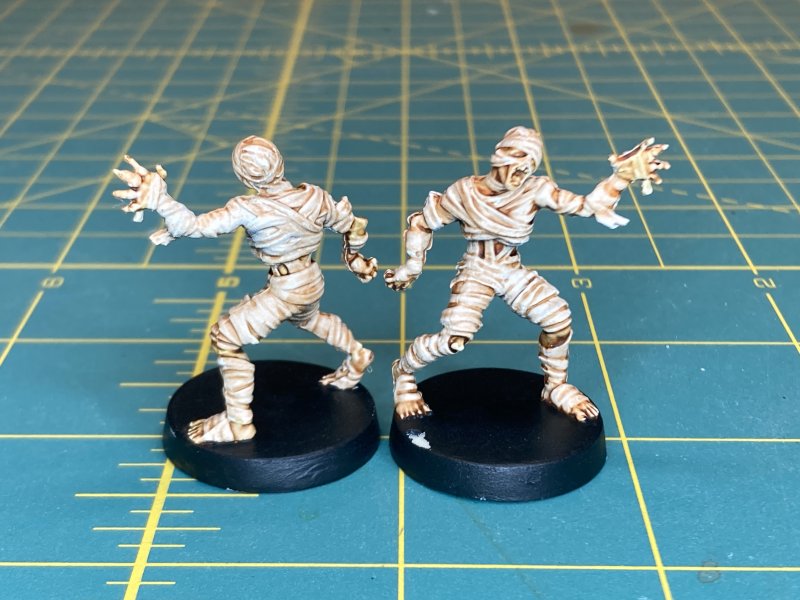
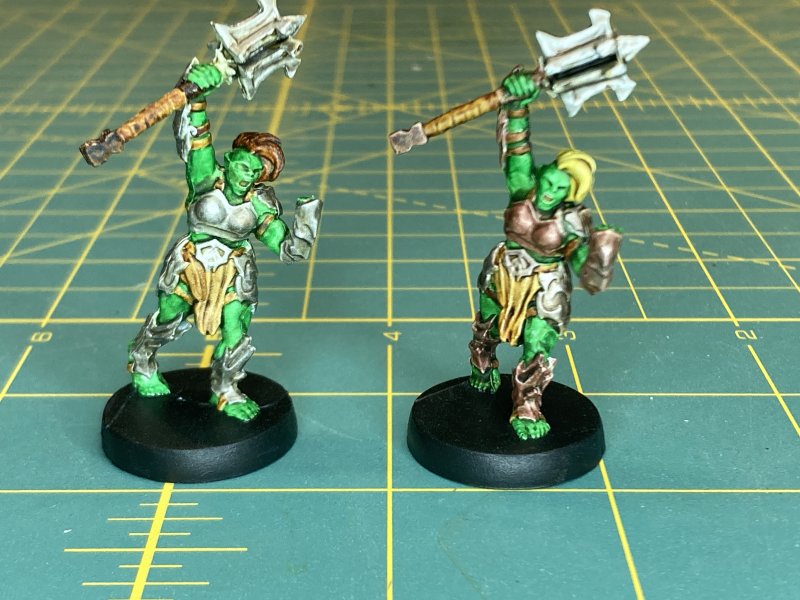
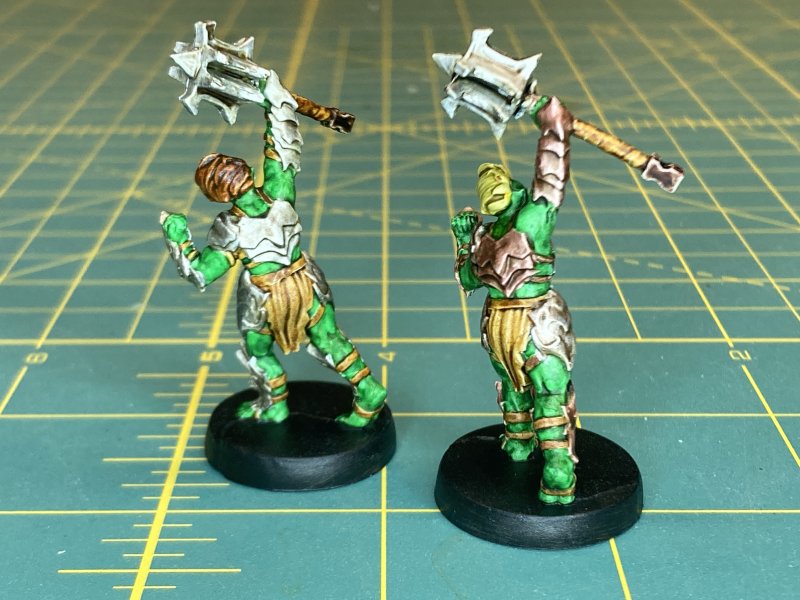
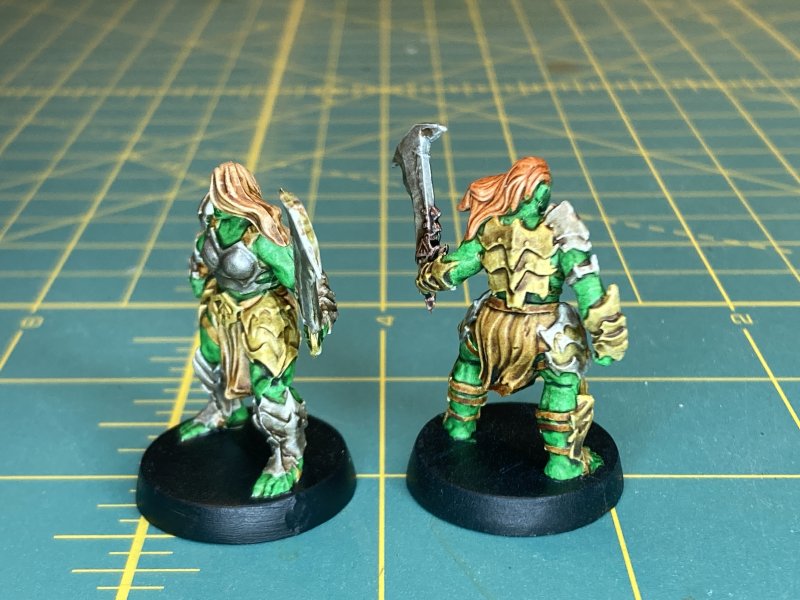
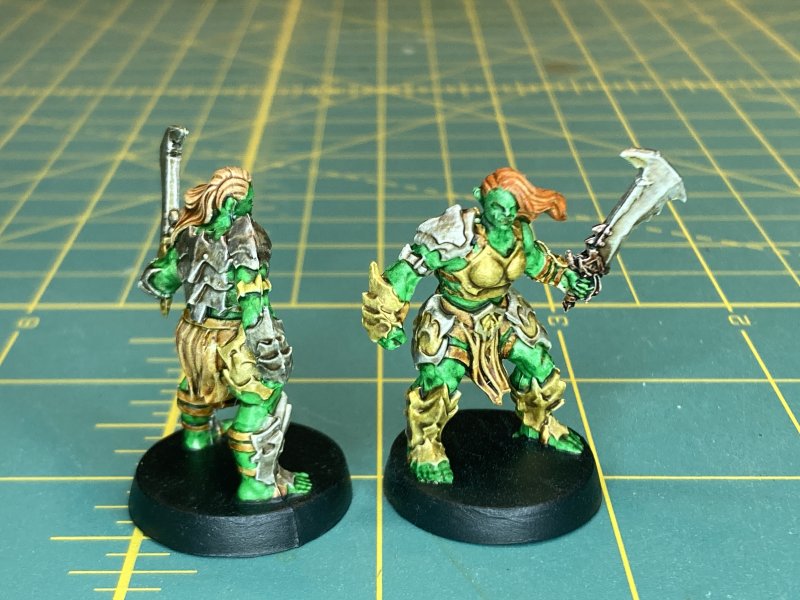
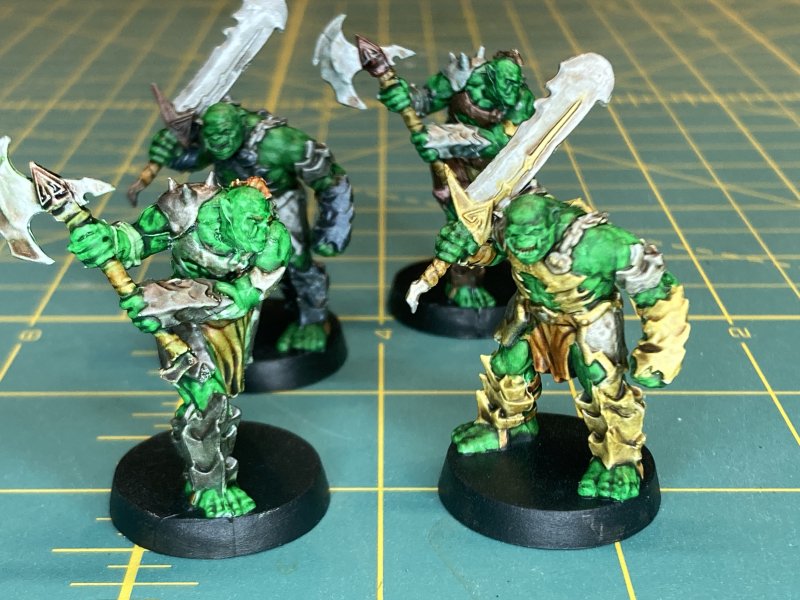
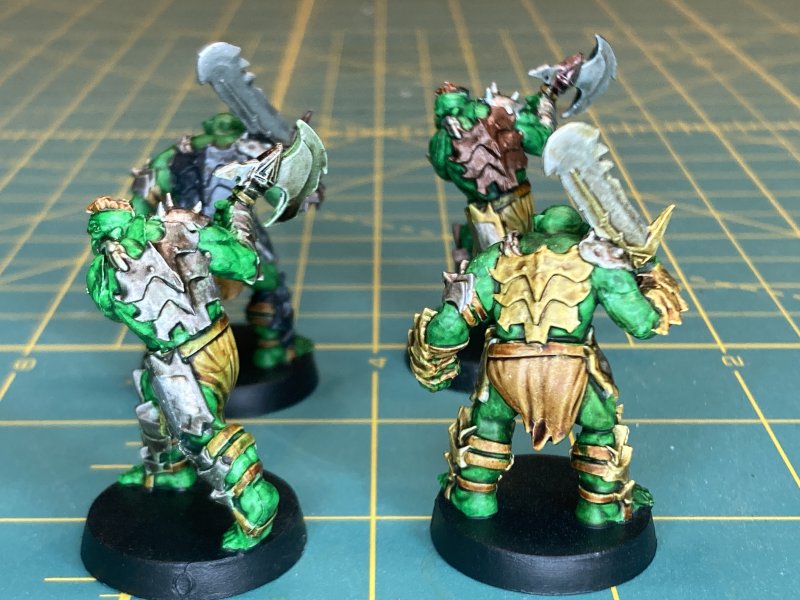
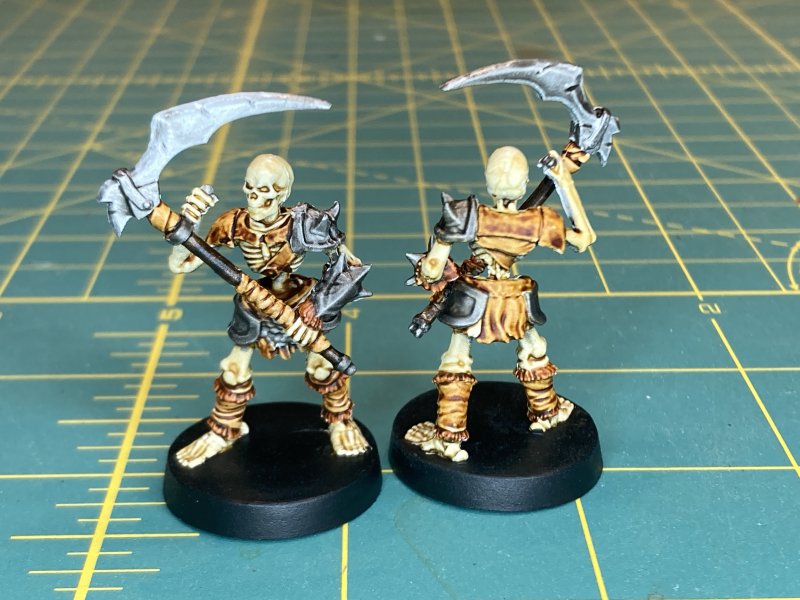
HeroQuest - Core Set Bad Guys
08.24.2025
My project for this year is to paint the HeroQuest core set. Along with that is working with Jerry on 3D printing the board, but that's a bullet for another time. The interesting part of this project is that I have no idea how HeroQuest plays. I just like the idea of a boardgame from the 80s (barely), that I know I would have loved back then, being re-released 30 years later. I like the idea of getting together with Jer and Keith for a good old fashioned game night and having upgraded and pimped out pieces. Maybe it'll happen?
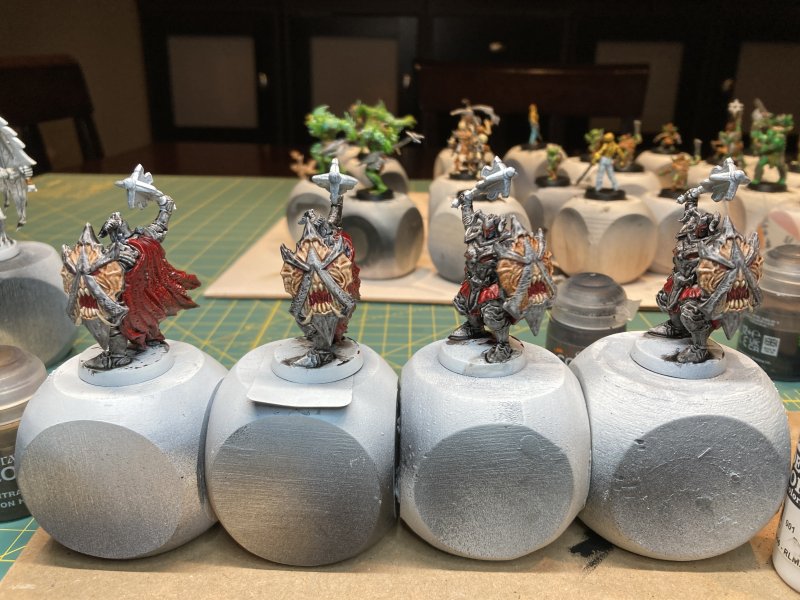
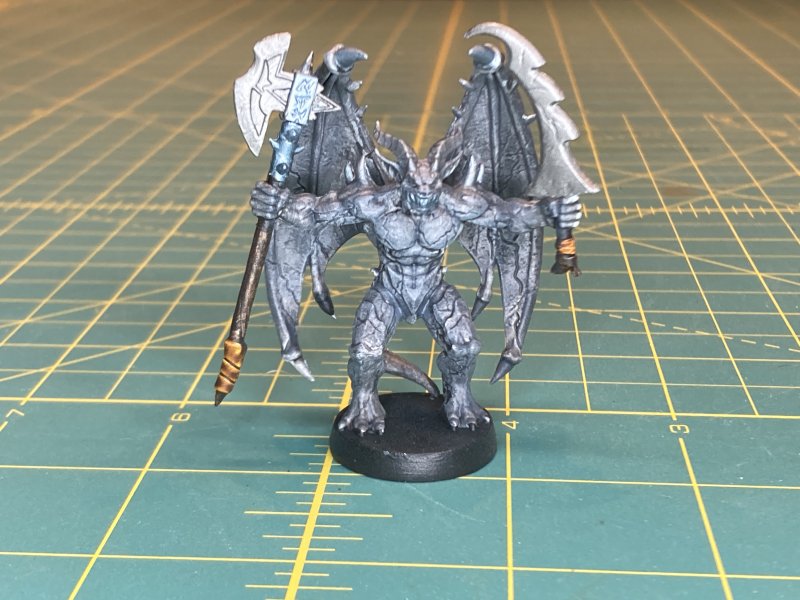
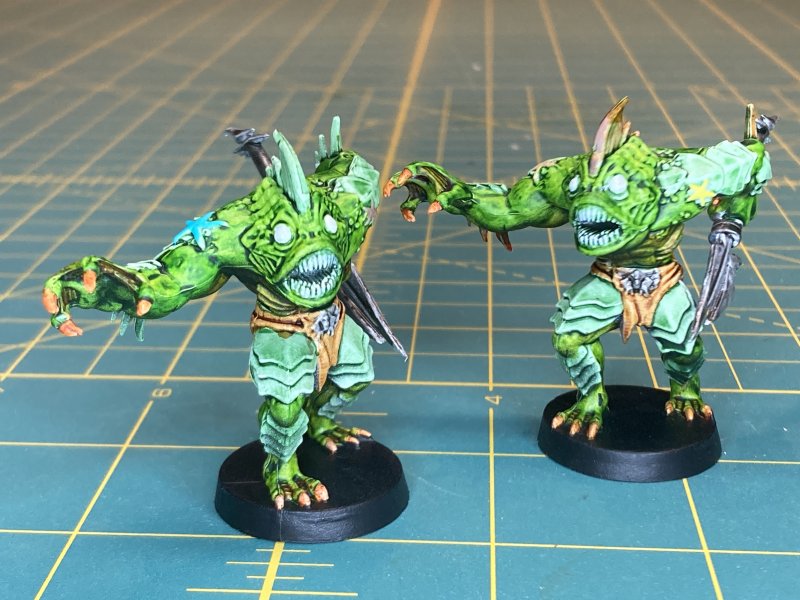
For the last couple of months I've been working on the bad guys from the core set, using the character cards as the template for how to paint the minis. Sometimes I've veered a little far from the card art - see the Orcs, mainly - but I also have to stick to paint approaches that work for me.
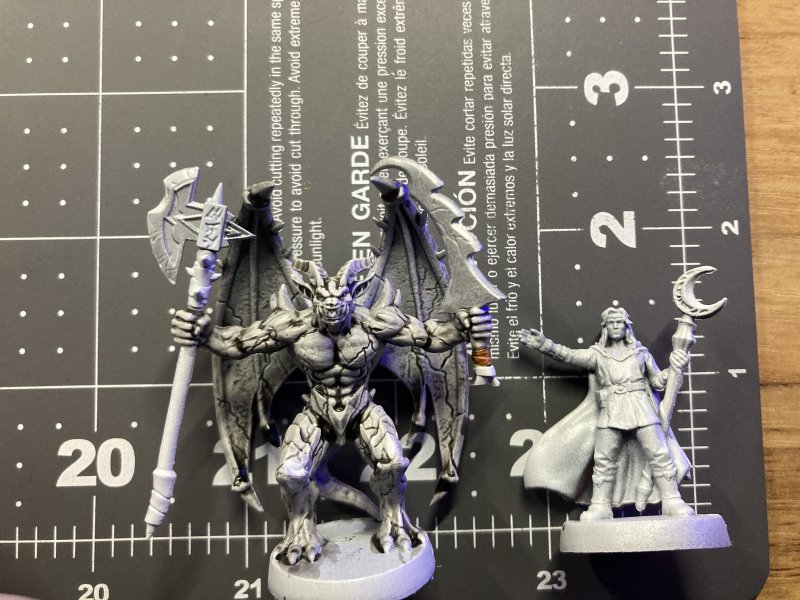
After these, there are 5 more mini figures to paint. 4 heroes and what I think is the main bad guy, which I can't find an image/painting reference for. I guess I'll need to Google that later. The core set also has dungeon furniture and whatnot, which is included in my "paint the core set" memo. 3/4 through the year - I should be able to finish this.

Permalink
boardgames gaming miniatures HeroQuest
Mantic Firefight Tunnellers
06.15.2025
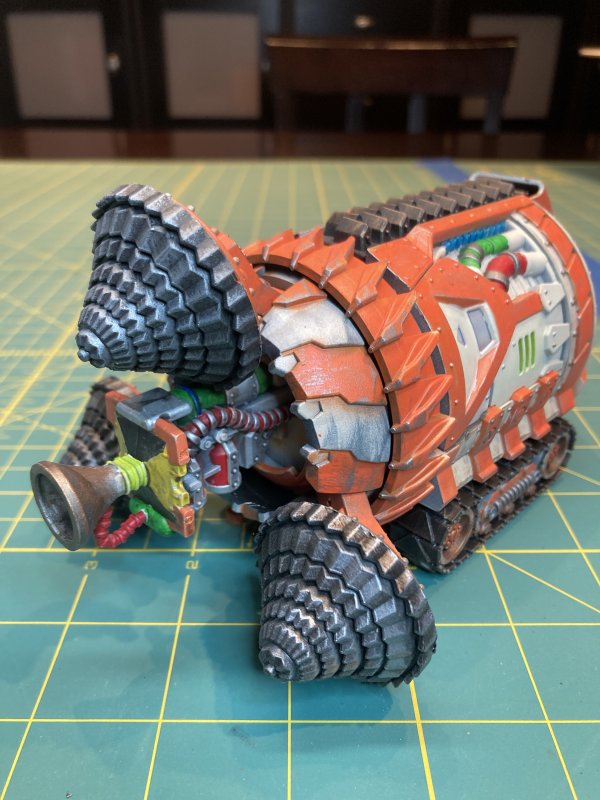
Oct 27, 2024. Miniature Market runs a "Bigger Than Black Friday" sale. One of the many things that caught my eye was a vehicle from Firefight 2E - a Tunneller. For $32, 2 caught my eye, as they have multiple versions with different add-ons I don't understand as I've never played the game, but a Tunneller looks just right for my ever evolving retro sci-fi base. Thus, 2 were ordered. They arrived, and promptly went on a shelf somewhere.
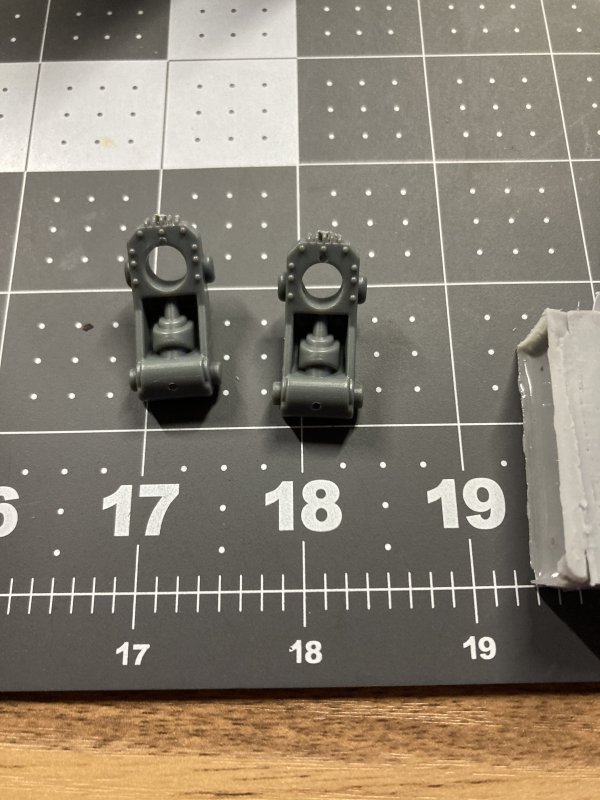
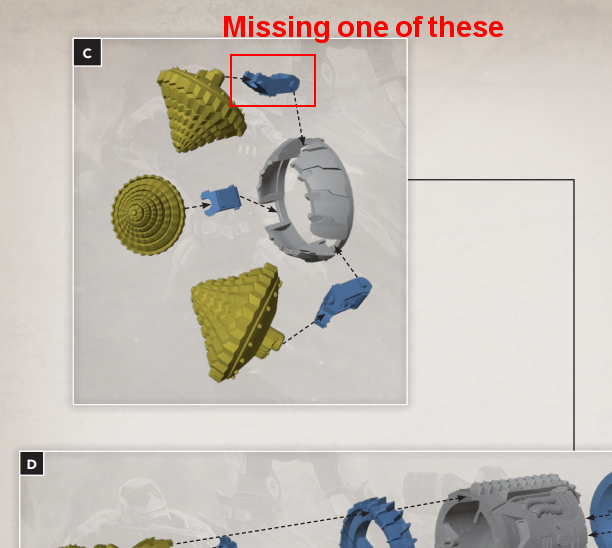
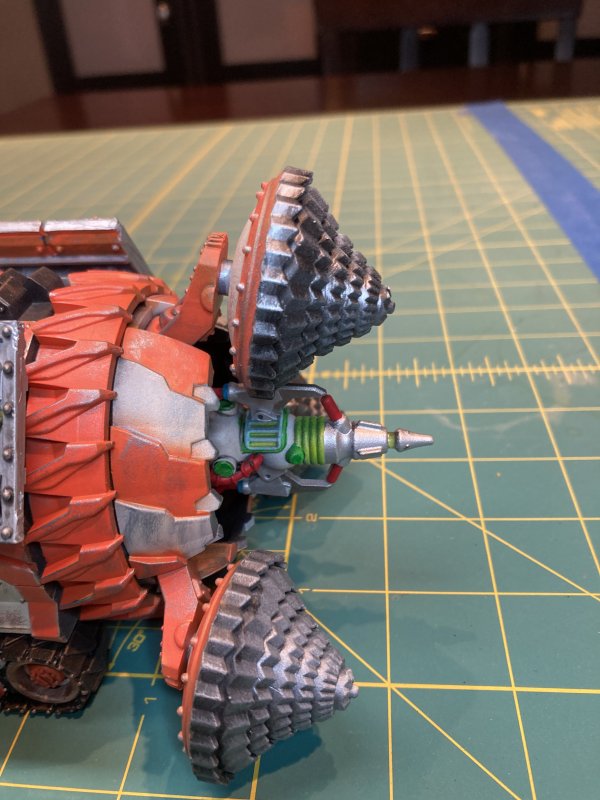
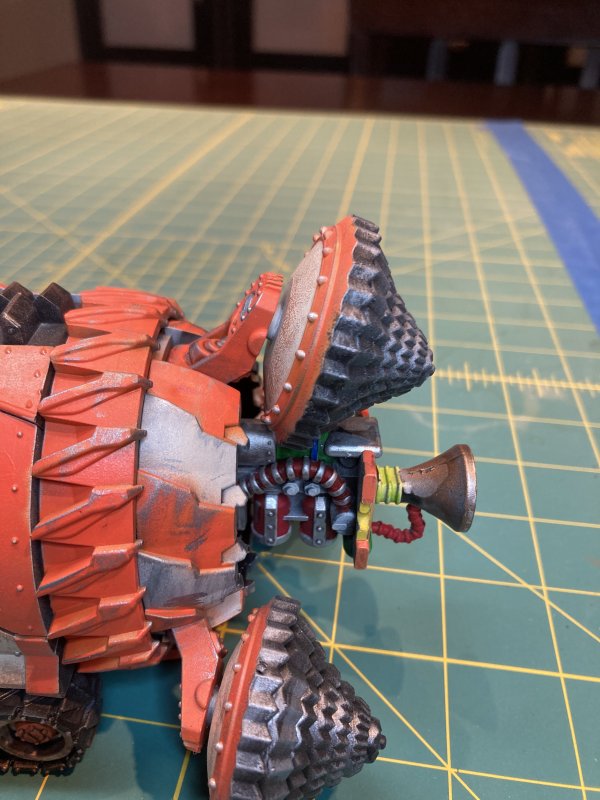
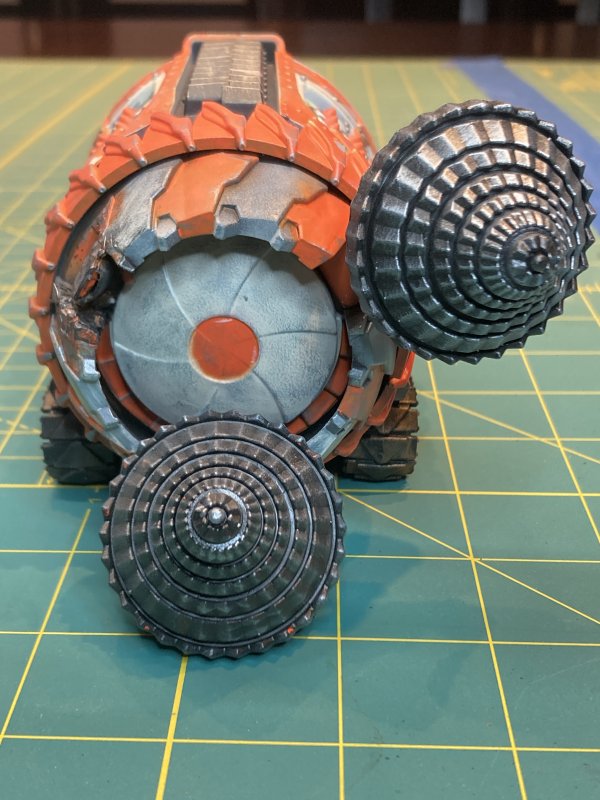
Jan 27, 2025. I get around to finally opening the box(es) of the above. While dry-fitting parts, I find one of the Tunnellers is missing 1 part. The hinged part that holds one of the swirly spinny diggy things.
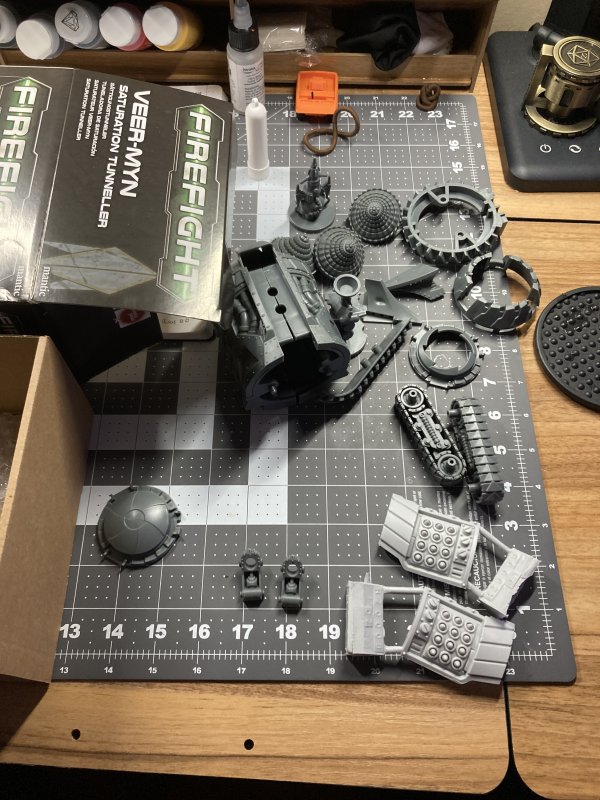
Firefight is published by Mantic Games. For better or worse, I've got plenty of experience in contacting Mantic with missing/damaged parts - This will be time #3 or #4, which shouldn't sound like a lot, but for all the minis, games, toys, etc I've gotten over the decades, there's very few times I've had to contact anyone once with an issue. Luckily, I know the "I have a problem" routine and could cut out some back and forth steps when contacting Mantic. I took pics of all the parts I received. I took a pic of the directions and highlighted the part missing. (Most importantly) I included a copy of my original order from MM, showing that I legally purchased said kit. I got a reply that the missing part was on it's way.
Mar 7, 2025. Missing part arrives, from the UK. I was expecting 4-6 weeks, so it's not as long as it looks on paper. Plus, it's a piece of plastic. The world's not going to end if I have to wait a little while for a piece of plastic. As I secretly expected, the 1 part I was missing came with most of/the generic base of another Tunneller. It's easier for them to grab a bag that contains the part I need than to rip open a bag and pull out that 1 part - and then what would they do with the left over parts?
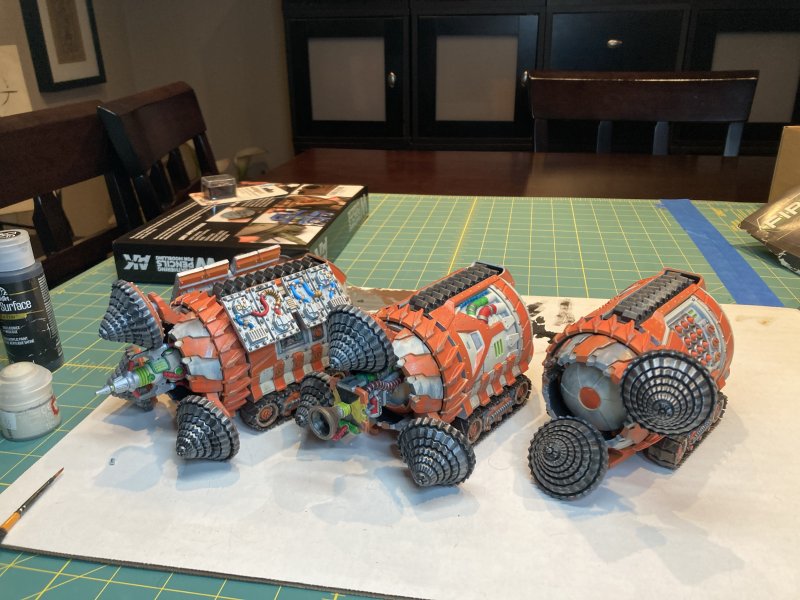
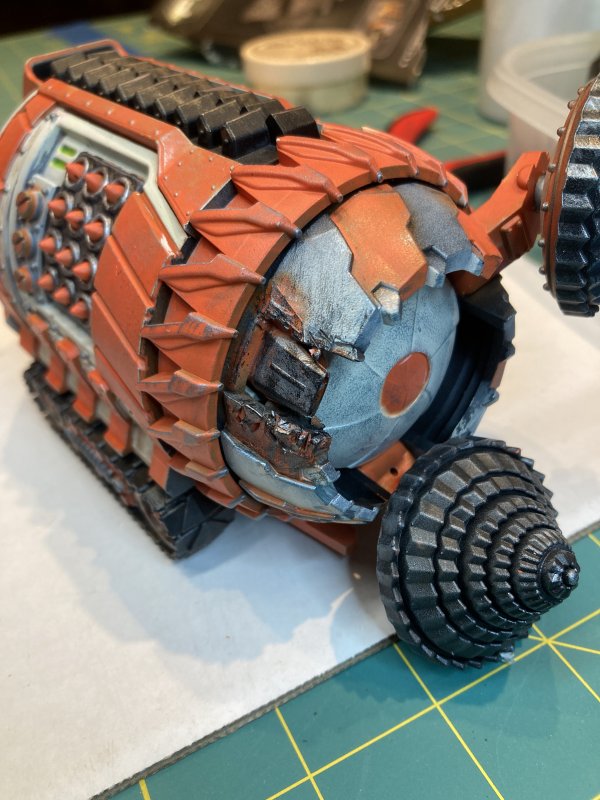
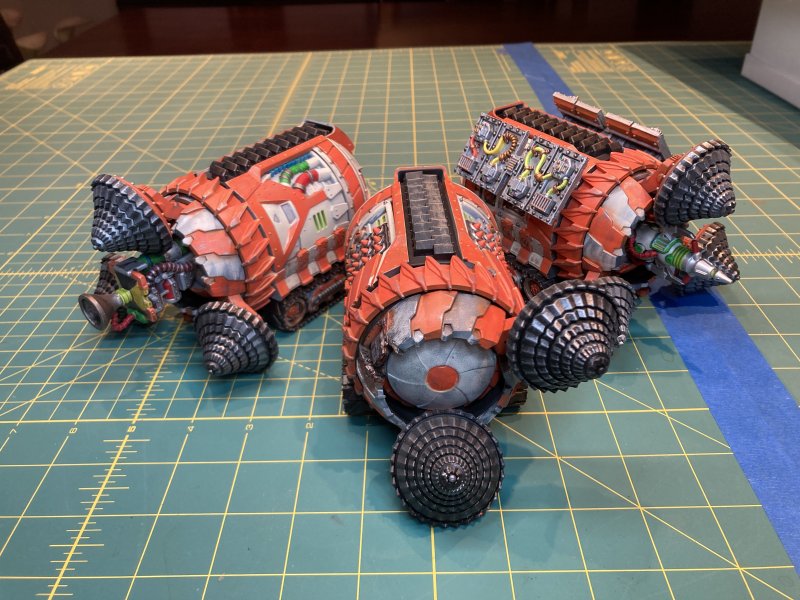
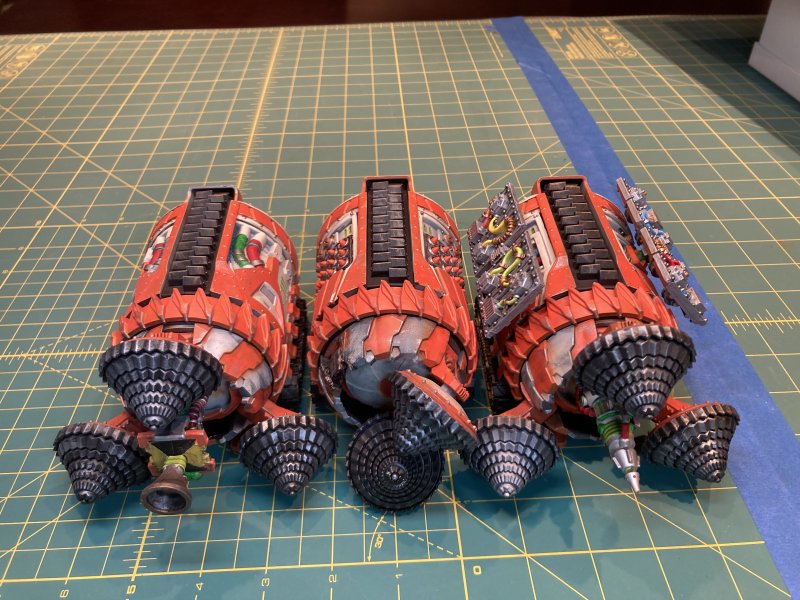
What would I do with the left over parts? Well I would make a battle damaged tunneller is exactly what I would do! And that's what I did.
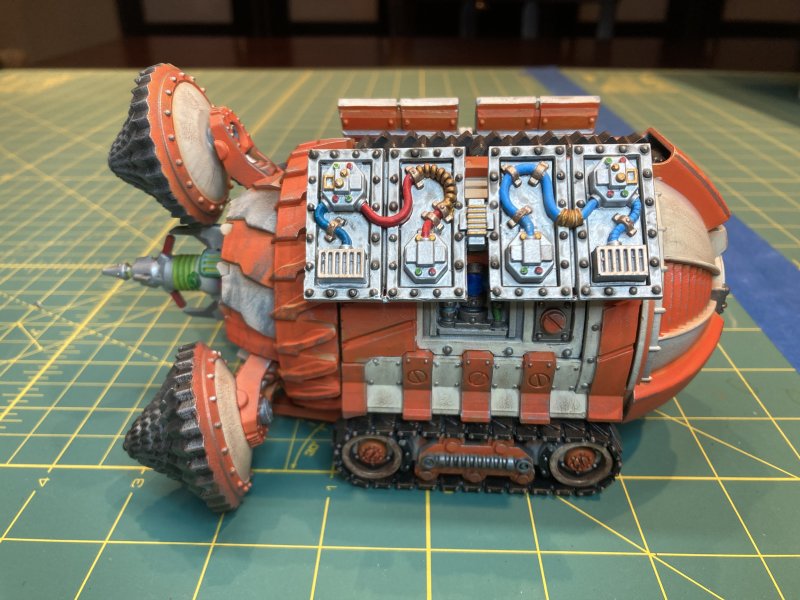
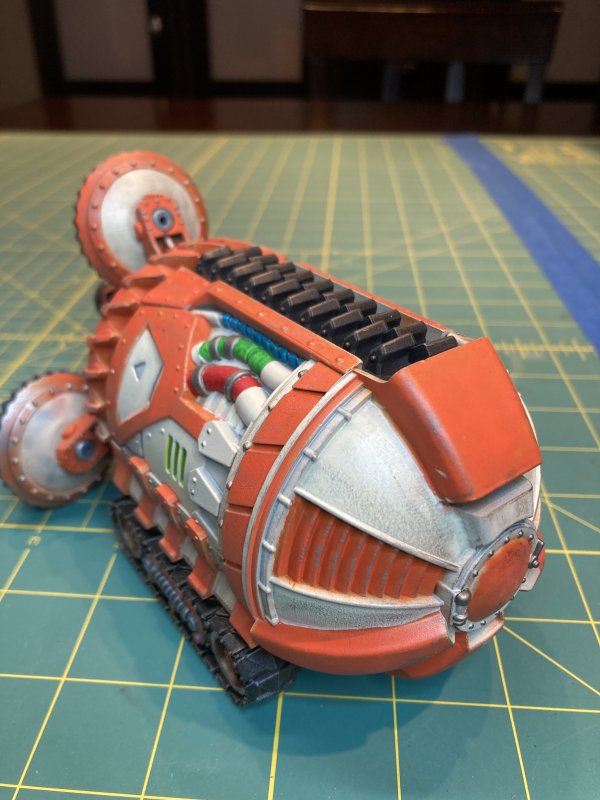
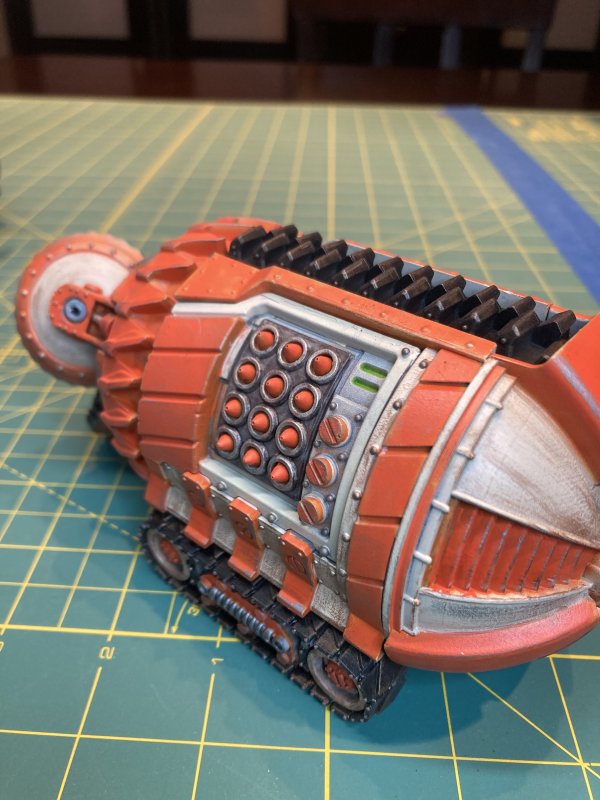
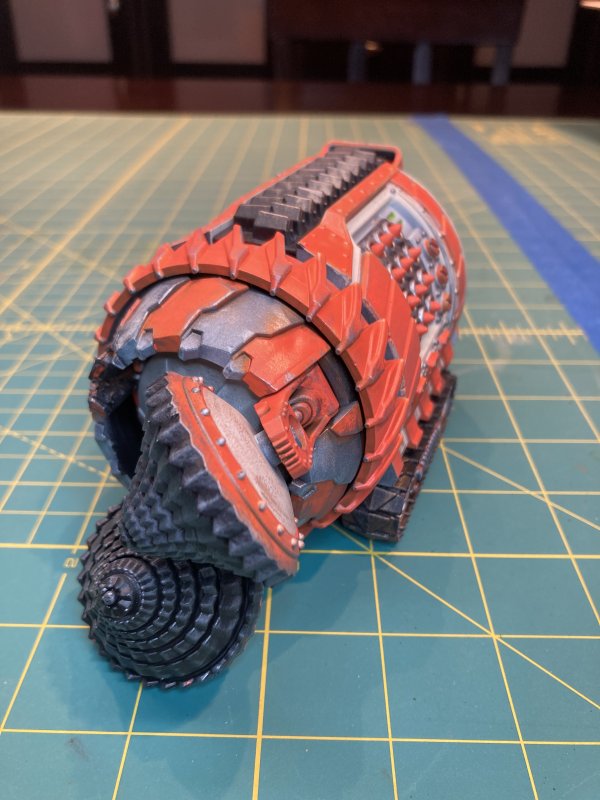
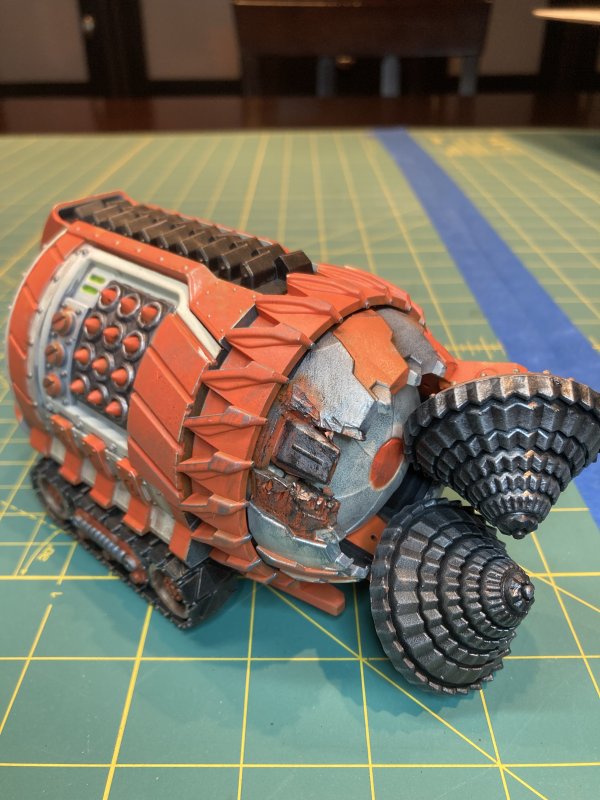
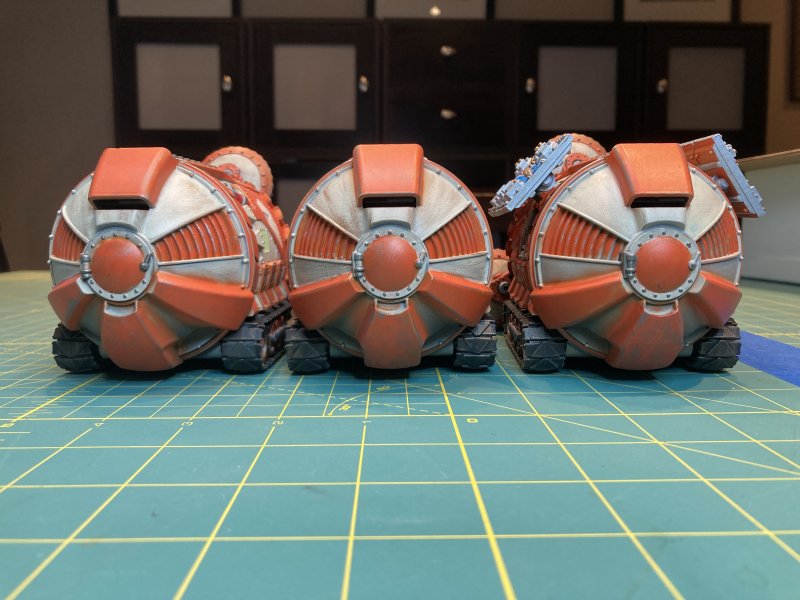
Making tunnellers was going to be (1) me better learning how to build using sub-assemblies, and (2) how to better use my airbrush. The orange that I use for retro sci-fi needs multiple coats to cover + not show brush strokes. After the last airbrush class built my confidence a little more, and finally not being afraid of breaking the airbrush, I wanted to try spraying the orange this time. And that's what I did.
The thing I quickly learned after spraying orange is that I need to find the right eye-distance and angle(s) as I was guessing on where my spray would stop. I was wrong most of the time. With that, I ended up with a lot of orange-brush touch-up. I don't know if it was just as much time if I've just brushed it on to begin with. Maybe. Maybe not.
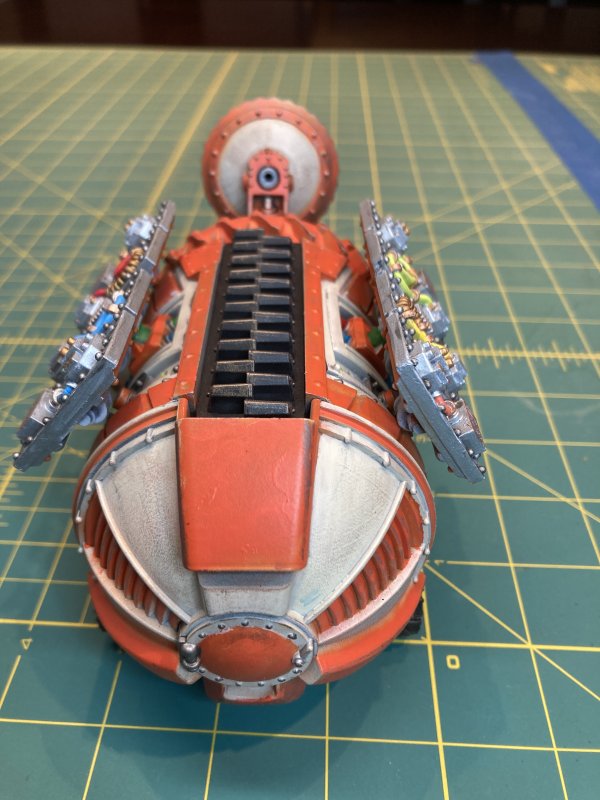
The whole time I was working on these things, I was oscillating on how much to weather things. Most of my retro sci-fi is pretty clean and devoid of real weathering. Then again, a "tunneller" should be going through some stuff and not be squeaky clean. After things were painted white and orange, and start adding a little silver-metallic drybrush, which became a little heavier and more all-over. I also used some AK Interactive paint markers. These worked really well for touching up off-white and orange, plus getting some good metallic highlights in. Speaking of metallics, I brushed on some Vallejo Air metallics - Rust works really well for dirty metal, too.
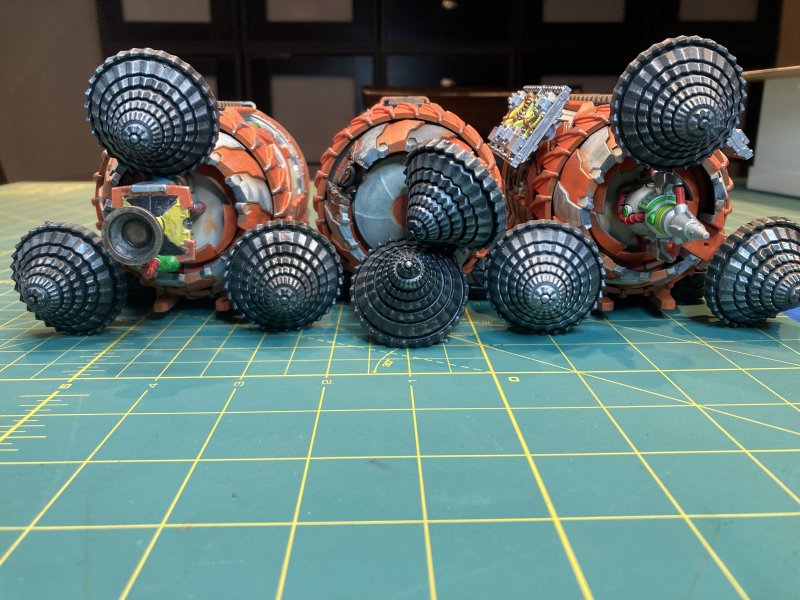
When it came time to work on the "battle damaged" tunneller, I had to think of how to cover up the missing digger hinge. I decided something needed to fill the hole - more like things were coming apart than making a hole. What ended up fitting well was the nose of a very small snap together Star Trek Defiant that didn't snap together very well. It worked out well for me though, as the end result as battle damage detritus turned out mostly how I wanted.
Now retro sci-fi base has 3-ish tunnellers to round out the scene. While next I plan on making a little more progress painting Heroscape minis, I also want to see if the 2001 1/55 Moon Bus model I picked up on a trip to Kennesaw is a close enough scale to fit into retro sci-fi base.

Permalink
Firefight gaming miniatures
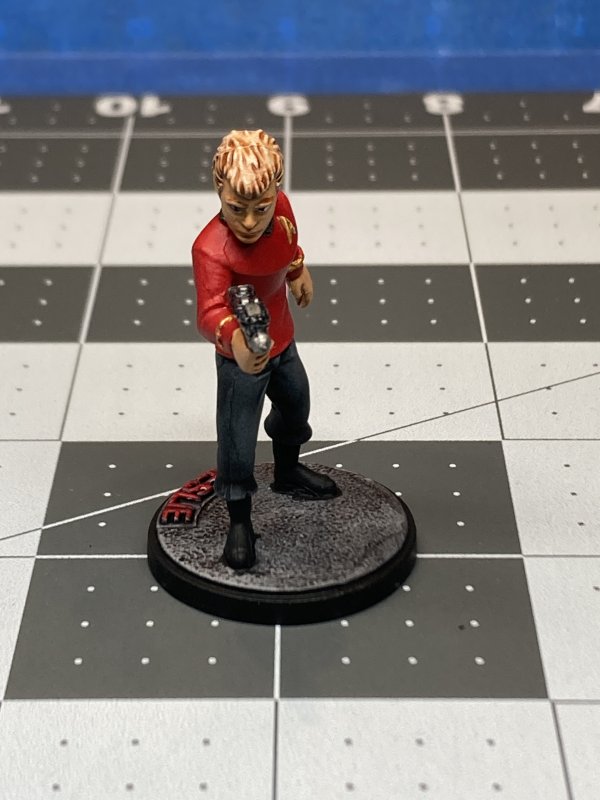
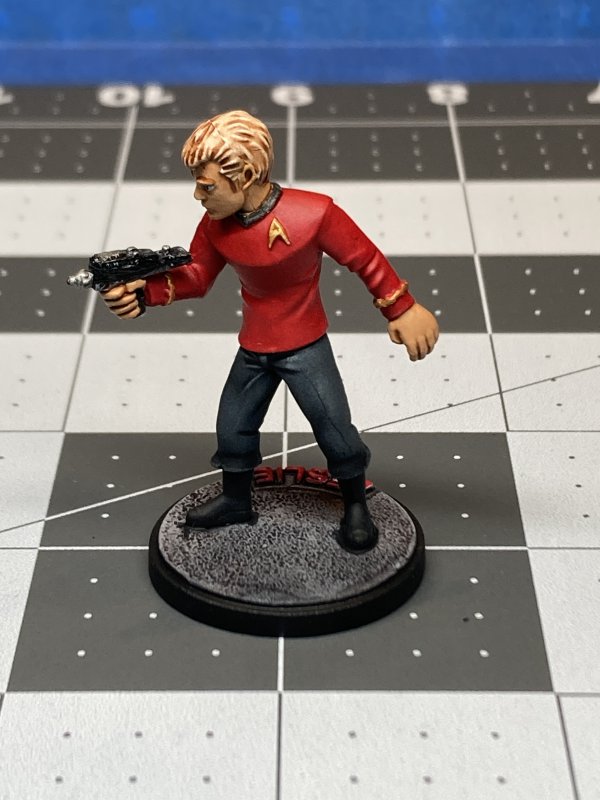
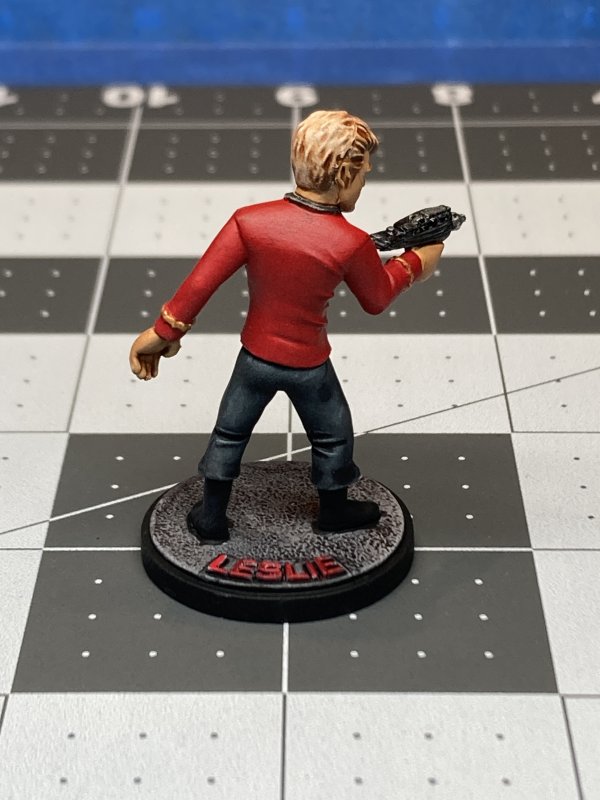
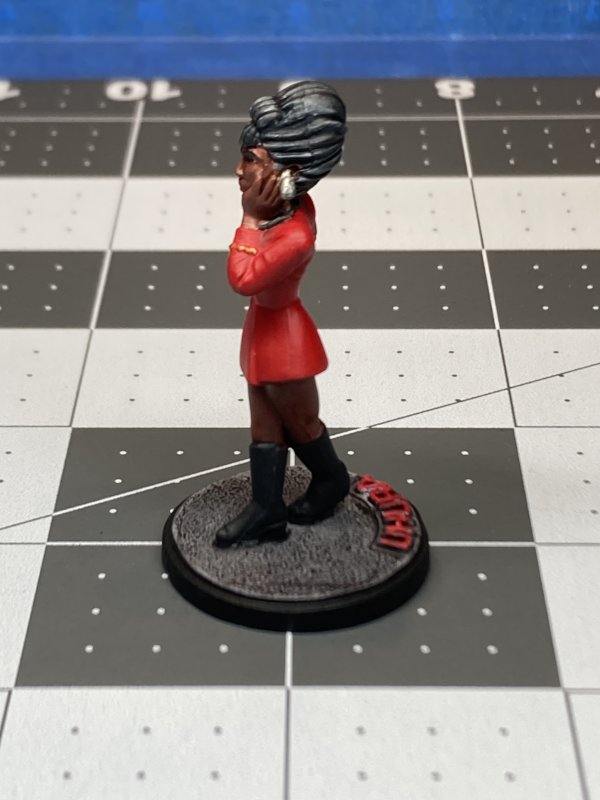
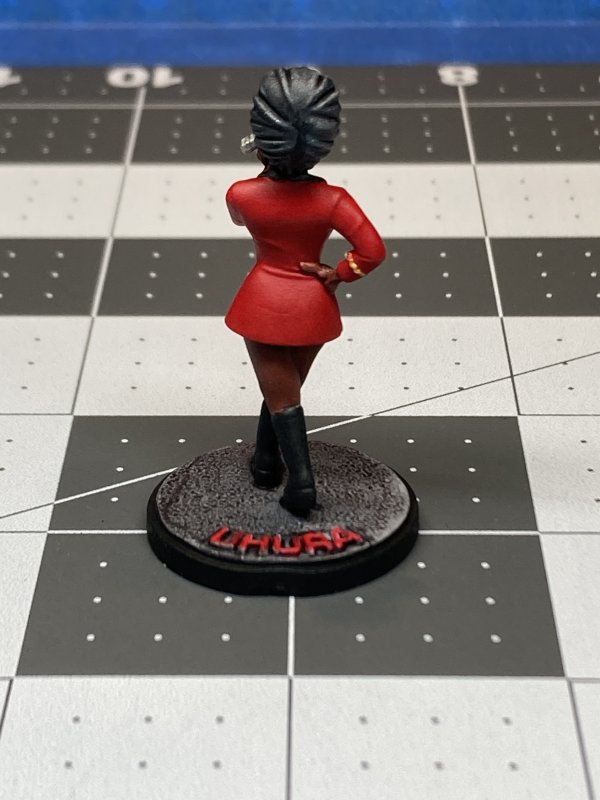
Star Trek Away Missions: Scottyless
05.04.2025
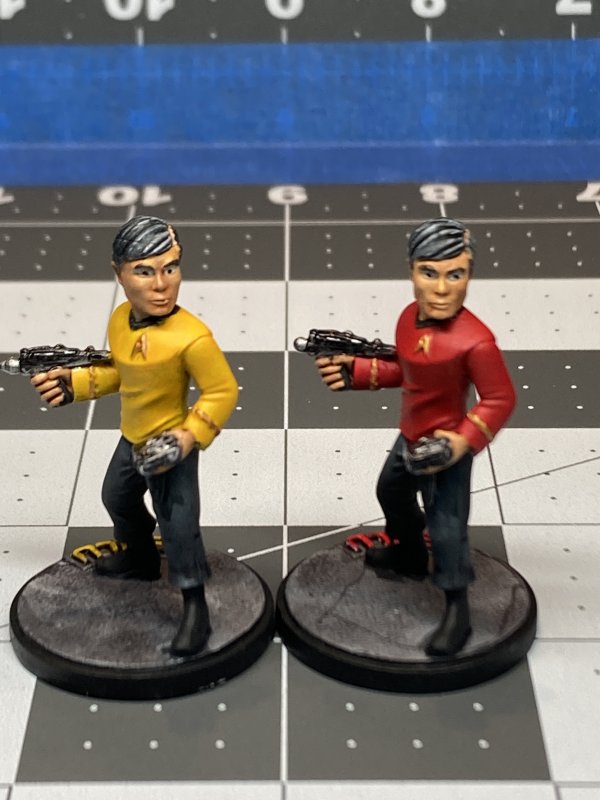
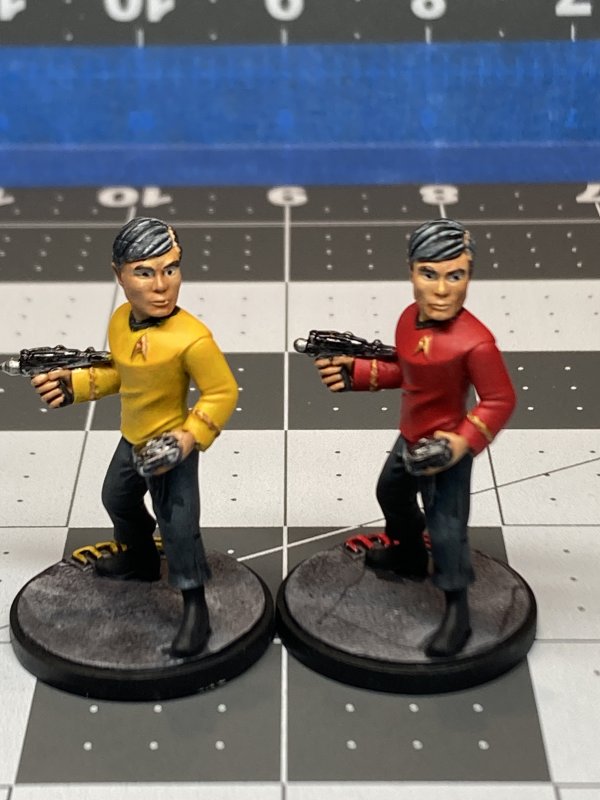
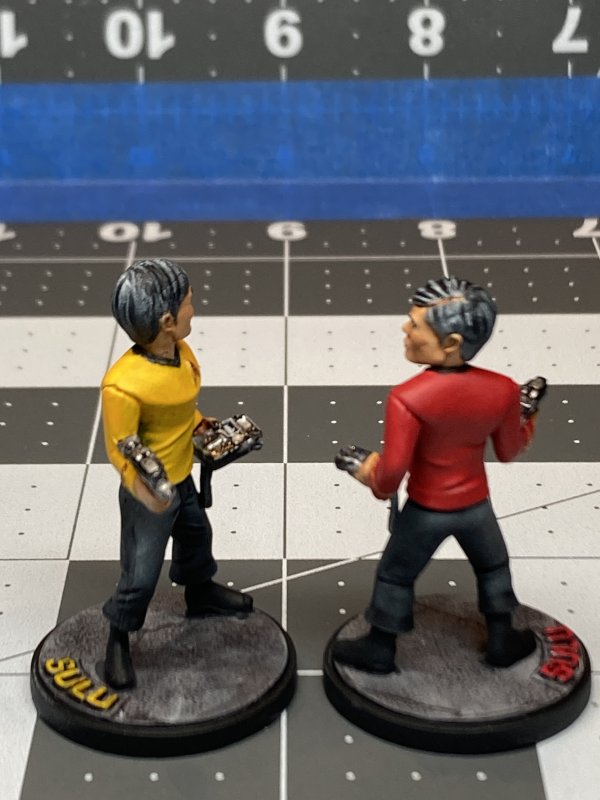
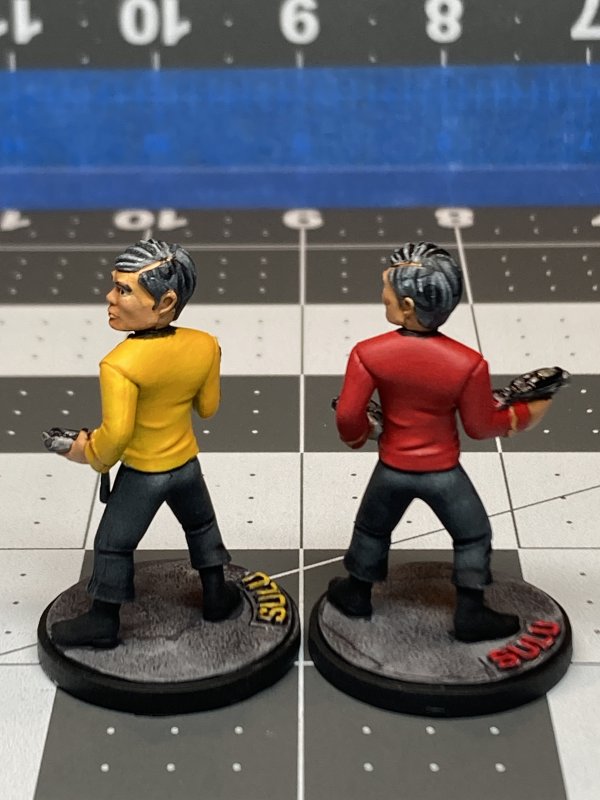
My last entry for the first third of 2025 is the other box from Star Trek Away Missions: Commander Scotty. The most interesting thing about this box is that there's no Scotty. There were 2 Sulus. This is specific to a batch delivered to Miniature Market, because another Scotty box I ordered from them also has 2 Sulus. There's a box I ordered from Amazon that actually has Scotty. Why didn't I paint that one instead? Dunno, but this way I got some extra Sulu practice.
Specifically, with Sulu, I made a red shirt version and yellow shirt version. While Sulu wore command yellow in TOS, he wore red in the mirror universe episode, which is my excuse if anyone were to ever actually ask.
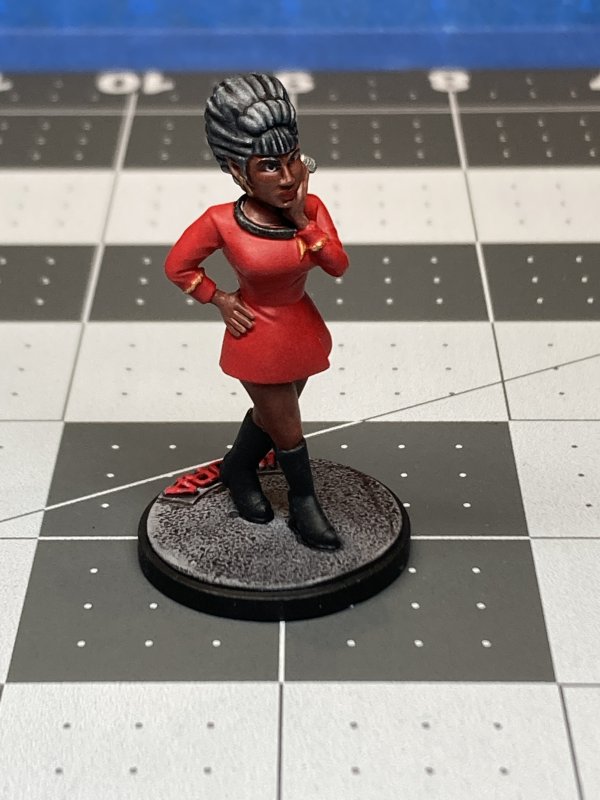
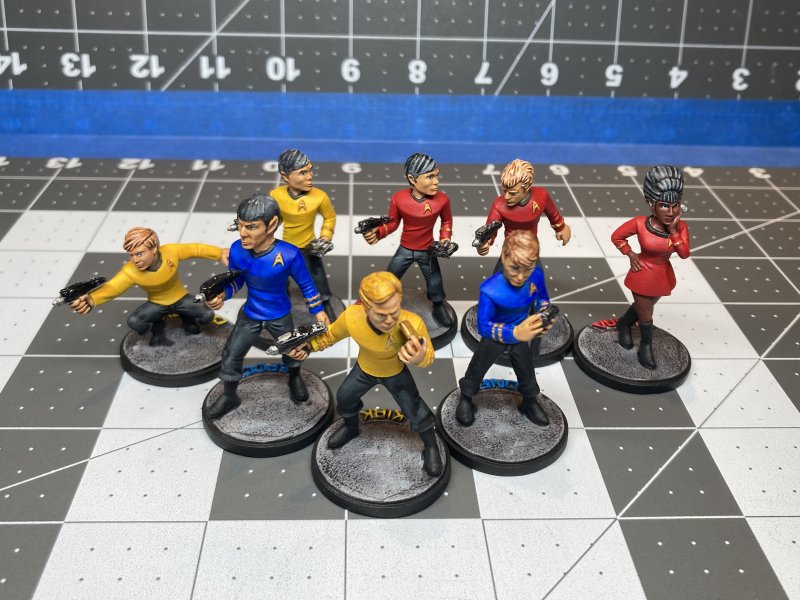
The paint job on Uhura is, I think, my best. Best ever, not just of the Trek minis or for what I've been posting this past week. Best, as in it ended up best matching in the end what I intended it to look like when I started.
Last in the pics is a combined shot of minis from this round of painting for size comparison, to help show just how much bigger those Away Mission minis are from other/Cyberpunk "normal" size.

That's everything that's was sitting in the backlog waiting to get posted. I'm not sure when the next update with anything interesting will occur, but hopefully sooner than 4 months.
Permalink
Cyberpunk Red Zone gaming miniatures Star Trek Away Missions
Blog Archive
As always, correct spelling is optional in any blog entry. Keep in mind that any links more than a year old may not be active, especially the ones pointing back to Russellmania (I like to move things around!).
Tags have been added to posts back to 2005. There may be an occasional old blog that gets added to the tag list, but in reality what could be noteworthy from that far back?
Blog Tags
3D Printer (29)
4ground (32)
4ground-mall (40)
5PFH (1)
action figures/toys (10)
airbrush (7)
Aliens (1)
Amazon (12)
antenocitisworkshop (11)
Atlas O Gauge (2)
Batman Miniature Game (2)
Battletech (1)
belt sander (12)
Blood Bowl (4)
boardgames (79)
books/comics (19)
computers hate me (5)
conveyances (15)
Cyberpunk Red Zone (4)
diet (53)
dreams (7)
fallout (1)
feng shui (1)
Firefight (1)
Foundry (3)
Gale Force Nine (1)
game dev (23)
gaming miniatures (240)
gaslands (10)
gastric sleeve (34)
Green Stuff World (2)
Hasslefree (9)
Hero Forge (1)
HeroQuest (4)
hobbies (102)
Jailbirds Minis (2)
kevin smith (1)
Knight Models (2)
malifaux (3)
Marvel Crisis Protocol (2)
mckays (1)
models (12)
mom (32)
moon light (5)
Moonbus (1)
movies/tv/dvd (60)
Necromunda (4)
ninja division (1)
Pathfinder Deepcuts (1)
pilonidal cyst (5)
plastcraft (2)
programming/interweb (42)
rambling (62)
random (367)
random maintenance (3)
Reaper Bones (3)
reaper chronoscape (32)
renovation/remodelling (25)
road trip (27)
salesforce (1)
sarissa precission (2)
scenery (19)
Star Trek (2)
Star Trek Away Missions (3)
Star Wars Legion (1)
studio miniatures (3)
ttcombat (12)
video games (51)
vs Factions(PDFs) (1)
walking dead (37)
wargame foundry (3)
work (6)
wrestling (45)
zombicide (2)
Zombicide Invader (19)
zombie mall (23)