Do minis have estrogen?
10.09.2019
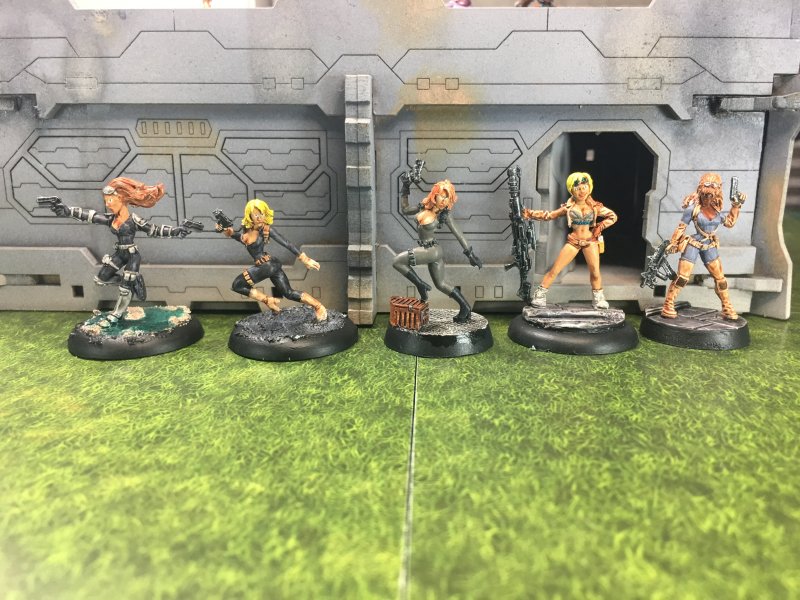
This batch is tagged "CleavageFest 2019" since Daniel pointed out "that's a lot of cleavage". 3 of them have no cleavage at all.
Yet again I've managed a "all but 1 from Reaper Chronoscope" batch. This time I was going to focus more on taking care of finer details (ie don't rush through whatever paint color is on the brush) and play around a little with the bases. If ever my theme of "finding minis to paint regardless of ever using them in a game" was present, I'm pretty sure it's here.
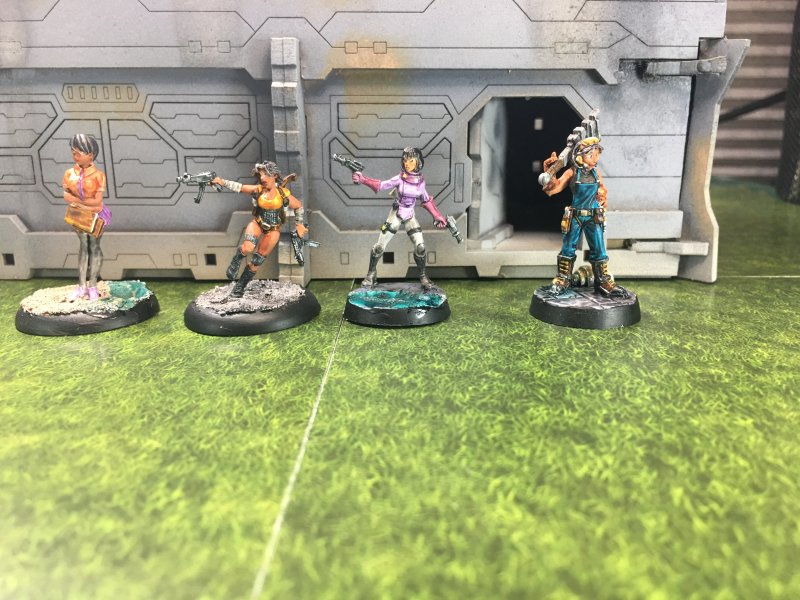
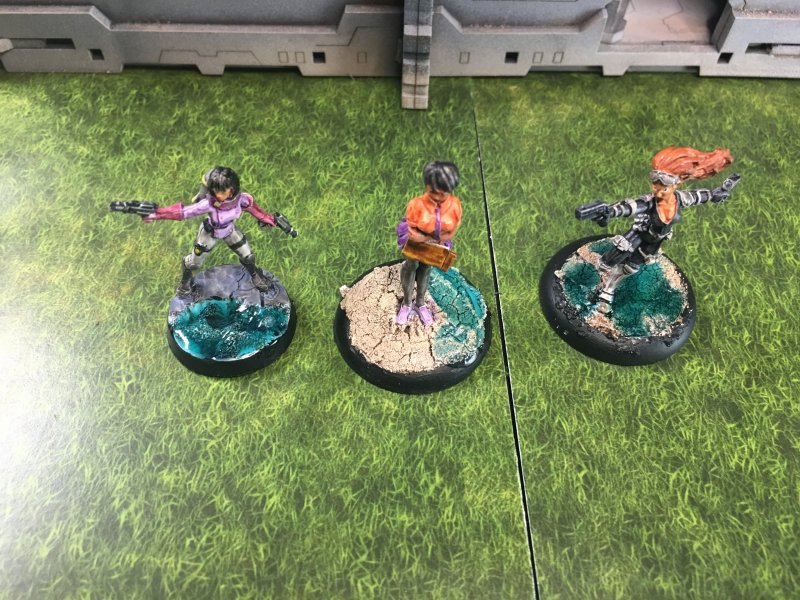
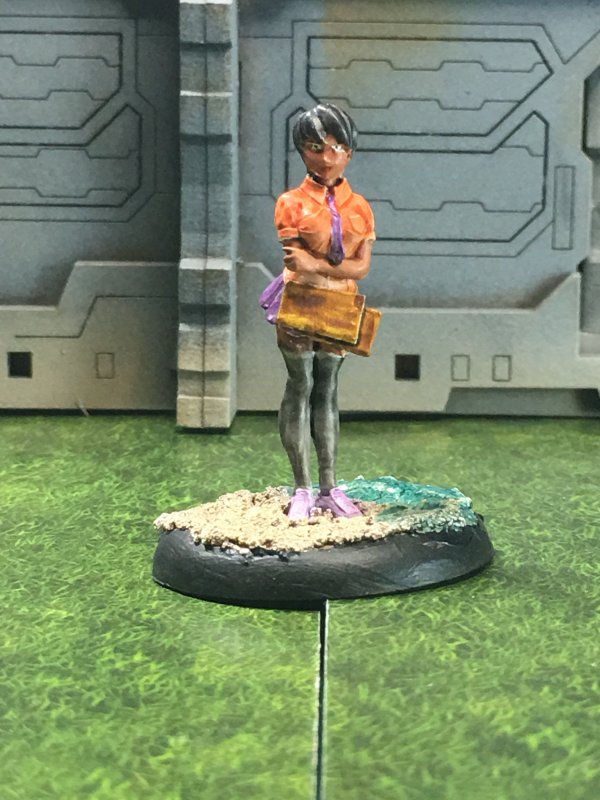
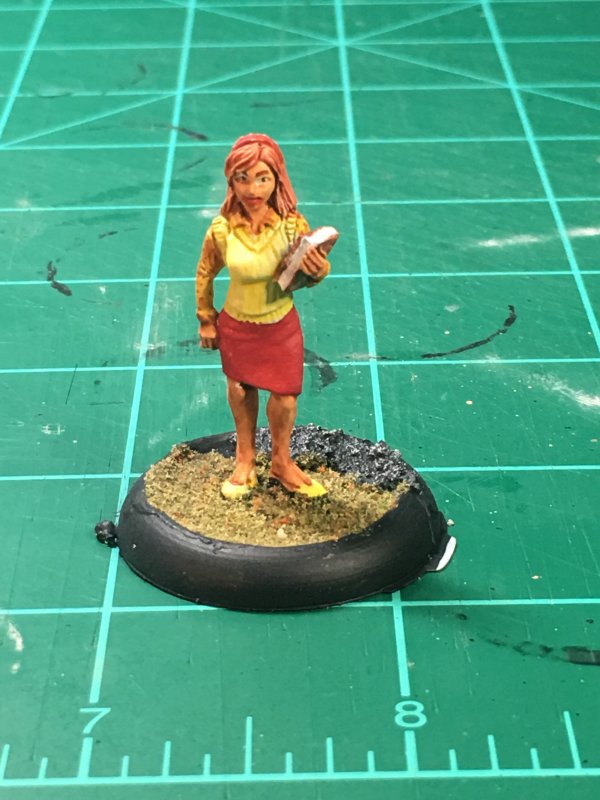
- Takoashi University Study Hall - The last of the Ninja Division sale. I'm not sure if I missed it in the package or it wasn't included, but this mini is missing half a right arm. I didn't even notice until I was 95% done and started wondering how those books were magically sticking to her front.
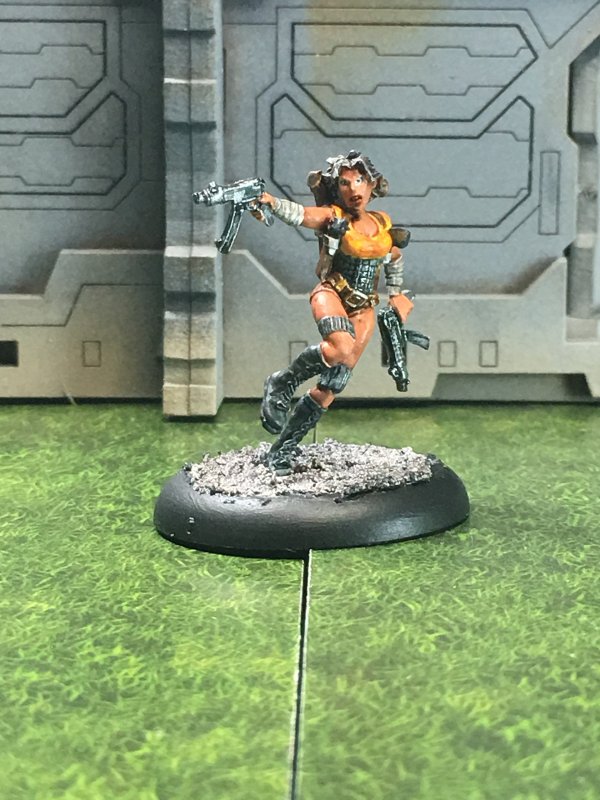
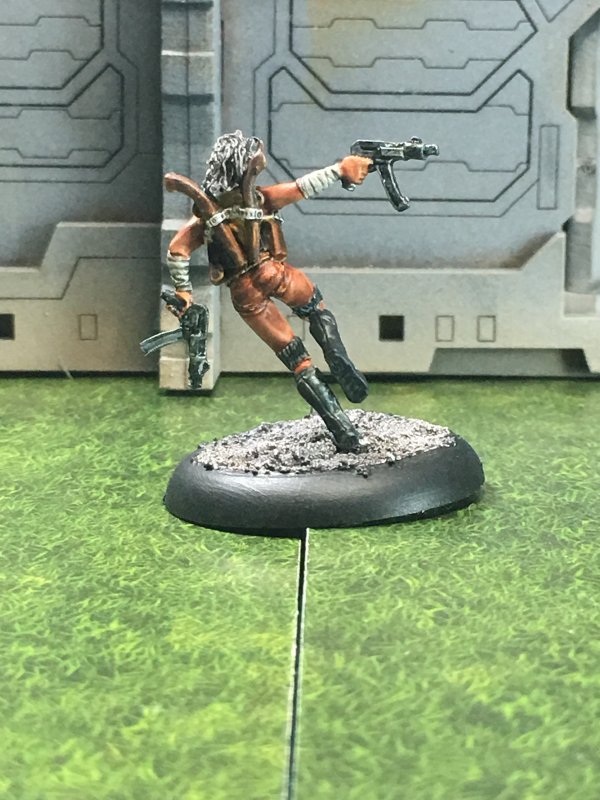
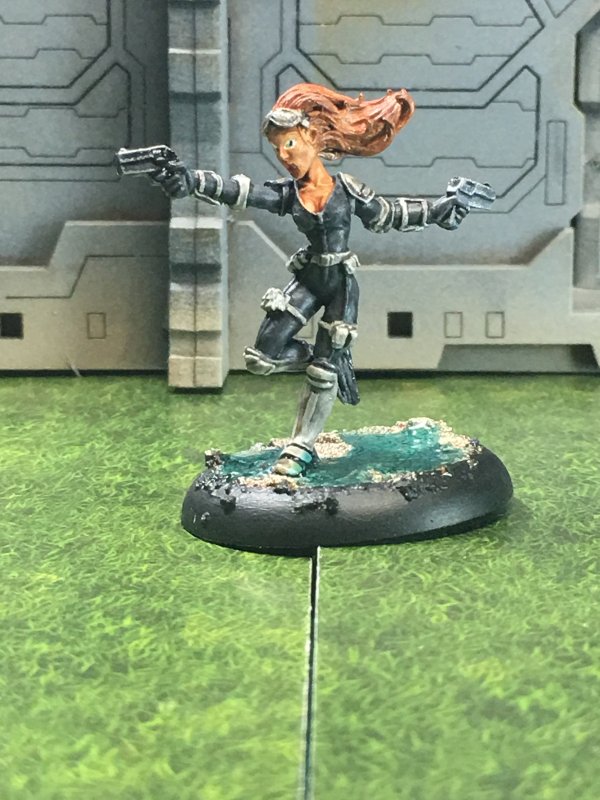
- Natalia, Female Secret Agent - I like this one so much I purchased 2 of them and didn't know it until I was pulling minis to paint.
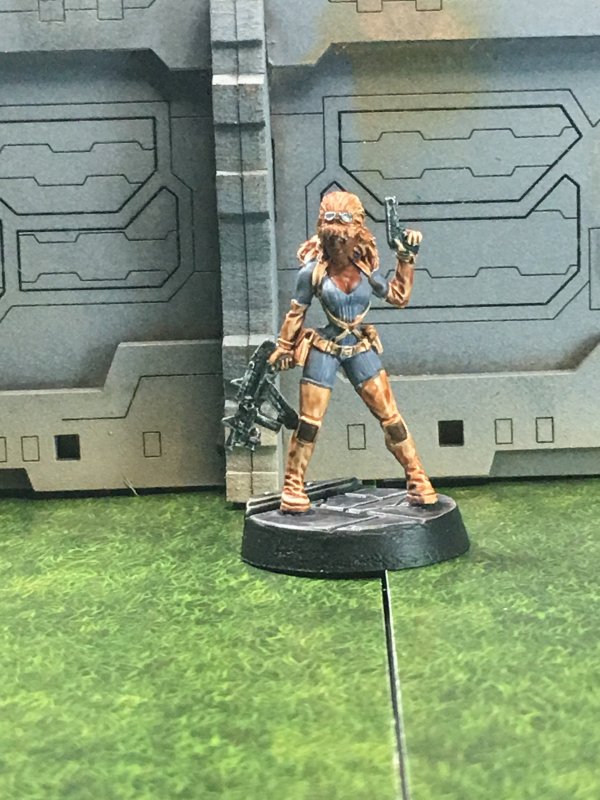
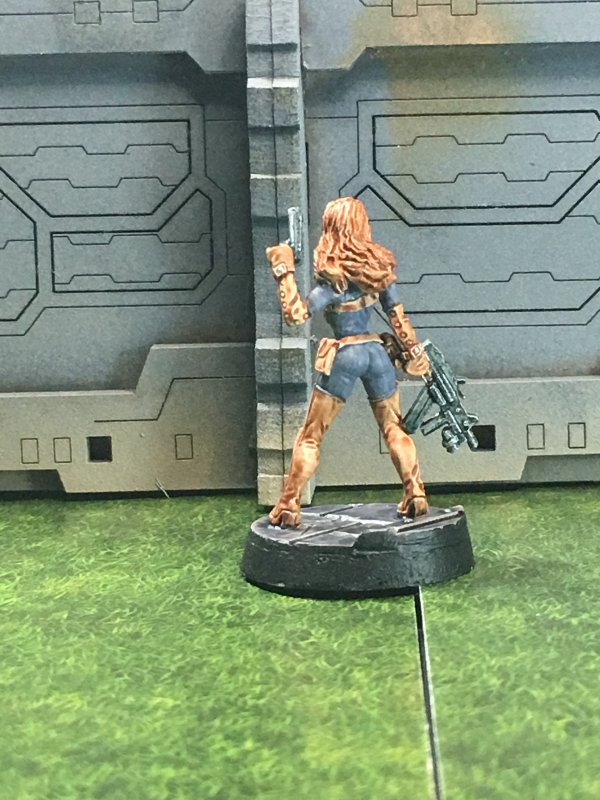
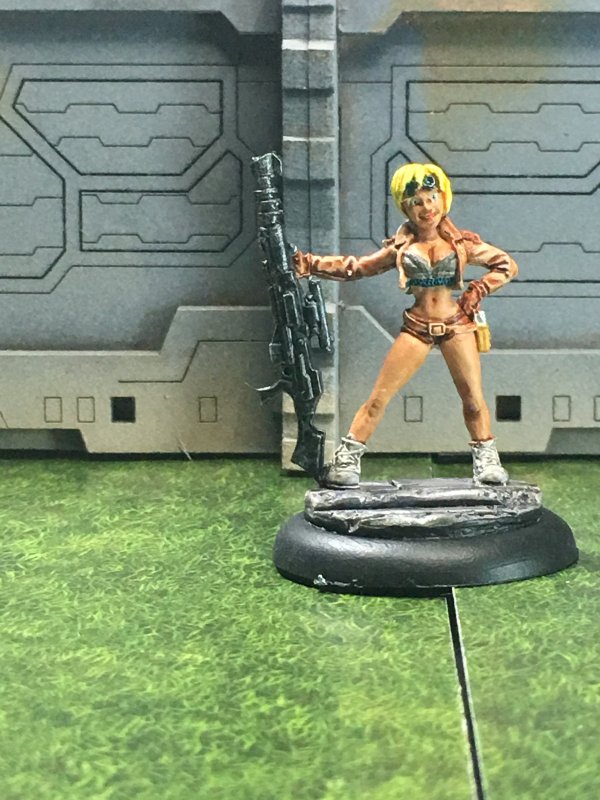
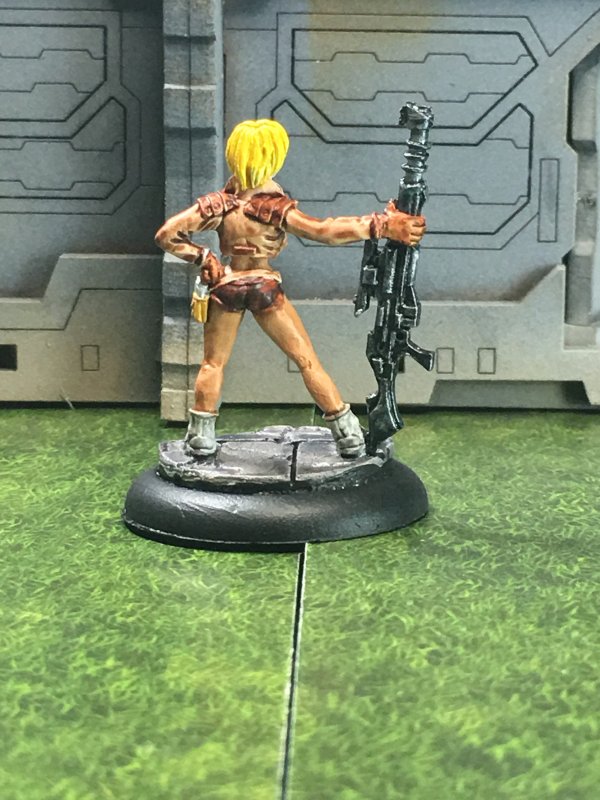
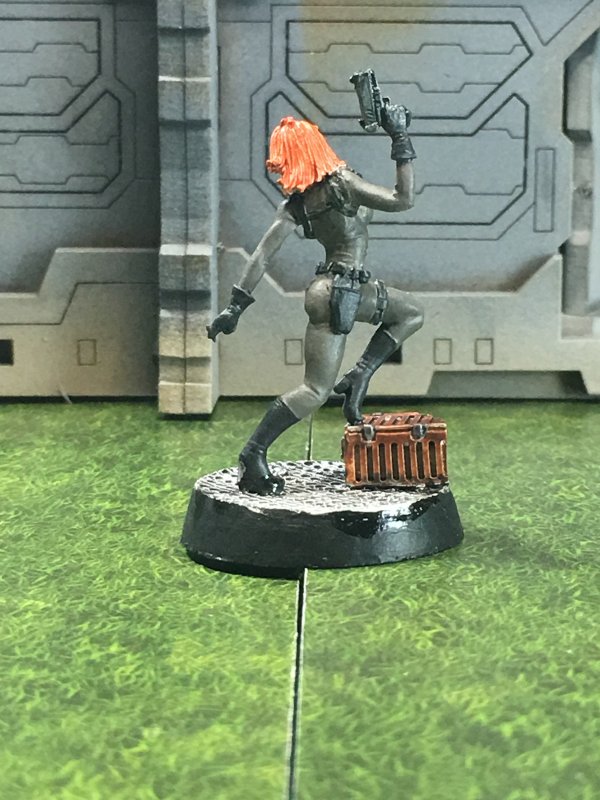
- Gretha, Female Sniper - the gun's as big as she is, but the sculpt reminds me of a 3D figure I was using for Workshop Games. I have to remember to go through old images and see if I'm making that up.
- Bonnie, Futuristic Heroine - I've done one of these before (I think) with more of a Milla vs Zombies feel.
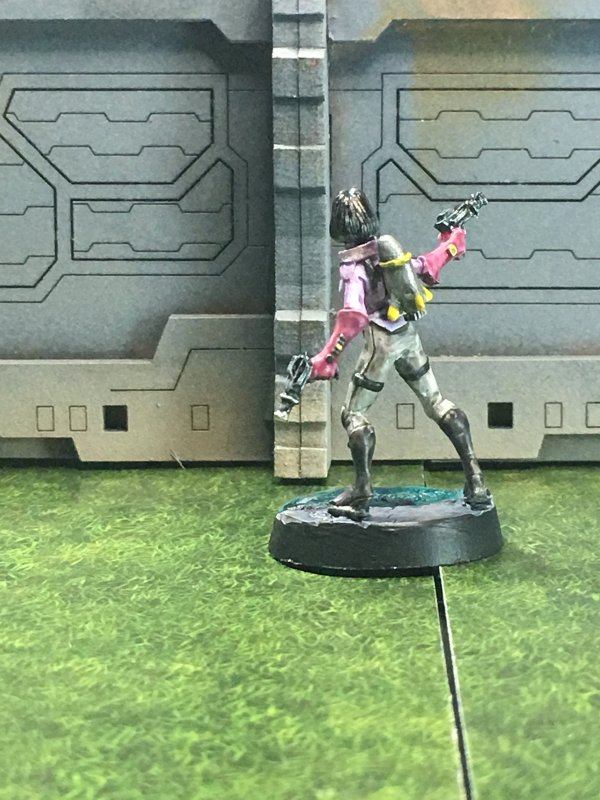
- Dee Dee, Astro Girl - instead of going the obvious route of white and/or shiny cloth, I just stuck to my "wash as paint" method.
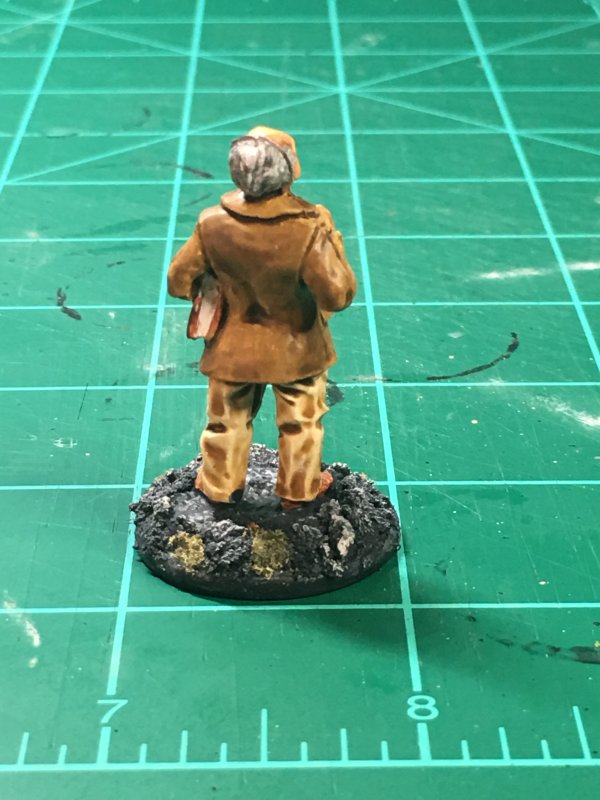
- Farrah, Sci Fi Heroine - I thought I would try my non-white realm of skin tone on a mini named "Farrah",
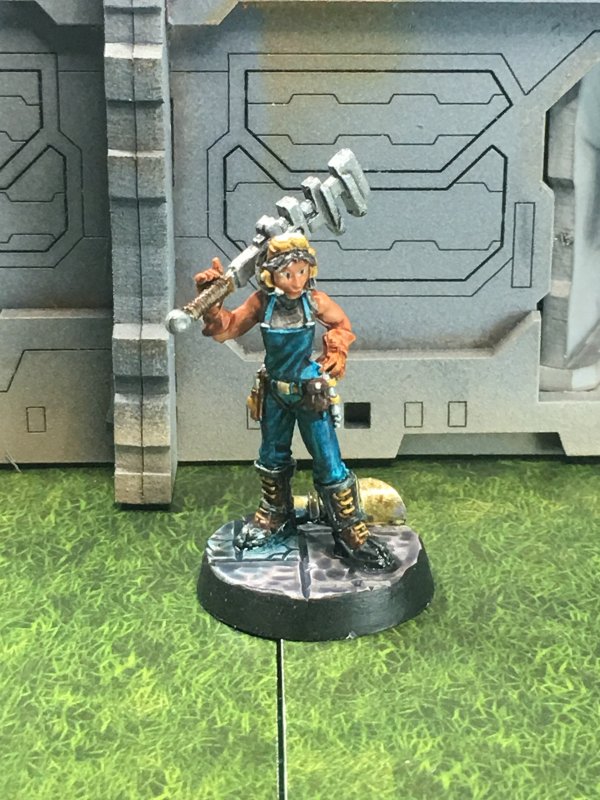
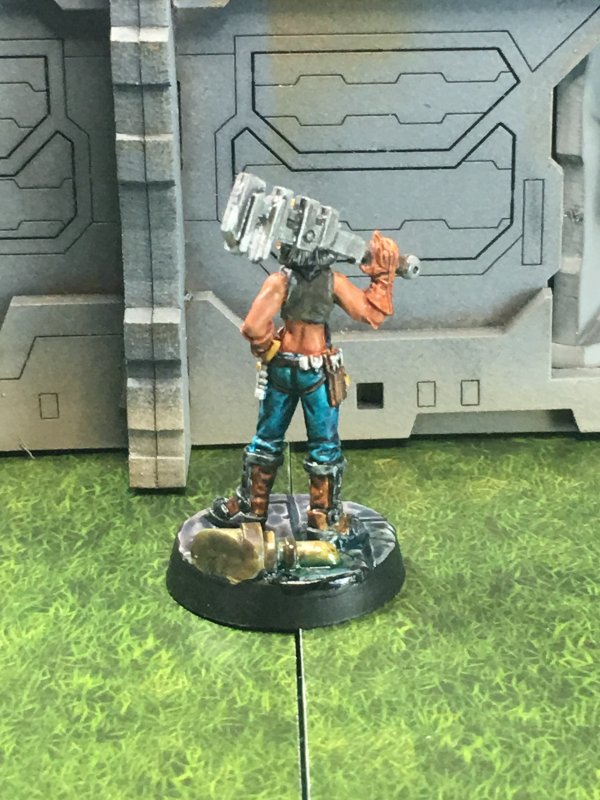
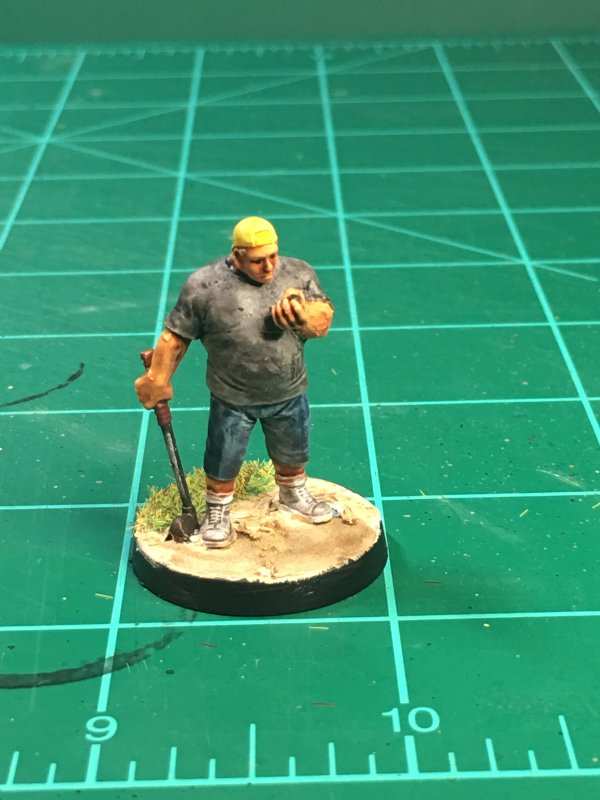
- Rosie Johnson, Chronotech - armed with a wrench.
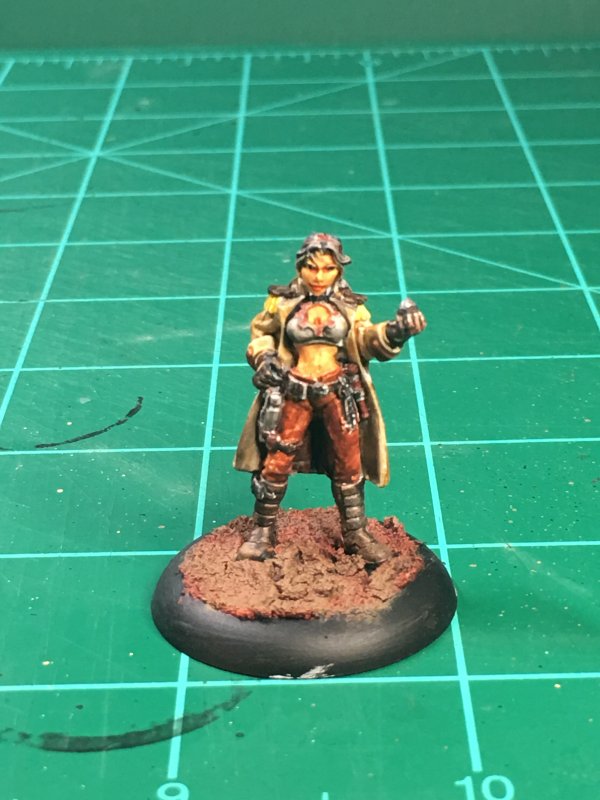
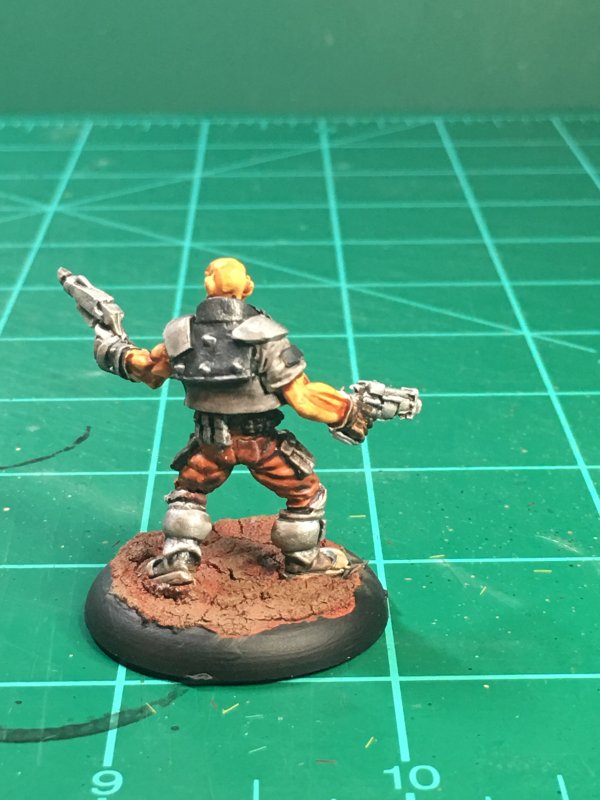
- Veronica Blaze - for some reason I think she's got scavenged Stormtrooper armor.
My focus on this batch was going to be "doing better". I think my skill level is up to mediocre, where on average my minis look fine from about 4 ft away. Now to challenge myself to raise my skill to where they look fine from 3 feet away. The first thing that's going to help with that is Glam Hobby h6902B Head Mount Magnifier with LED Head Light Bracket and Headband, 5 Replaceable and Interchangeable Lenses: 1.0X, 1.5X, 2.0X, 2.5X, 3.5X. That's what's it called - I've just been calling them magnifying glasses. I've tried various magnifying helpers in the past and none have worked for me until this pair (set?). I've stuck in the 3.5x lenses and I can see a lot better when holding things up close to paint. They fit just right for me where I can shift my view above/below the lenses and see that I need to (paint, water to splash the brush in). I'm honestly amazed at all the spots I can see where I've been missing the first coat of paint along with those spots that could really use a 3rd coat of paint. And I can finally see where to put those black dots for eyes!!!! Holding my hand steady enough for that is a whole 'nother story.
Technique-wise, I used mostly Citadel Contrast paints and various washes that I normally stick to. I found, to my chagrin, that I tend to have the best luck using a Citadel brush for detail work - I may end up getting a couple more of various types just to see if I found a magical brush or if their line is just better suited to me. I used some Secret Weapon bases for a few of these minis. "Not on cracked earth" bases are the ones to keep an eye out. For the cracked earth, instead of glopping it on after the mini was painted I opted to try out adding it in before priming. Oh, and water effects. I do so love adding water to stuff, so I tried filling in some gaps on bases with water and I like the way it ended up. There's 1 leaky pipe, with rust.
The true test mini of the batch was the anime-styled Takoashi University Study Hall. This was especially true once I noticed half an arm was missing. Weird, Joker-inspired color scheme on the clothes so I could test out washes + contrast paint overlaying differently. I wondered if I could make "sand" with the base - sand doesn't crack so "kinda" would be the answer there. Still keeping with playing with water, I went for a gentle wave settling on the beach - and got another "kinda". Even though this mini will likely never again see the light of day, I consider it a testing success as I tried some things out and didn't completely hose it over to the point I'm ashamed.
Along with "doing better", looking at endless pictures on gridded cutting mats is boring. As I thoroughly enjoy Christian's pics I thought it about time to change up my background. I've got plenty of stuff to use as background. Enter an Infinity building that I'm pretty sure I purchased on Black Friday 2015, and then managed to paint at some point in the last 2 years.


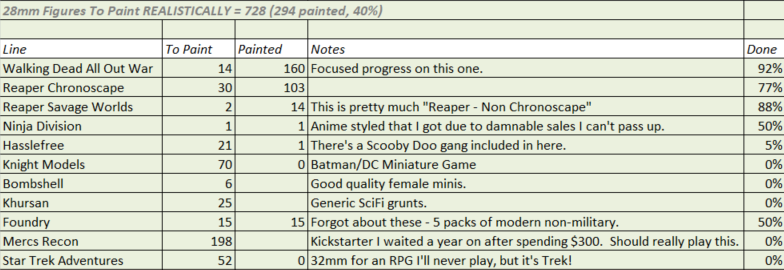
Continuing on the progress chart:
- Painted 294 to 303 (+2%)
- Reaper Chronoscope Painted 103 to 111
- Ninja Division 100% complete (all 2 of them)!

Next up to be primed is a batch that won't make the above progress chart. Miniature Market had a sale on a biker game expansion from a game I'd never heard of. The minis looked cool so I got them. Now, instead of letting them be forgotten on a shelf for a couple of years, Last In First Out rules come into play. Until next time (maybe a week or so)!
Permalink
gaming miniatures hobbies reaper chronoscape
Hasslefree Tony Represents
09.28.2019
Now for the "after knocking the rust off the paint brush on the previous batch, how'm I doing" batch of minis. Or "I'm enjoying vacation."
After some previously painted duplicates in the last batch, this batch of Reaper Chronoscope (plus a Hasslefree sculpt) minis was still an eclectic assortment that would never make sense in the same game, yet would give me a good mix of easy + test out my skills.
- Sasha Dubios, Time Chaser. One of those minis I bought just because I thought it looked cool.
- Borris Barayev, 5 Suns Smuggler. I think this one just goes with Sasha.
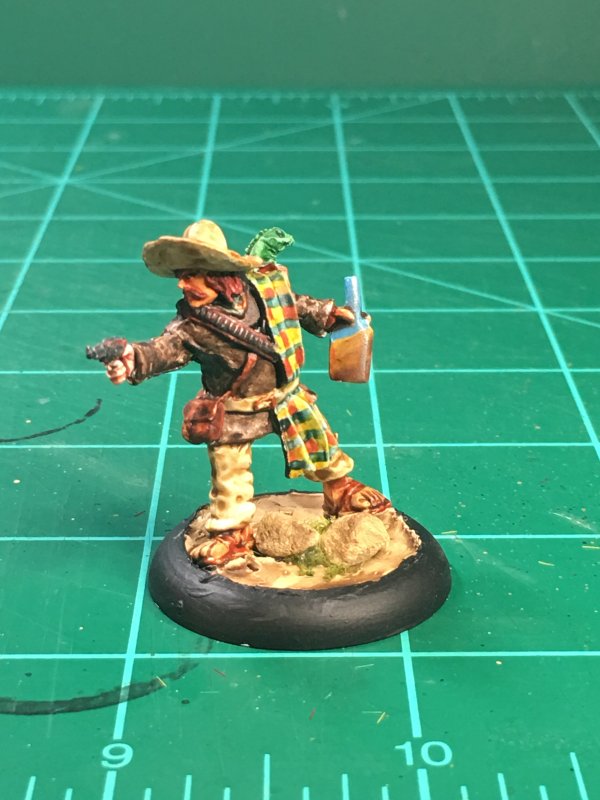
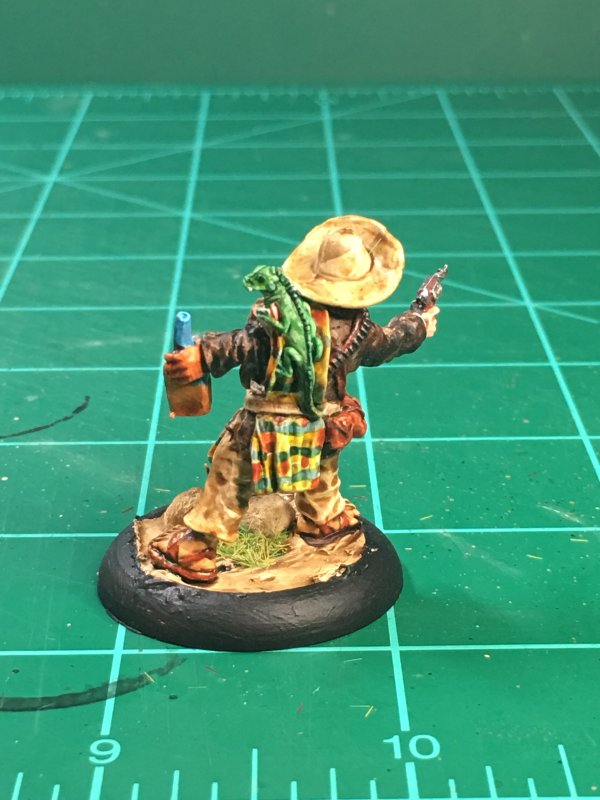
- Lobo Sanchez, Bandito. Picked this one up along with a batch of western themed minis.
- Dr John Watson.
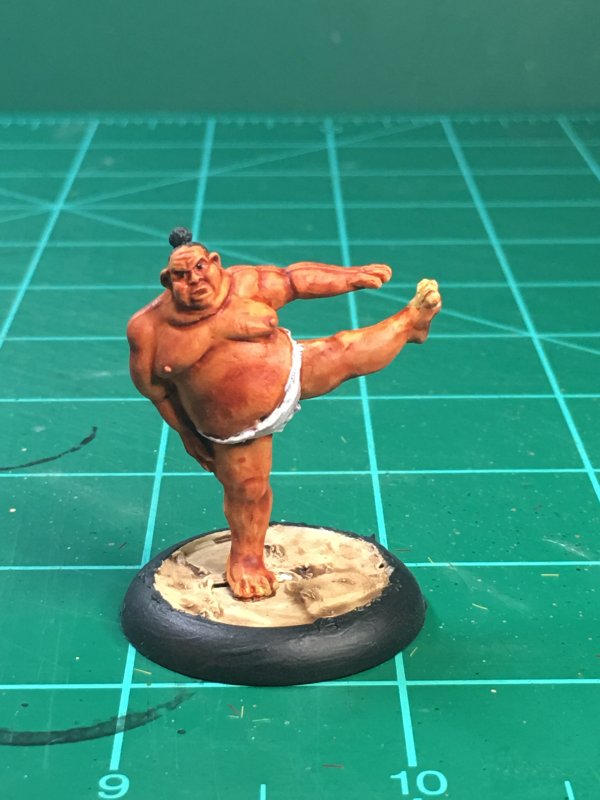
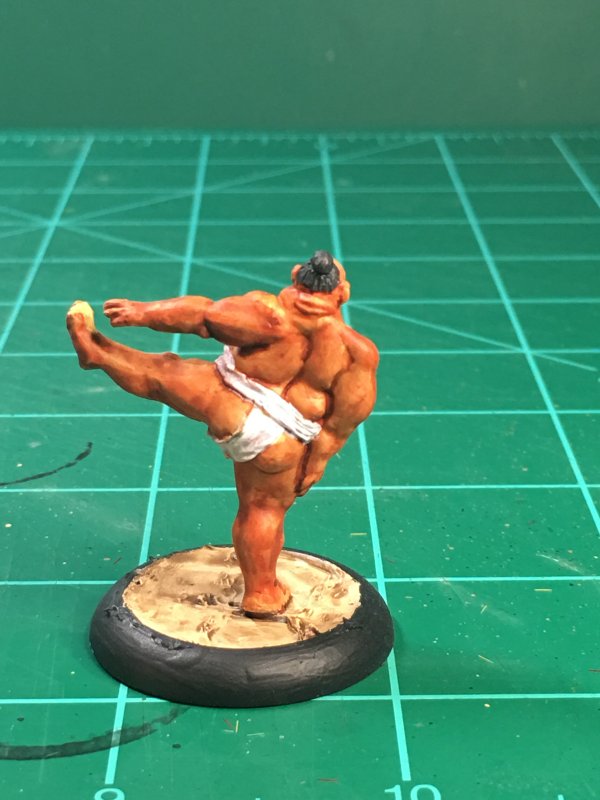
- Kawa, Sumo Wrestler. Where in the zombie apocalypse will a sumo fit in?
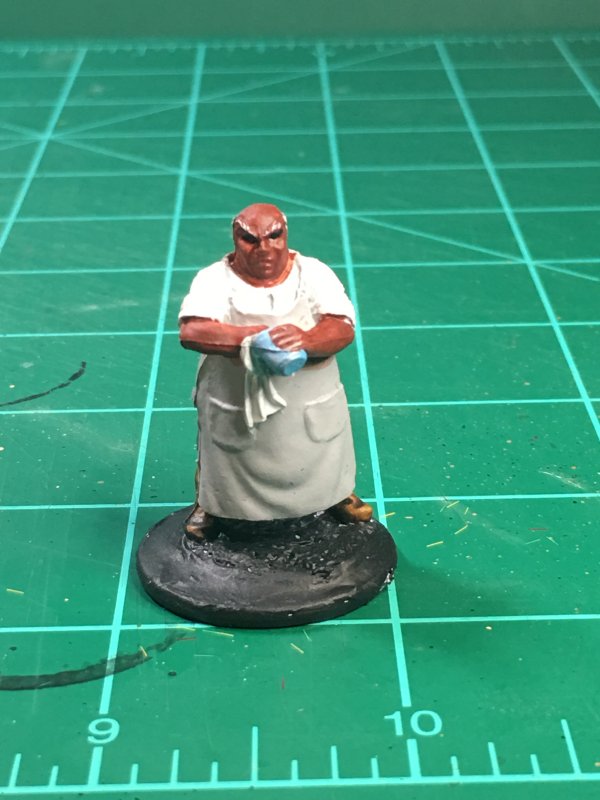
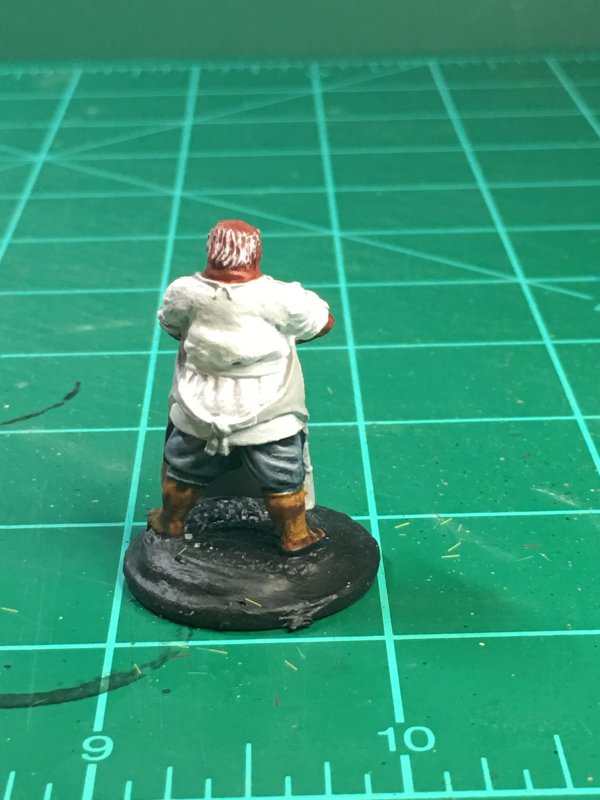
- Townsfolk: Innkeeper. Another one of those plastic sculpts.
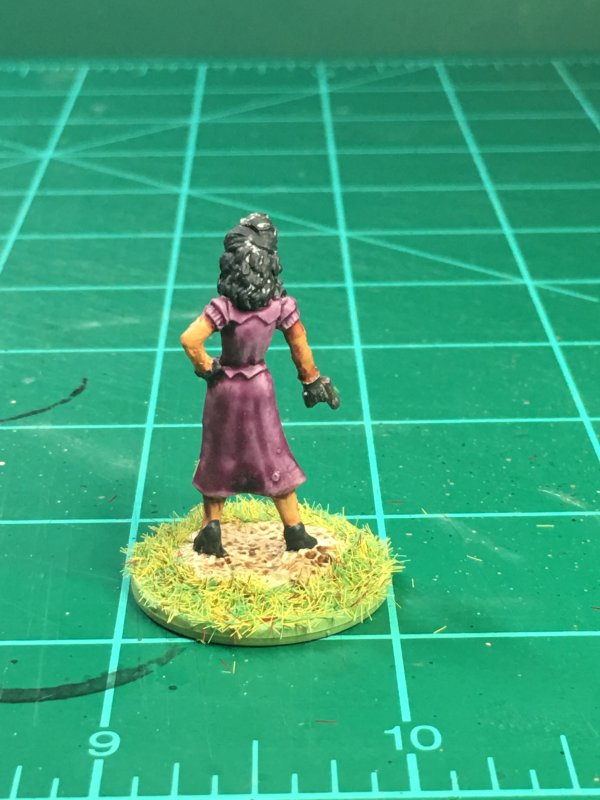
- Agatha Fox. Same complaint as above.
- Physician. More of an old timey town doctor.
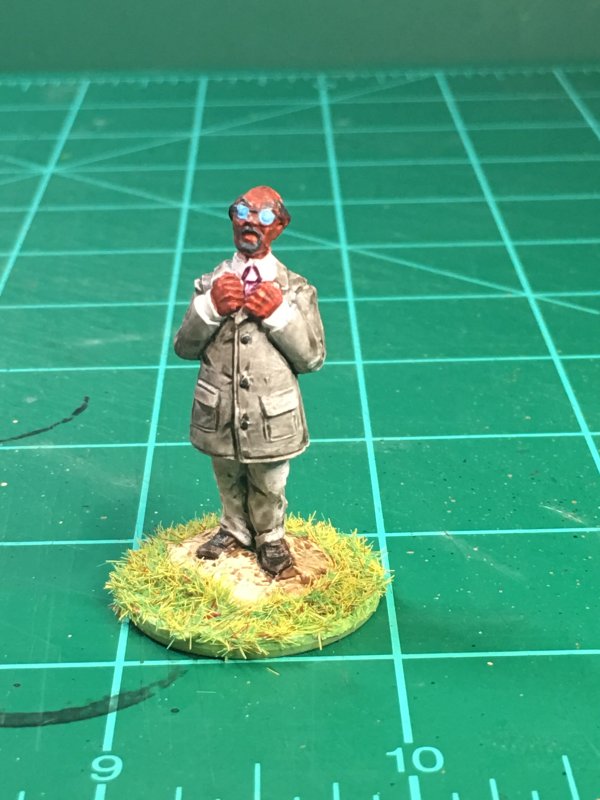
- Psychologist. The Physician needed a drinking buddy to talk shop with.
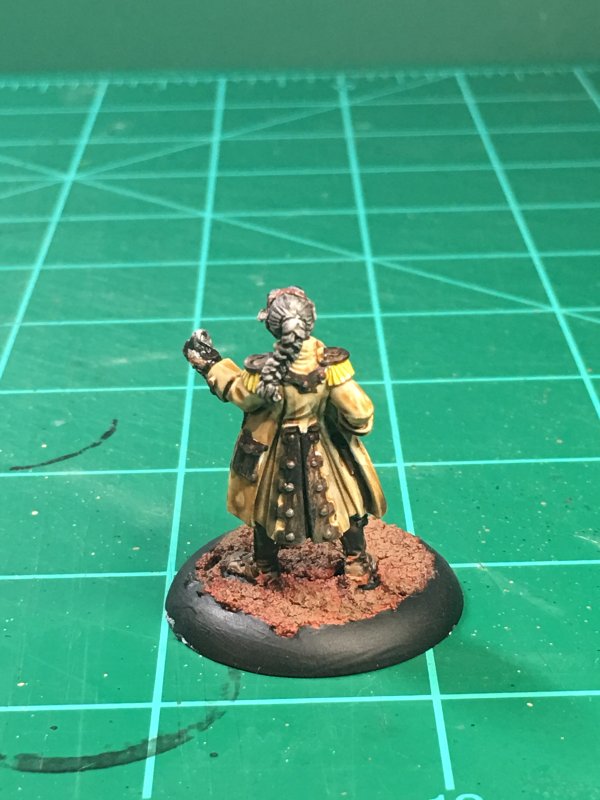
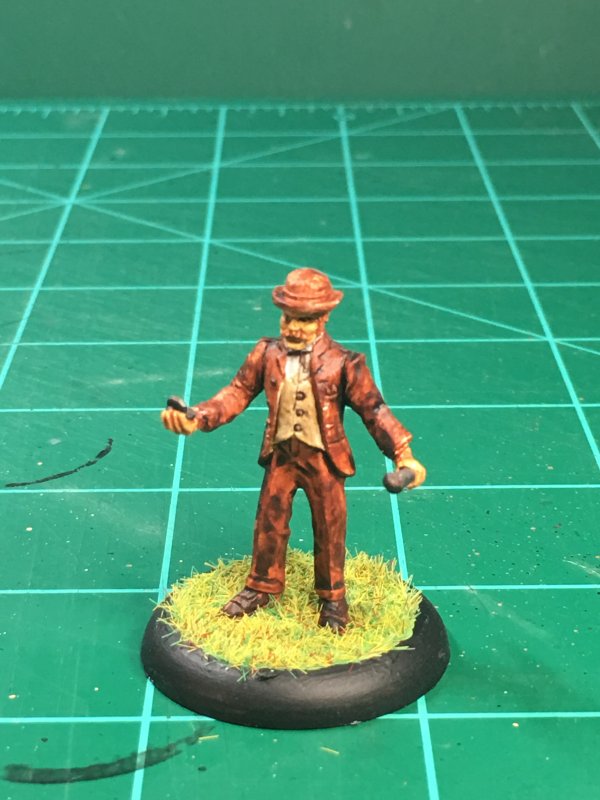
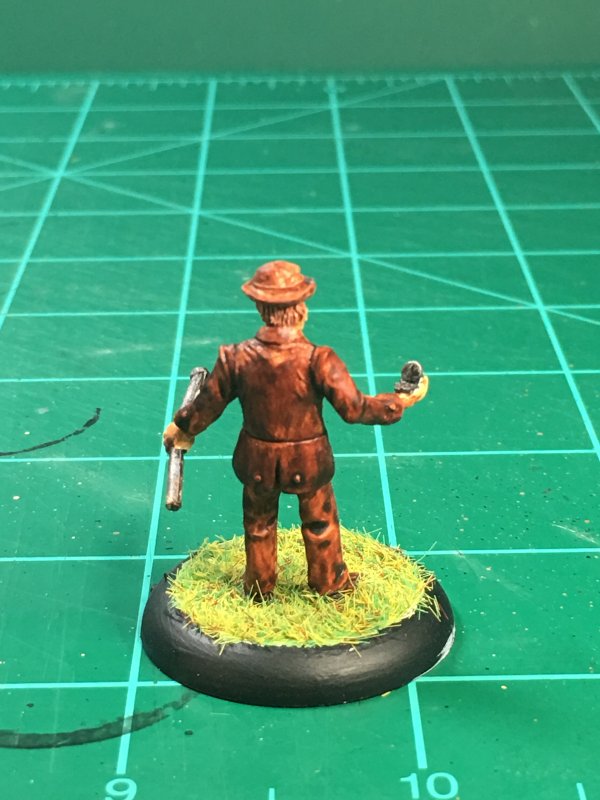
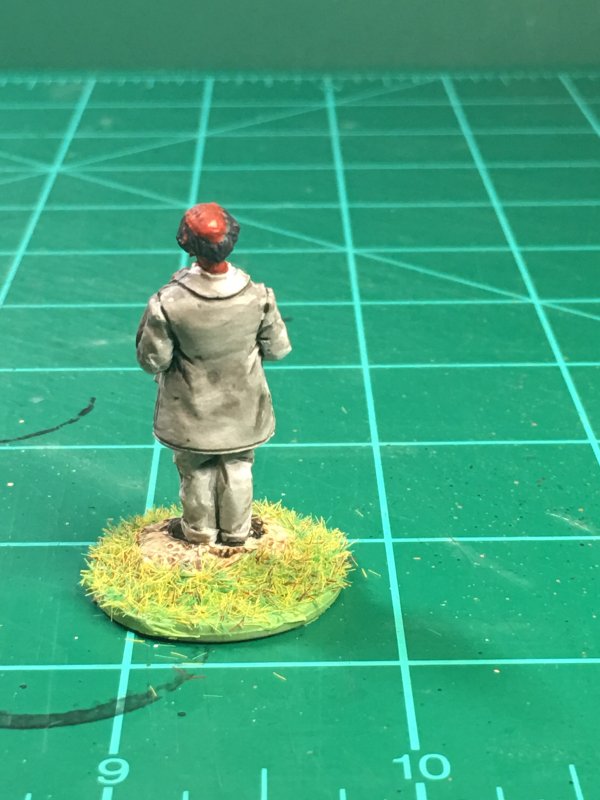
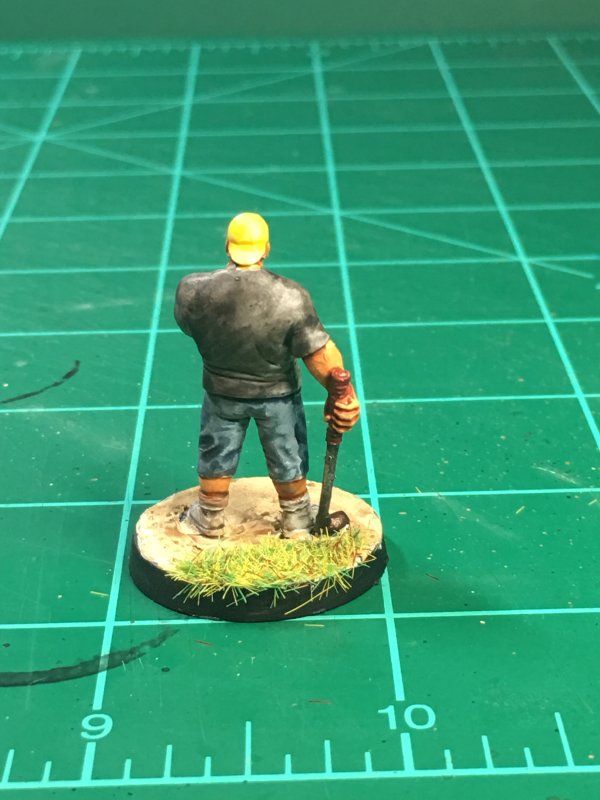
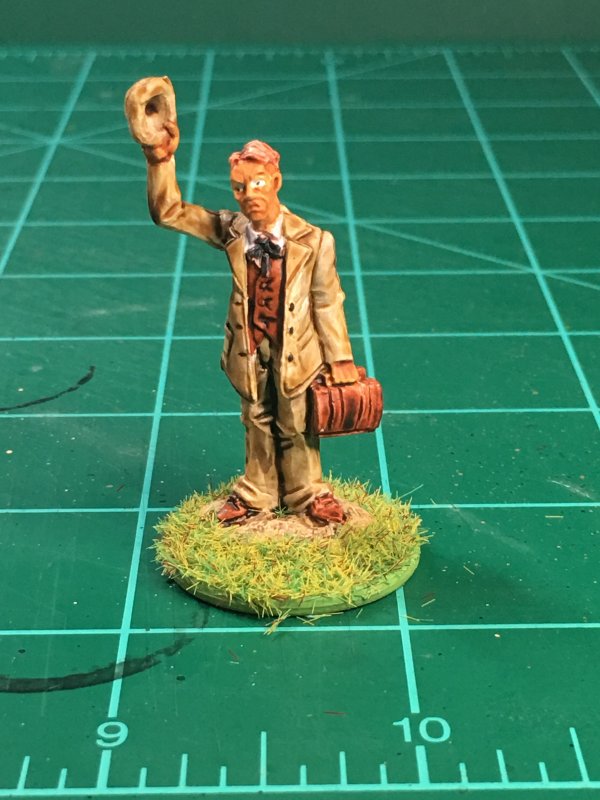
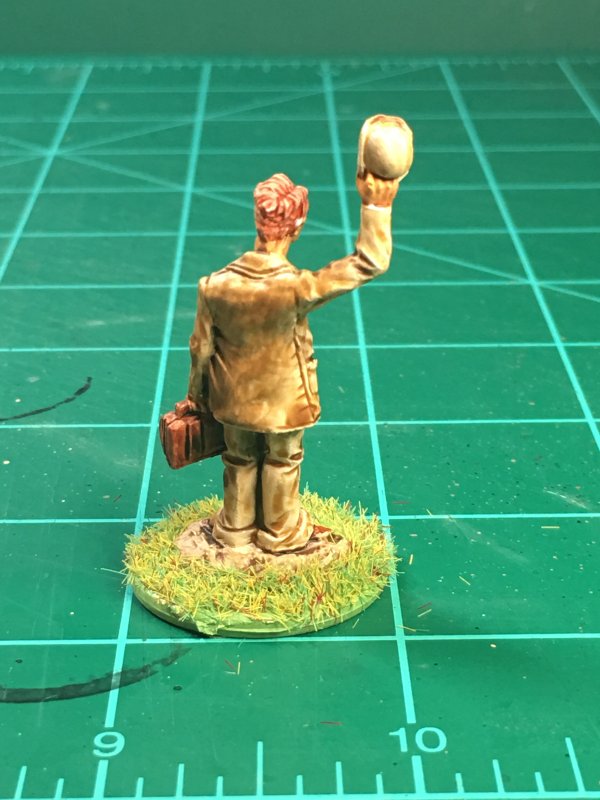
- Tony (from Hasslefree). Tony seems to be chilling somewhere around a golf course.
I mentioned last time about Reaper plastic sculpts not only not needing primer, but not working well with most primers. I didn't read that little tidbit of information until after I had already primed this batch. Normally I use white Fine Detail Tamiya primer. On Reaper plastic this primer covers with a gloss, pools into too many details, and the gloss keeps the follow up paint from sticking like I'm used to. In this batch, Agatha Fox was primed white and looks like crap. The Physician was also primed white, but turned out a little better - maybe because I mainly stuck to using Citadel Contrast browns? I went the some route with John Watson, a metal figure, and the results look about the same. Maybe it's got something to do with how small the Agatha Fox mini is? The Innkeeper got grey primer which seemed to work out ok.
The bases on these plastic sculpts is a little annoying. The base is part of the sculpt, and looks like it should be a pile of dirt/rocks/uneven ground. For some extra stability I glue these on cheap, plastic 1" poker chips which also gives me a little more base to work with when it comes time to finish off the mini. I didn't know what to do with the Innkeeper - he's cleaning a glass, so he shouldn't be outside in the grass or standing in mud.
This batch also gave me a chance to play around some. I tried to get something besides "white guy" skin on the sumo. I didn't mean to go to Trump Orange, but I knew from previous experience that once my skin tones skew to oranges it's not going to get any better. I tried a little more Not White Guy on the Innkeeper and the Psychologist. I'm not sure how much they'll count as Black Guys....
Borris & Sasha got my post-apocalyptic juices flowing - leather and metallic what-not! Lobo Sanchez was my surprise favorite. I found a reference pic where people were doing really good jobs on patterns on the blanket draped over his shoulder. Had I planned out a pattern it might have ended up better, but eyeballing what was working AND not working, it turned out better than I expected.

Over on the painting progress chart:
- Painted 281 to 294 (+1%)
- Reaper Chronoscope Painted 98 to 103
- Reaper Savage Worlds Painted 7 to 14 (a couple of old painted minis got skipped on the updates in the spreadsheet)
- Hasslefree finally has 1 painted!!!!
After painting nothing for almost 3 months, I get busy during a weeks vacation and finish 19 minis, with another 9 primed - and I doubt I'll finish them before going back to work on Monday. While these 2 batches weren't perfect, they weren't overly frustrating. They were just the amount of fun they needed to be!
The next batch, already primed, is all Chronoscope, all metal, all female. I picked up a pair of magnifier glasses that I'm going to try out and see if they help with seeing all these details I notice I'm missing after the fact. I haven't had much luck with magnifying glasses in the past, but these were recommended by multiple people in some Facebook group posts. We shall see how it goes.
Permalink
gaming miniatures Hasslefree hobbies reaper chronoscape
9 Minis, and the Start of Some Contrast Paint
09.26.2019
After inadvertently taking the summer off, I finally picked up a brush and painted some minis! I took the opportunity to take a week off from work and decided that would take a staycation and do lots of little things around the house that I've been putting off, yet wanting to do. At the top of the list: Paint Some Minis!
I knew there would be a little rust on my techniques, so I grabbed some random Reaper Chronoscope "ehhh, I think I may have already painted a copy of this". Nothing special about this batch, save a couple were plastic instead of metal. From the Reaper website:
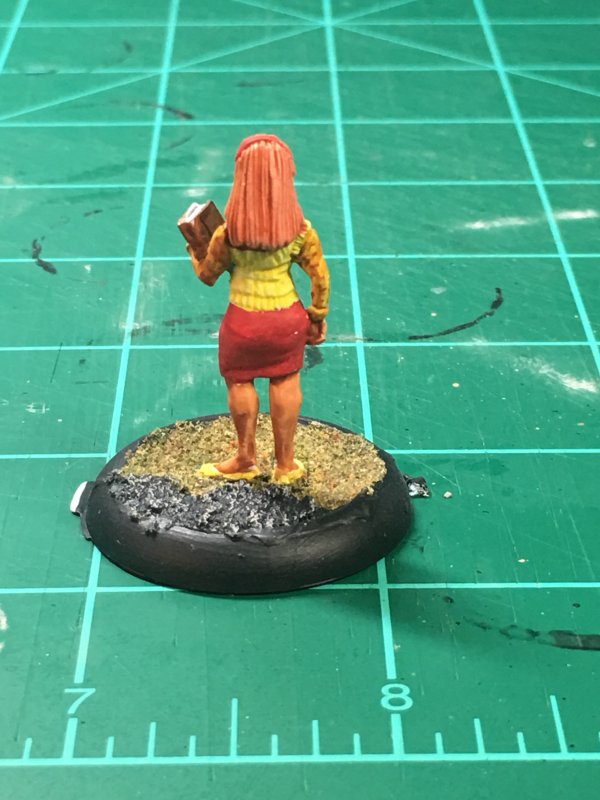
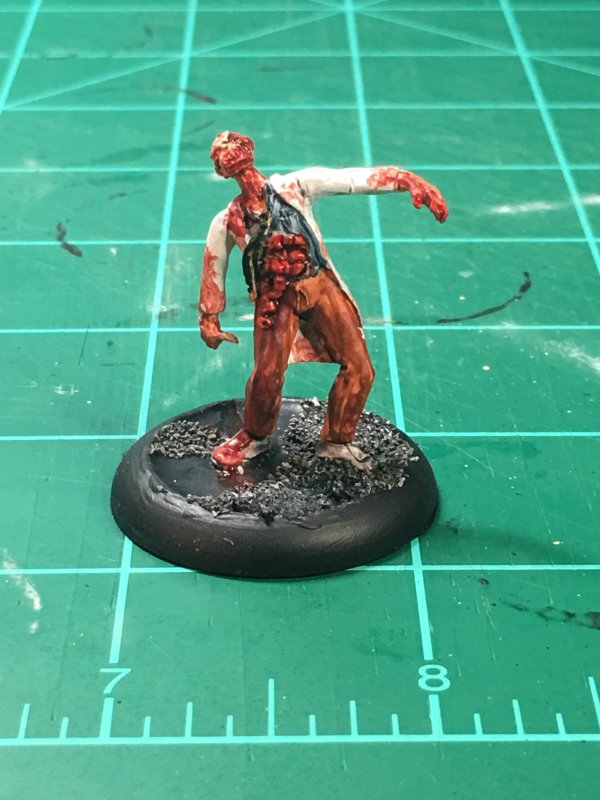
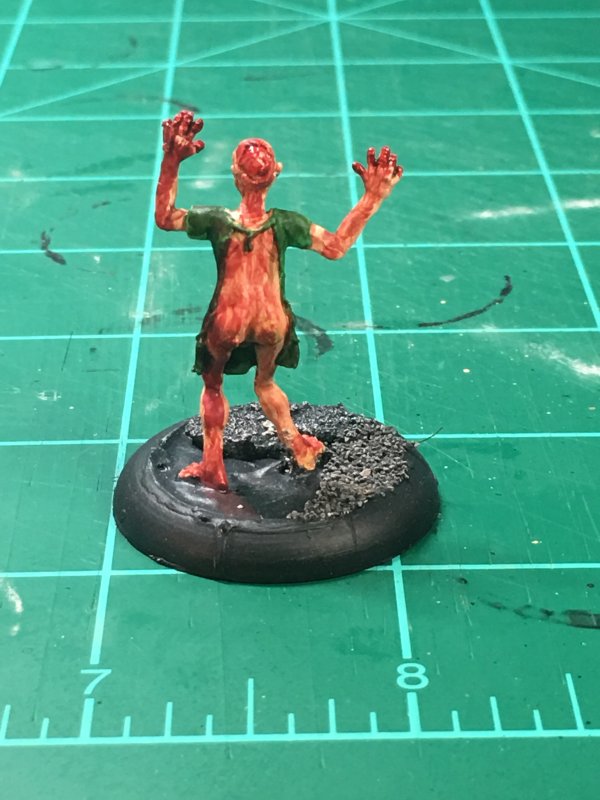
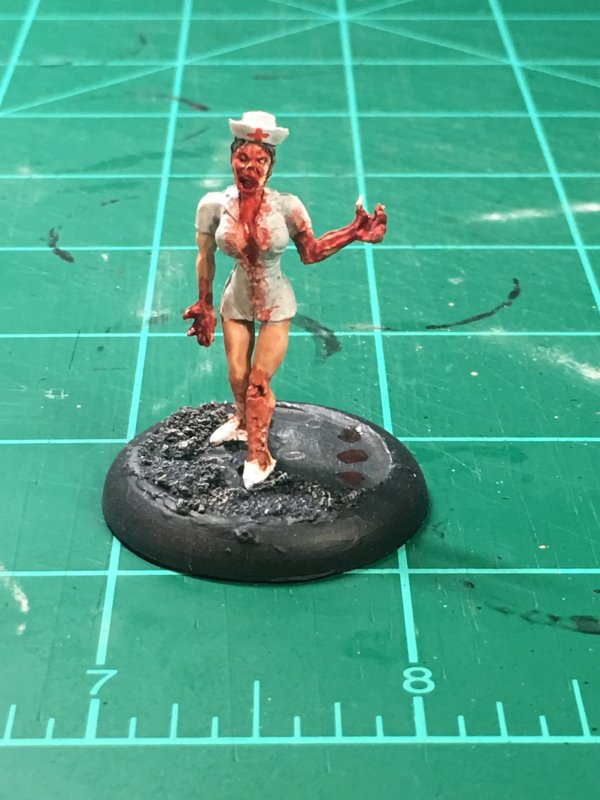
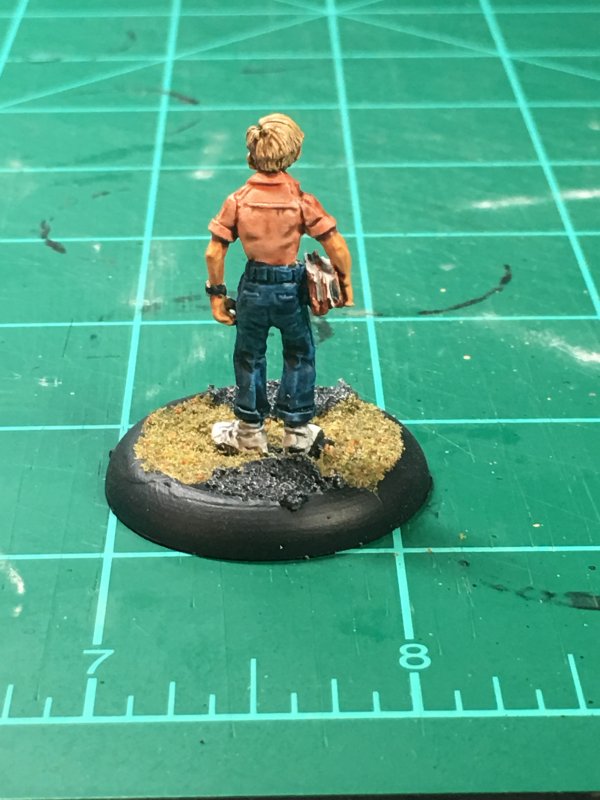
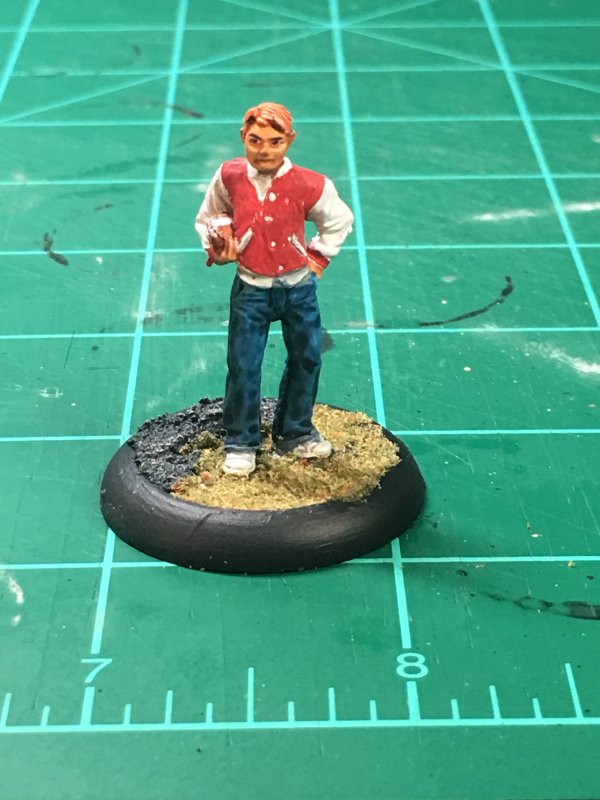
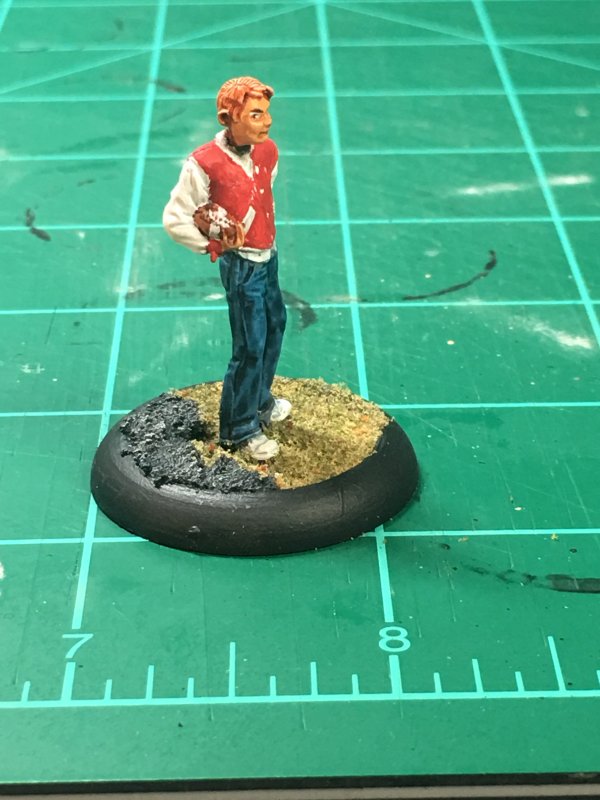
- 50090 - Townsfolk 2: Jock, Nerd, Chick. I've painted this trio before, but I can't remember what color scheme I used.
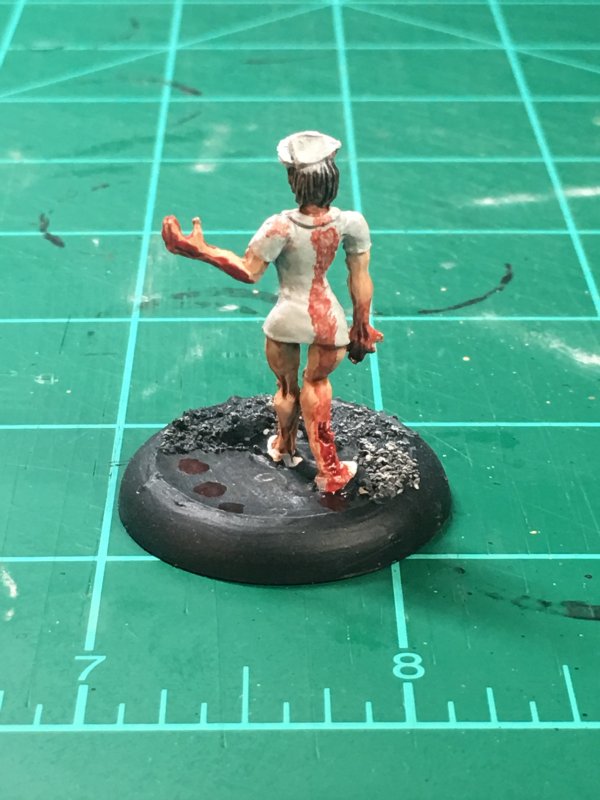
- 50266 - Zombies: Doctor, Nurse, Patient. I thought I'd painted these before, but the anatomically correct zombie patient with extra growths on his butt did not ring a bell when I saw it up close. And that would have left a bell to ring.
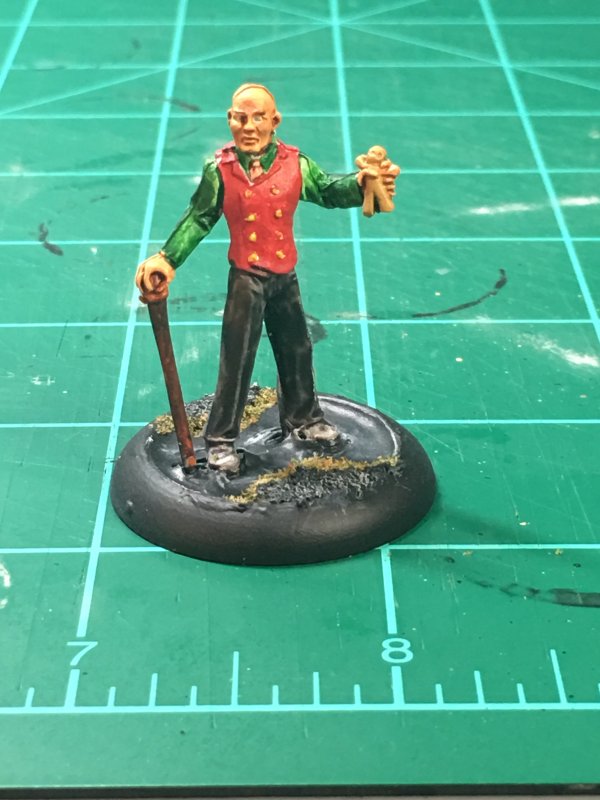
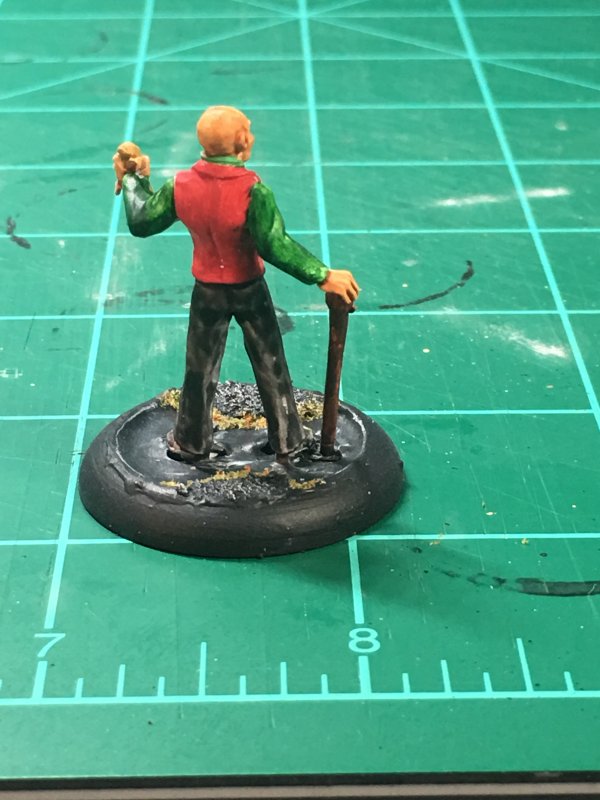
- 59029 - Baron Simon LaCroix
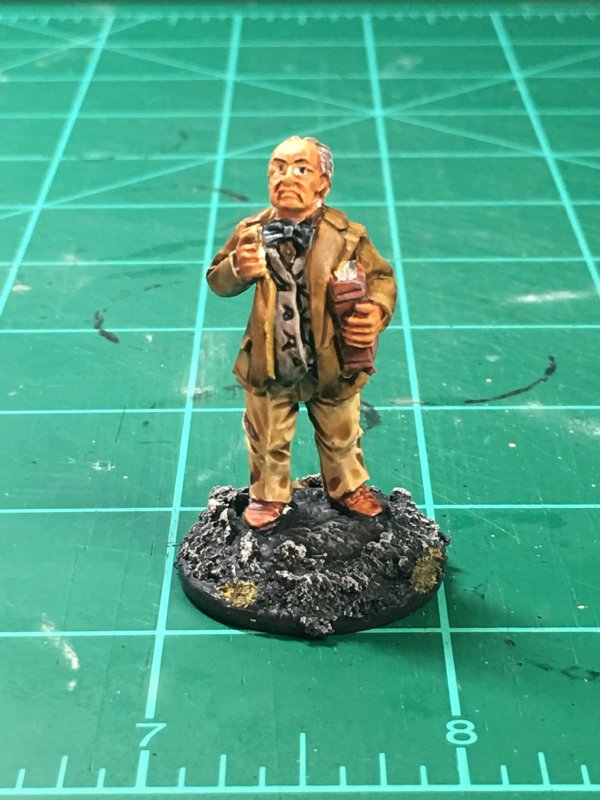
- 80073 - Pulp Era Professor. A plastic sculpt, of which there is another still sitting in a box.
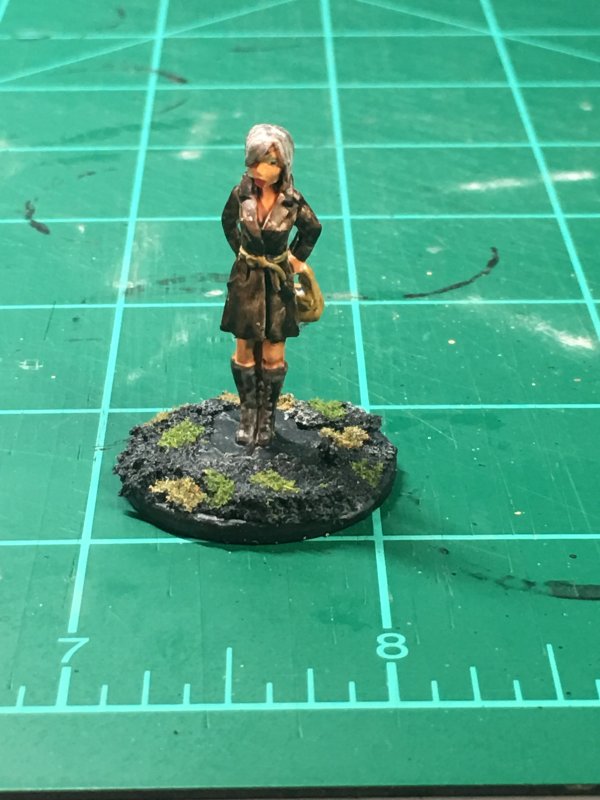
- 91011 - Femme Fatale. Another plastic sculpt, which feels amazingly small.
I've mentioned the Reaper plastic minis because I learned something much, much after the fact (so far after the fact that I've almost completed the next batch of painting where I could have really used this tidbit of information). Reaper plastic minis do not have to be primed. In fact, they don't like to be primed. I now know why my primed plastic Reaper minis are ungodly shiny, and the primer doesn't hold paint like it should. IT'S NOT SUPPOSED TO.
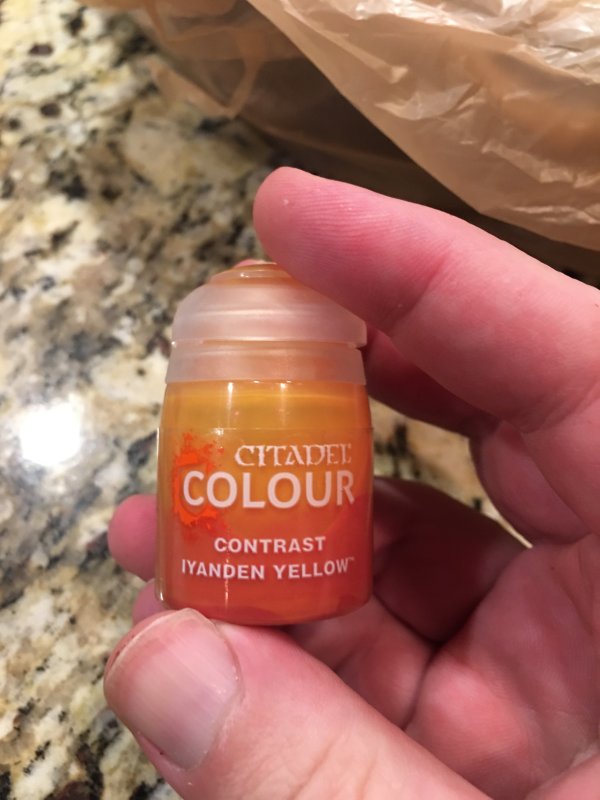
Beyond that, this was a nice batch to get back into painting with. No color guides to hold true to. Nothing I could really do "wrong". This was my first use of Citadel Contrast Paints - and I'm still figuring them out. While I've managed to get a really good technique of painting 90% of a mini with washes, that same technique doesn't work with contrast paints. Not yet, at least.
Something I learned which I don't want to admit is that I tend to do better detail work with the Citadel Detail brush. I've tried cheap brushes, over priced brushes, and way overpriced brushes, but never really given Citadel brushes a chance. After painting the mostly-red varsity jacket (red paint is hard for me to work with) and the Christmas-flavored Baron LaCroix, I've got to say I like that Citadel brush. I'm not even sure when or where I got it, but I might have to pick up another.
Nothing really noteworthy stood out with this batch. I half-assed it on the bases while trying for something different. I don't really like what this different turned out to be. But that's ok - I know not to try this again.


It's been long enough that it's time to introduce a couple of new tweaks to the paint progress spreadsheet. The rows are reorganized to just show what I might actually work ok. The real spreadsheet still has it all, but no need to keep copying 20 rows that never change. For fun, I added a % Done for each category. Once again the base numbers changed a little - this is really a set of 3 and not 1 mini, oops. This also skewed the numbers on some previously painted minis. Overall an increase from 37%(269) painted to 39%(281) painted.
I really need to make some type of "progress over time" chart to show progress at a glance.
I mentioned another batch almost finished, so another update should be happening in the next couple of days - base, flock, and sealant drying takes 1/2 the time. And I might have another batch teetering on the brink of priming after that.
Permalink
gaming miniatures hobbies reaper chronoscape
House Trio Wrap Up
09.24.2019
After mentioning it 2½ months ago I'm finally done with the trio of Woodbury houses that I started. Not finished, but done. This turned into a nice little exercise of (1) finding out what my creative limits that I can actually accomplish are, (2) it's completely possible to bit off more than I can chew, yet still grind away at that gristle to where I can swallow, and (3) admit that I can be tired of looking at a project to the point of saying "ehhh good enough" and store it away to (maybe) finish tweaking some other time.
I may repeat myself from an earlier post, but most of a calendar season has passed.
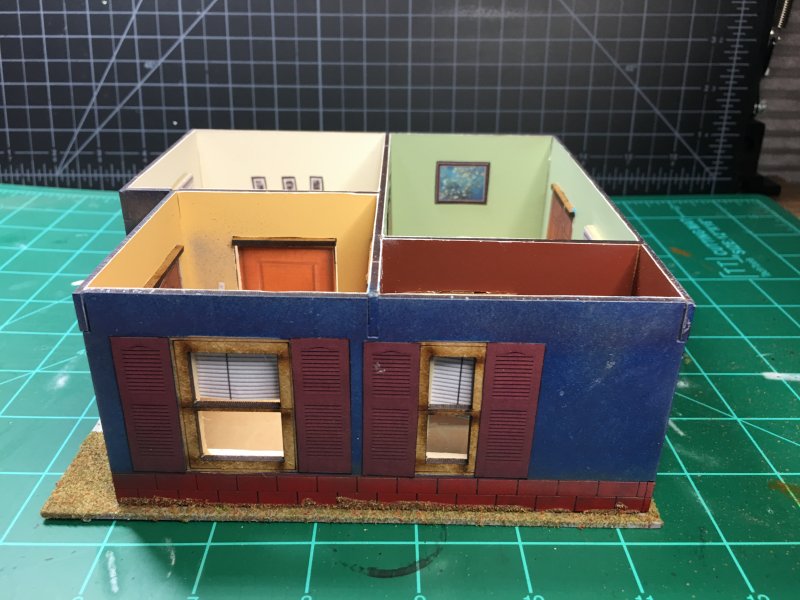
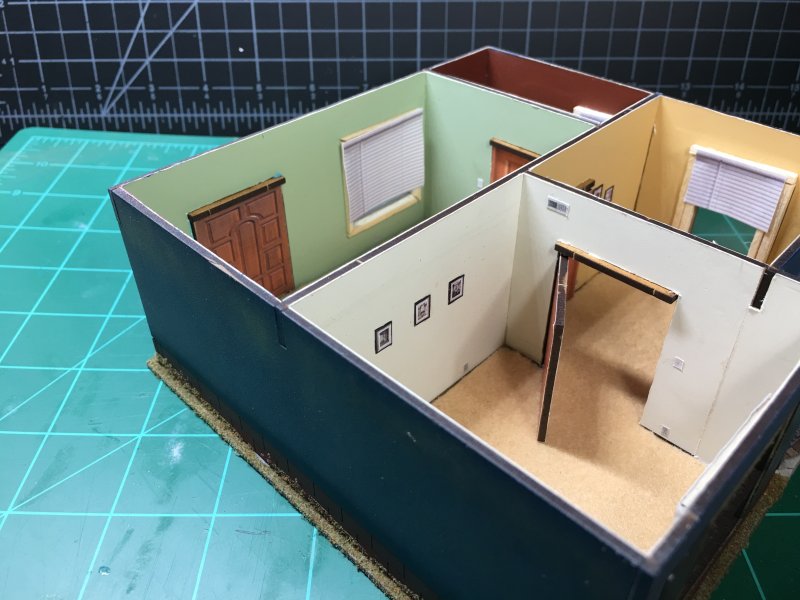
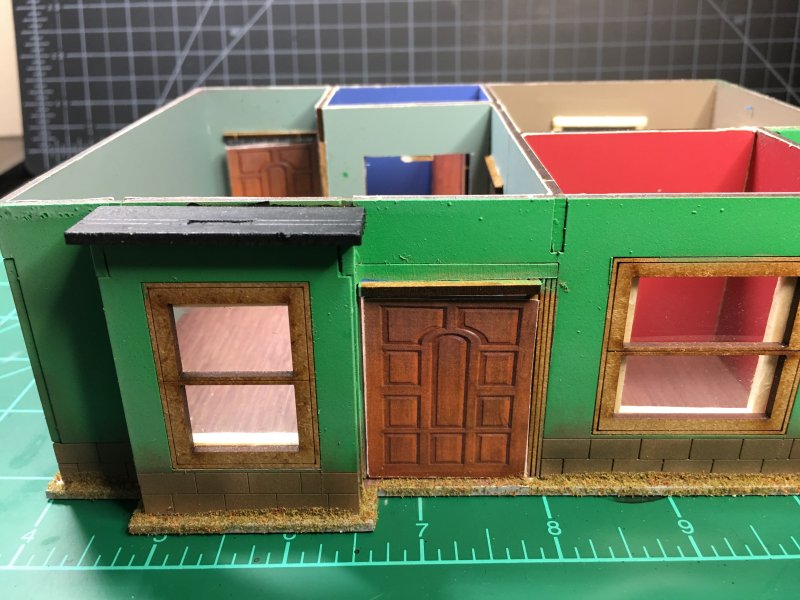
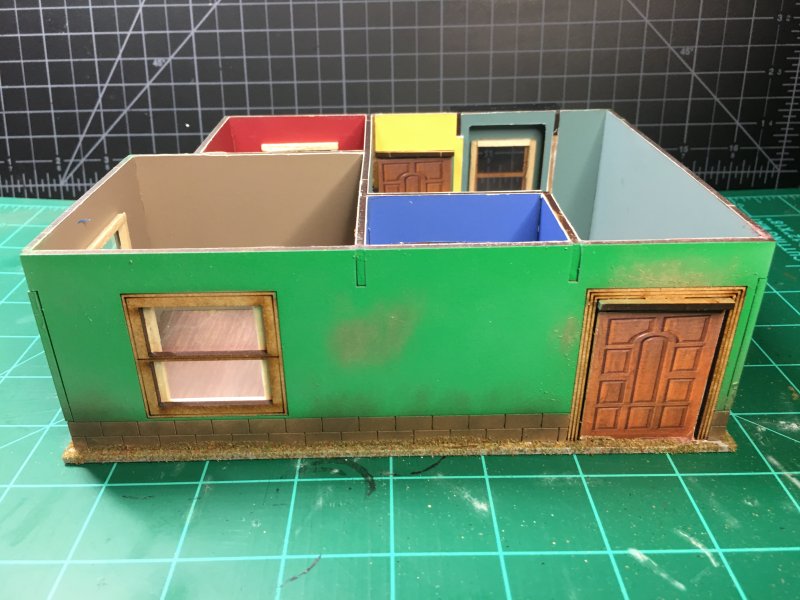
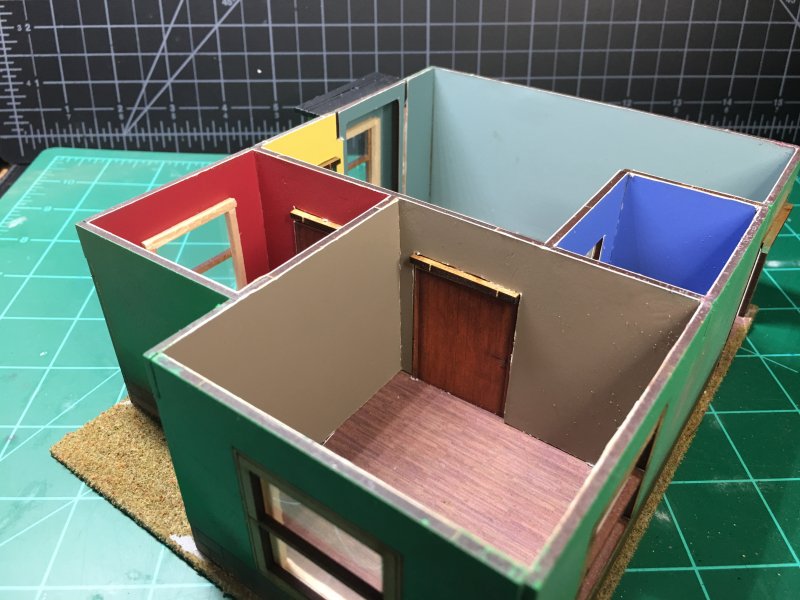
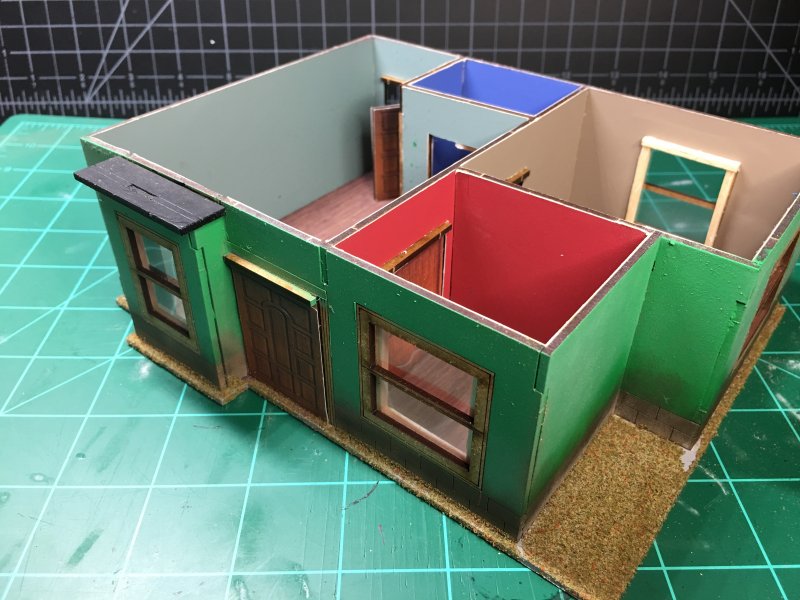
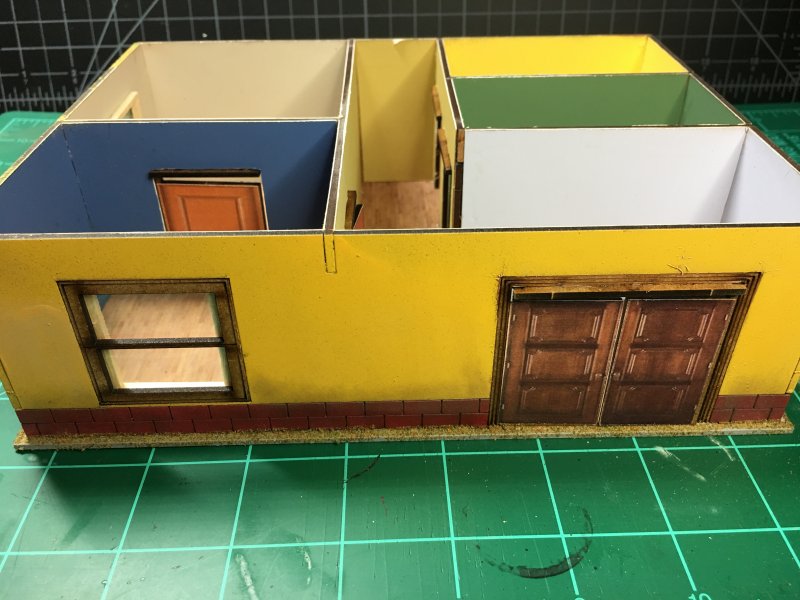
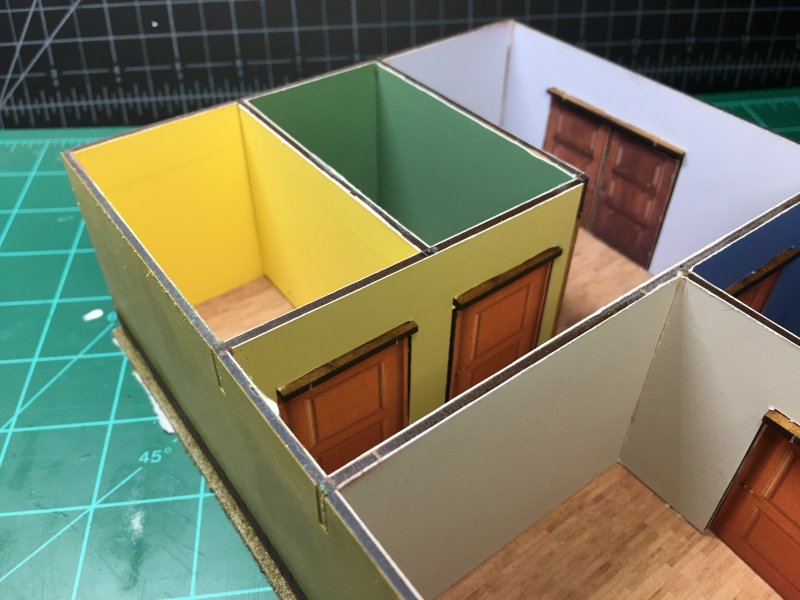
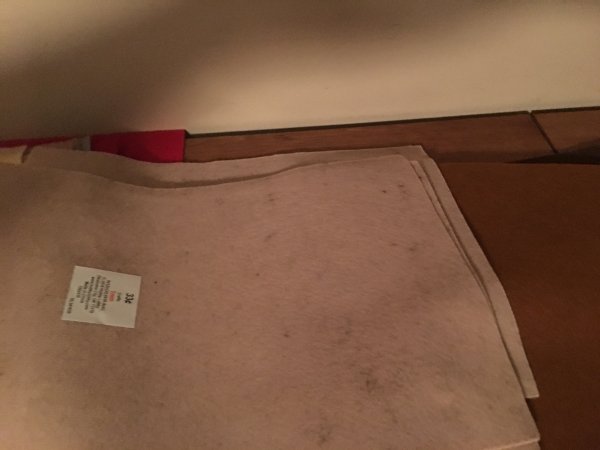
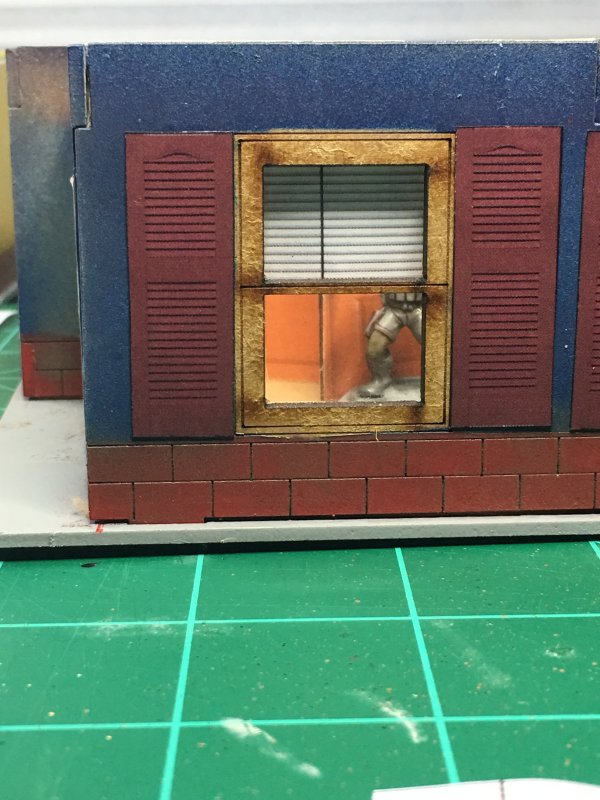
Once I started working on 3 of the 4 Woodbury houses that I had picked up during a good sale, I decided the basic kits were too plain. I went my tried route of using paint sample cards from Home Depot to use as glorified wallpaper and thus not worry about actually painting the silly things. Except I still end up painting the outside of the houses. I tested out some new things on the first house: 1mm felt (from Hobby Lobby) actually works as carpet! The clearance on the doors has to be tweaked a little, but it works. I made ample use of the printer and Home Depot, adding shutters, blinds, air vents, light switches, and electrical outlets.
By that point, I was tired of looking at the house. That was only 1 house. There were 2 more houses left.
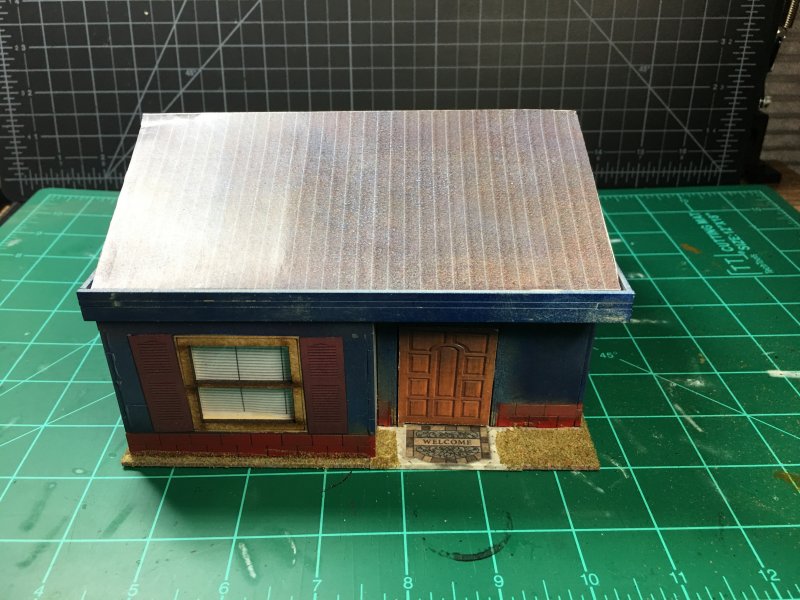
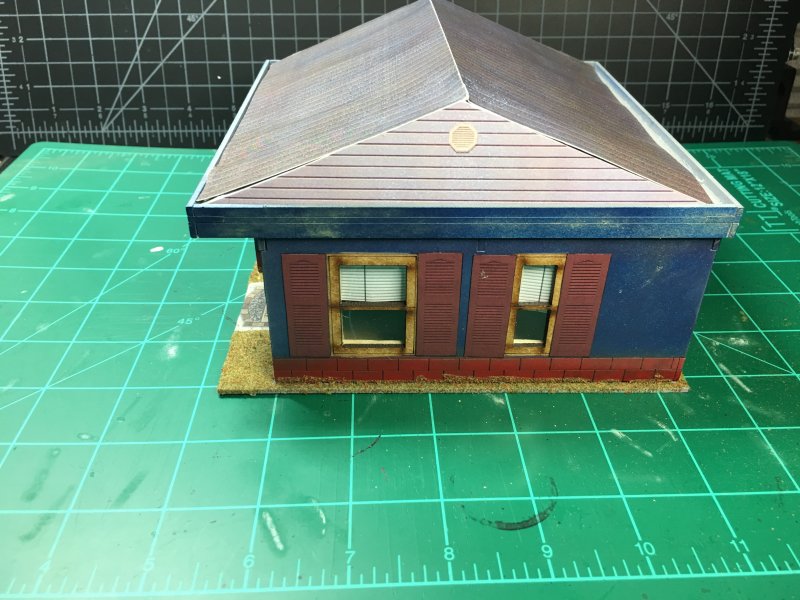
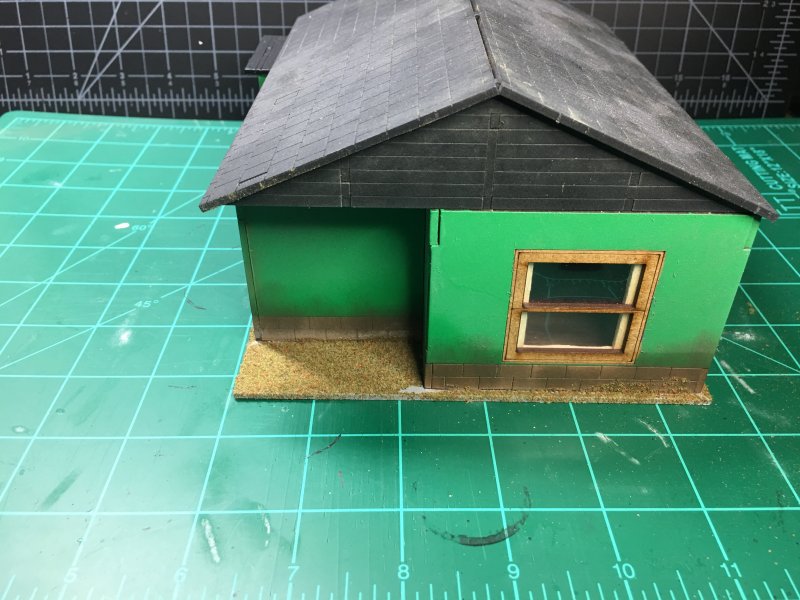
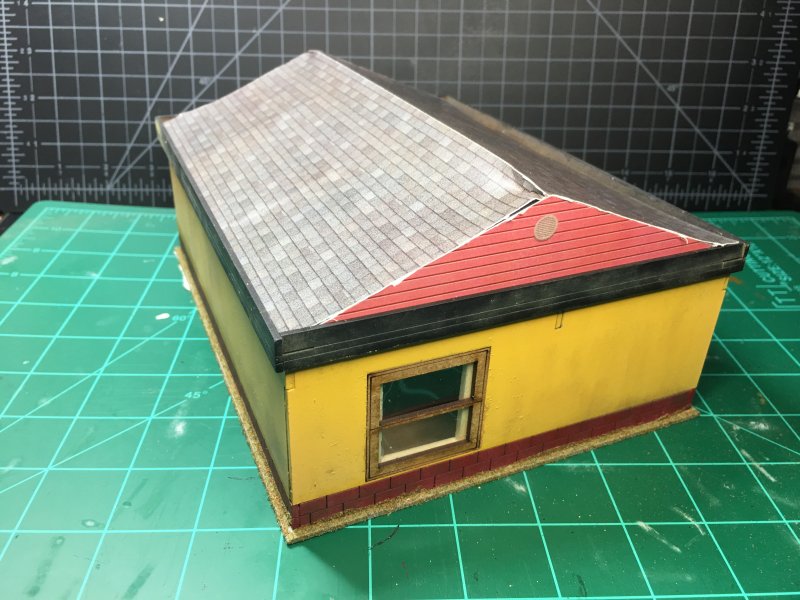
In addition, I didn't like the cardboard roofs that came with 2 of the houses. The roofs reminded me of fast food/convenience stores. I'll try my hand at making roofs! A combo of foam core for support and cardstock for the actual roof. I was going with cardstock instead of all-foamcore because the MDF top of the buildings had a small lip everything had to fit withing, and I don't trust the exactness of my cutting skills. This turned into an omen, as everything fit. Fit, but only by the barest of definitions.
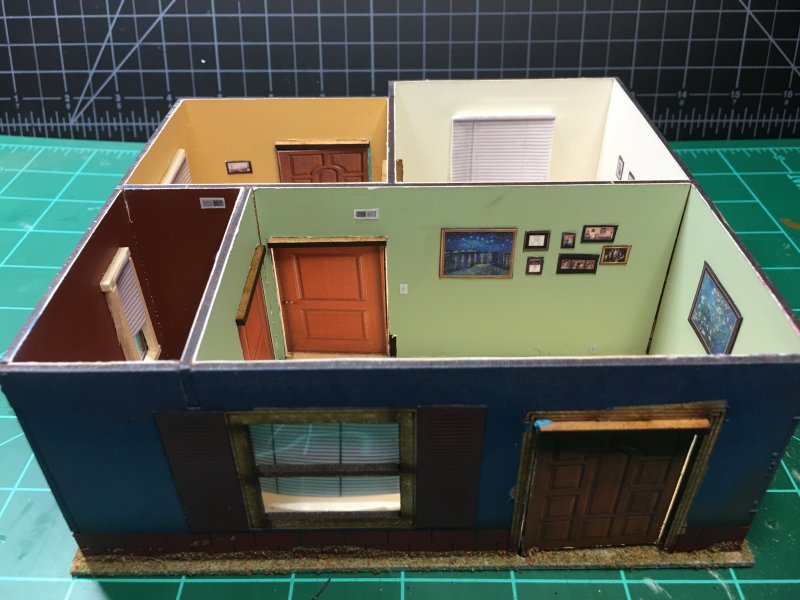
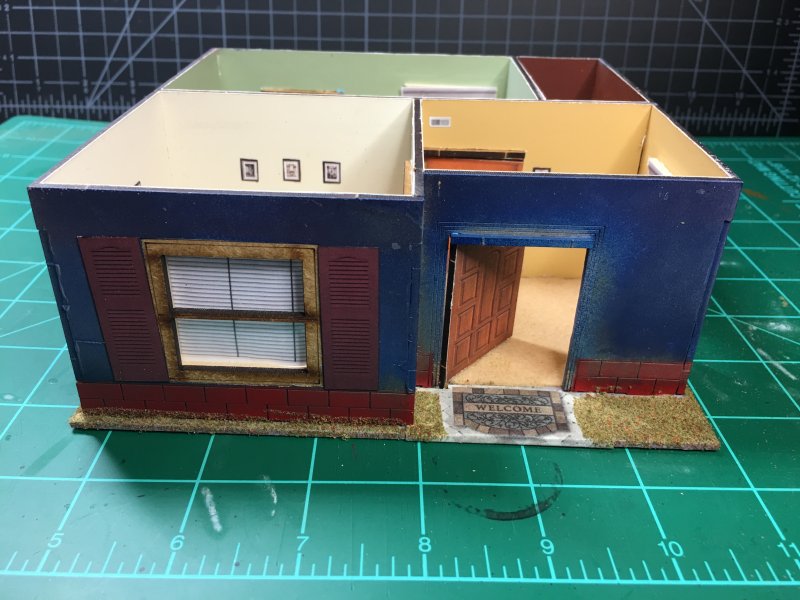
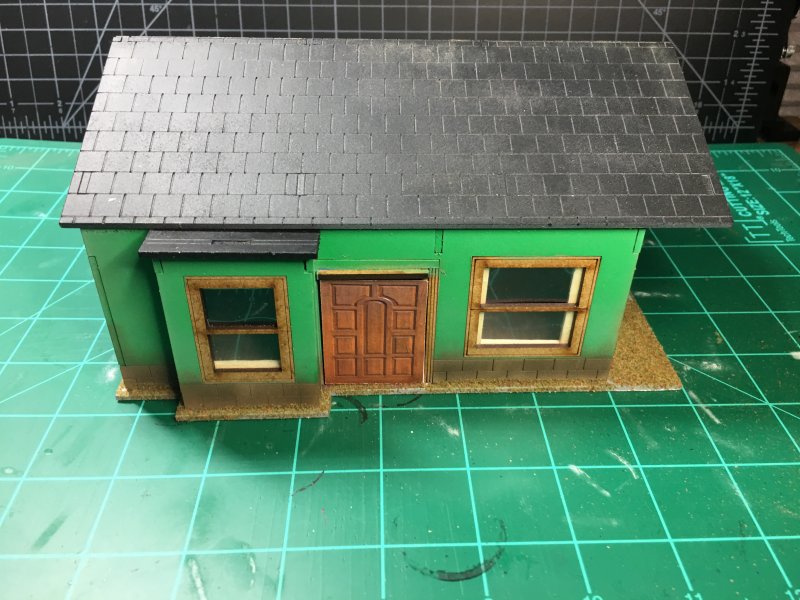

In the end, I've got 3 more houses done enough to fit into the modern/zombie apocalypse landscape. Like the Tobacconists shop I'll probably come back later, when I'm not sick of looking at these houses, and add some features and quirks. It's easy to tell I just gave up on the other 2 houses and was ready to be done with it all. Next I'm going to do something not building-related. Some figures, that's it! I have to see how much mini-painting I've forgotten.
Permalink
gaming miniatures hobbies walking dead
Life Got In The Way
08.27.2019
It's been close to 2 months since I had an update here. Although I normally post hobby related pictures and tidbits, the last 2 months have been more of life getting in the way.
Remodelling
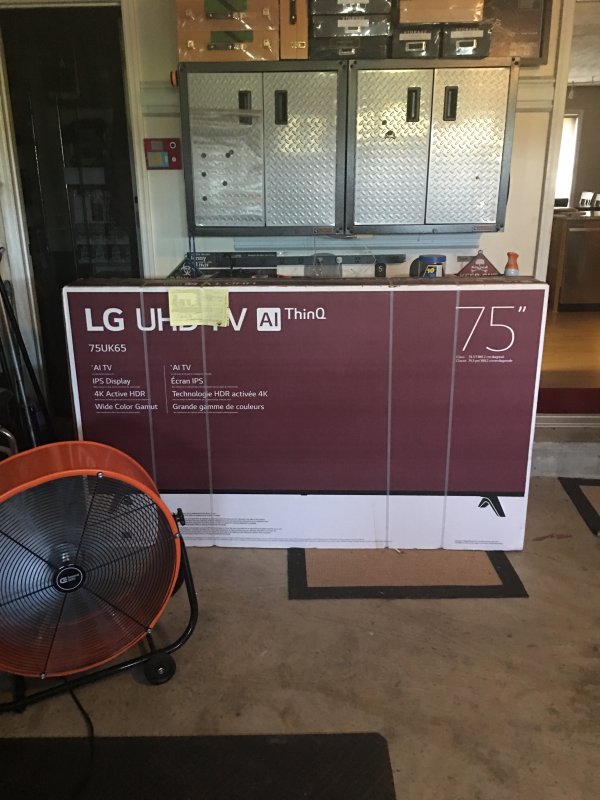
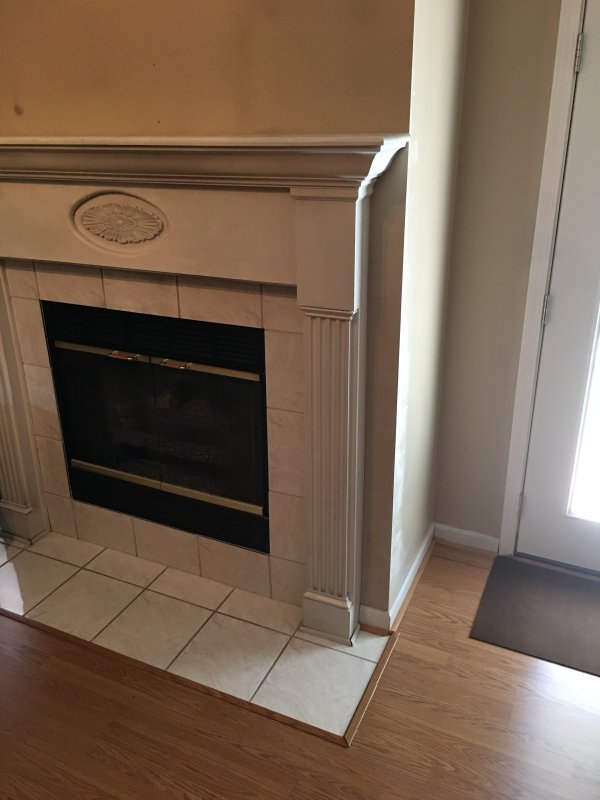
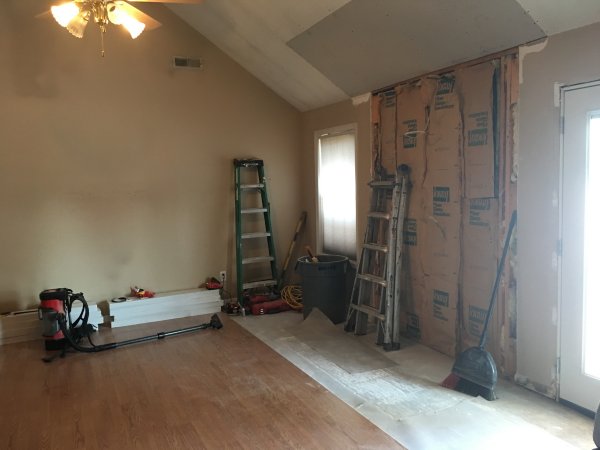
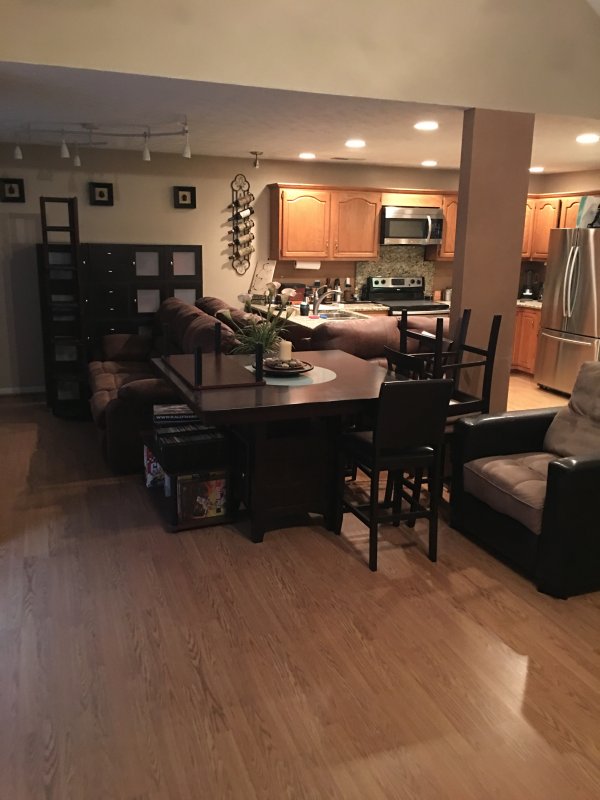
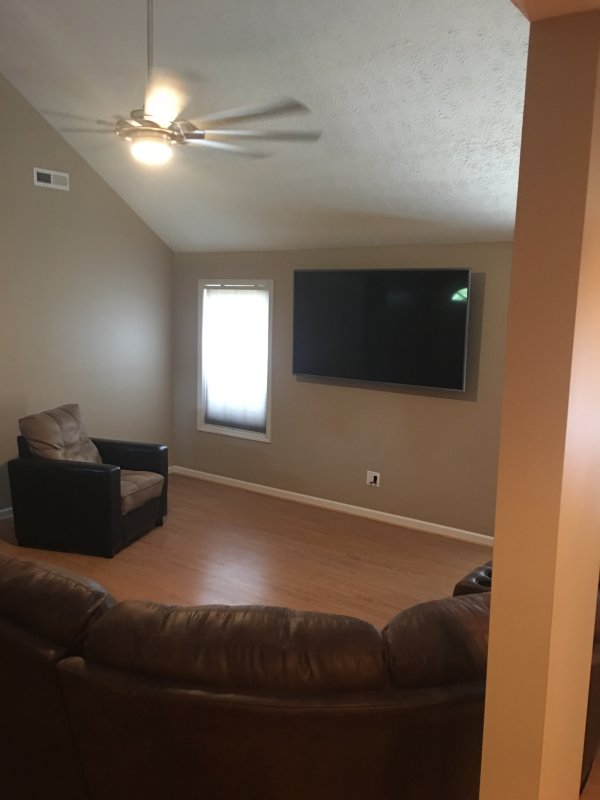
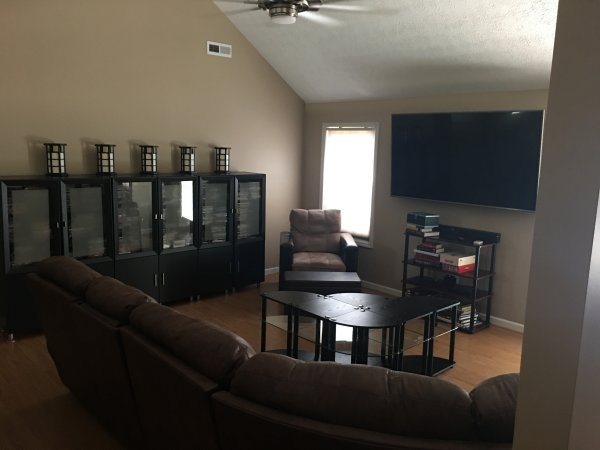
My biggest "in the way" was some remodeling that I thought was going to happen closer to Christmas happened a few weeks ago. It all started with Prime Day. I had planned this year on Black Friday to get myself a "I turned 50 and paid off the house this year" present of a big honking TV. I contacted a guy about adding on a theater room for a big honking TV, and the estimate for that was about what I paid for the house. My fallback was to have the (non-functioning) gas insert fireplace ripped out, which would gain me some floor space and give a good spot to mount a TV. I had planned for an 85" TV, but it seems that wouldn't fit. Fine. 75".
From last year's Black Friday browsing, I had a range for what a 75"-ish TV should cost come this Black Friday. Prime Day gave me a gauge for this, and my estimates were about spot on. Then Costco jumped in, and offered the brand and size I wanted for $300 below the low price I was expecting. Never one to pass up a good deal, at worse I could buy it and just keep the TV in the garage until I got around to remodeling. So that became my plan. My only point of worry was when I saw Costco was using CEVA to ship the TV. CEVA was responsible for eventually getting me a bed 10 years ago. I waited a week past the "call us to schedule delivery" date that I had to hunt down, and when I did CEVA said they were handing off to a 3rd party for final delivery which they would deliver today and get tomorrow, then the 3rd party would call me to schedule a time. An hour later the 3rd party called me, evidently shipment in hand, to set up delivery the next morning. CEVA Logistics. Somehow in business 10 years later.
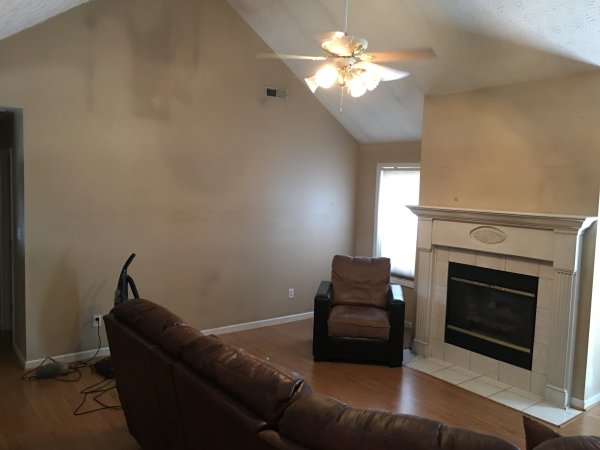
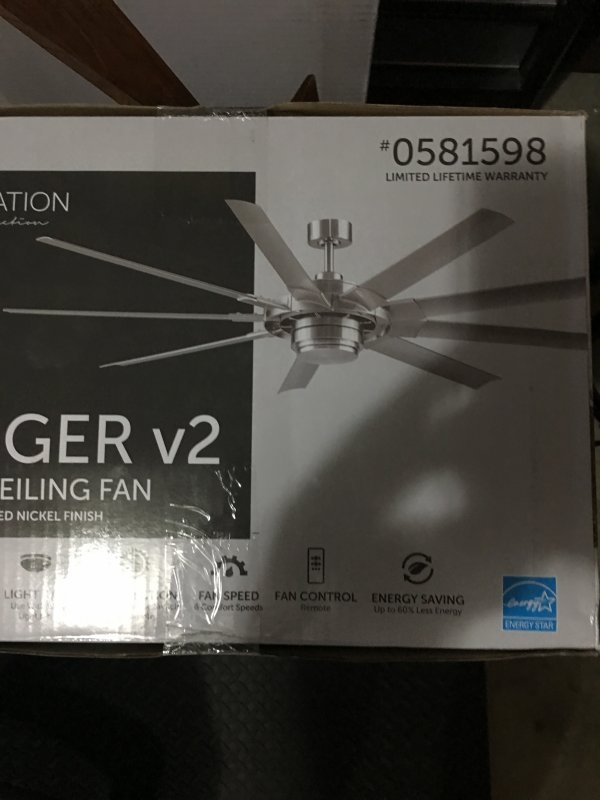
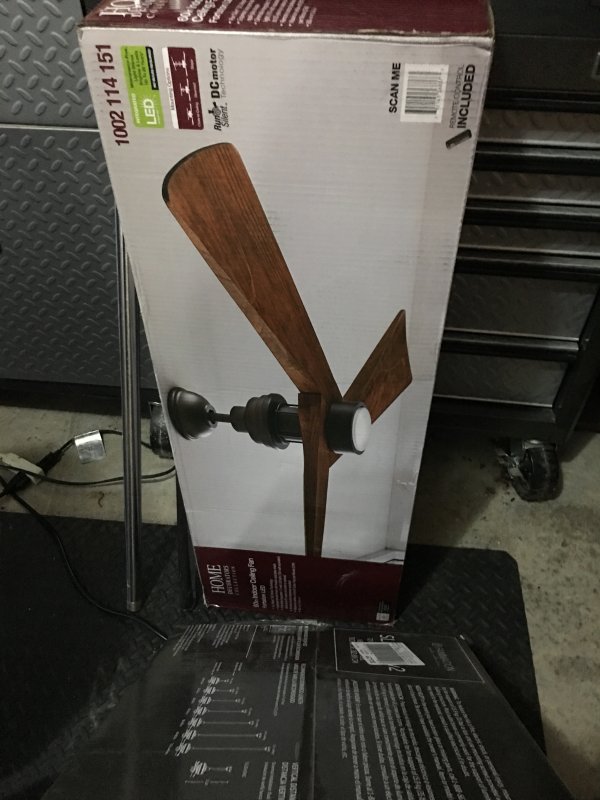
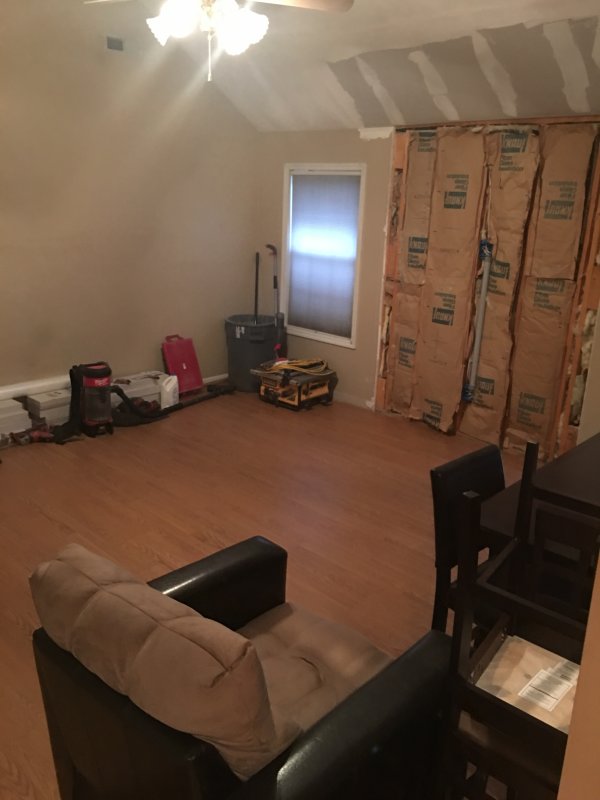
While doing all this, I contacted Contractor Craig about some extra stuff that I'd like to have done while he was ripping out the fireplace. Some fresh paint. Replace my broken back storm door. Little things a house needs after 10 years since the last concerted upkeep effort. Craig found some other things that needed some love - some cracks where the ceiling meets the wall from the foundation settling some. He read my mind a time or two: What about the living room ceiling fan, do you want to replace that? Yes, I do. I've been hoping that fan would die and it's why I've had it run constantly for 20 years.
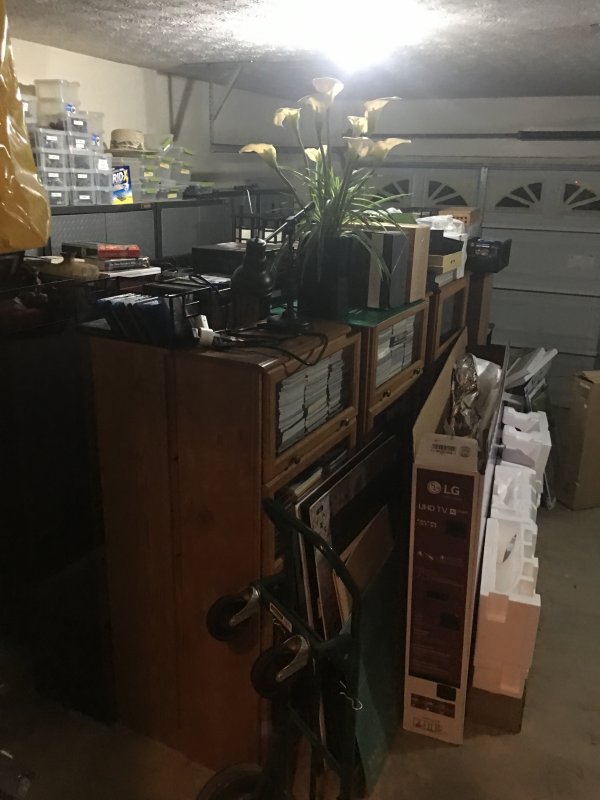
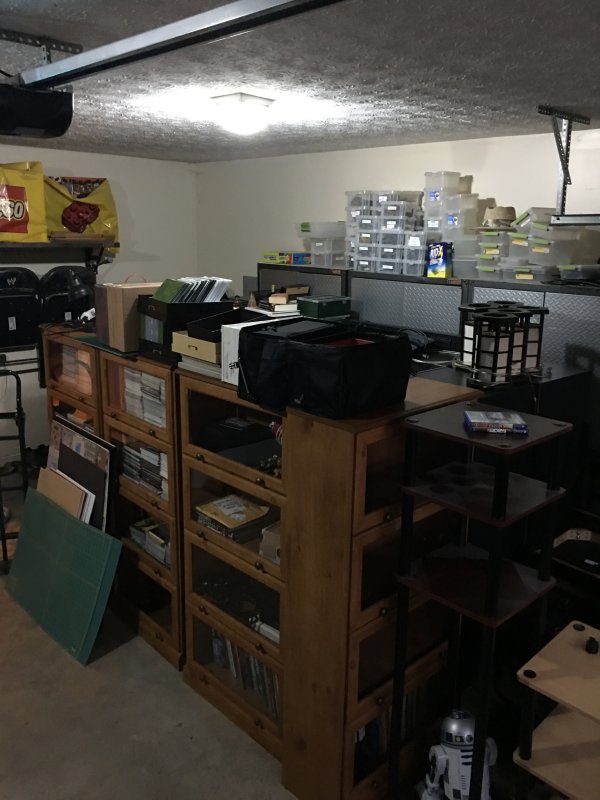
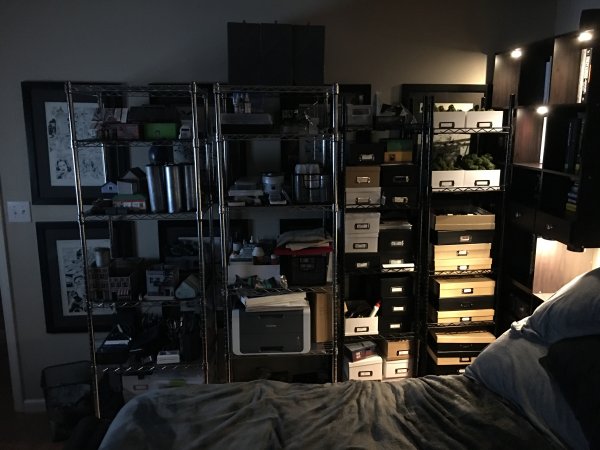
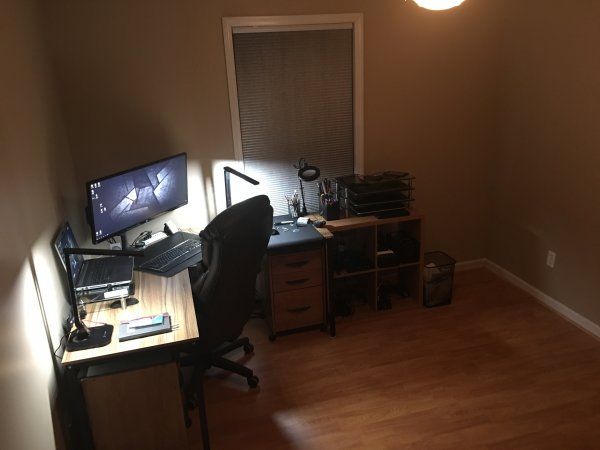
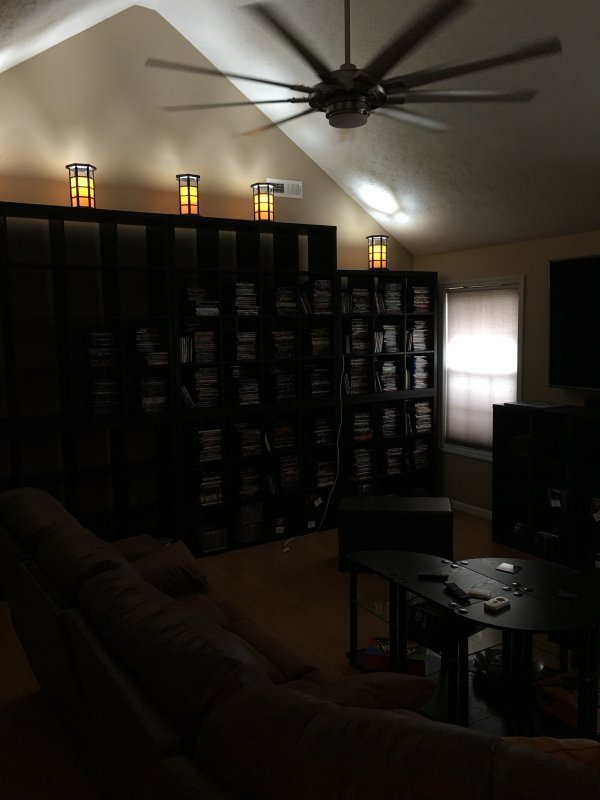
The one big change I wanted to make with all of this was to cover the wall that the TV had always been against with shelves. The wall has a high (vaulted?) ceiling and I've always wanted to use the wasted space above the 5 ft or so that had cabinets with DVDs and a TV. I've been looking at Ikea shelves, the kind with cubes, and envisioned stacking them to cover as much wall as I could, which would give me more storage space. I always like more storage space. Over the course of a couple of weeks I put together an online Ikea order. It took 2 orders to get everything I wanted - the Ikea website isn't that great, but 2 orders with $180 shipping is a lot cheaper than a trip to Atlanta/Memphis and then figure out how to haul 1000 lbs of shelves back.
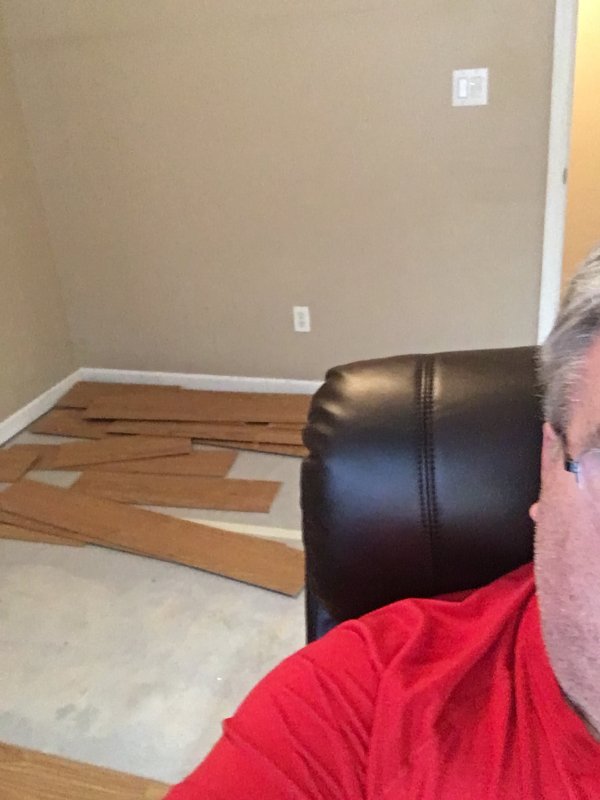
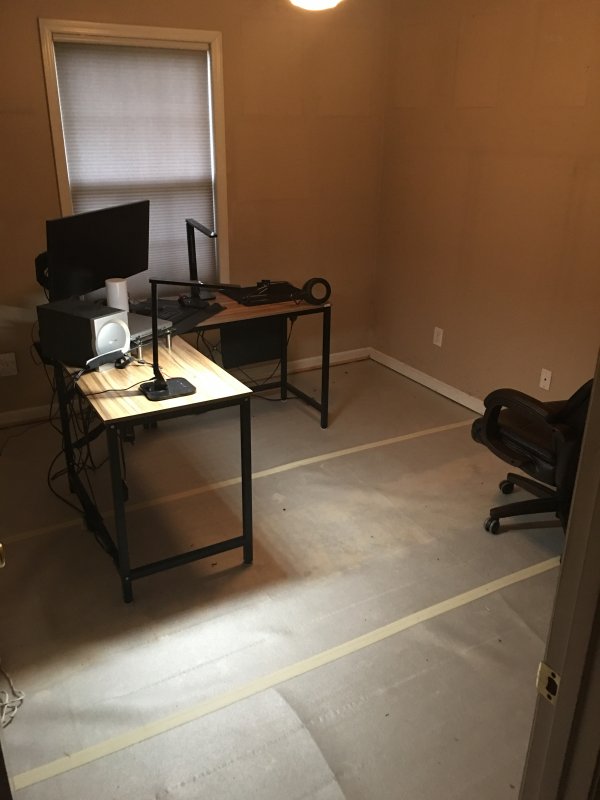
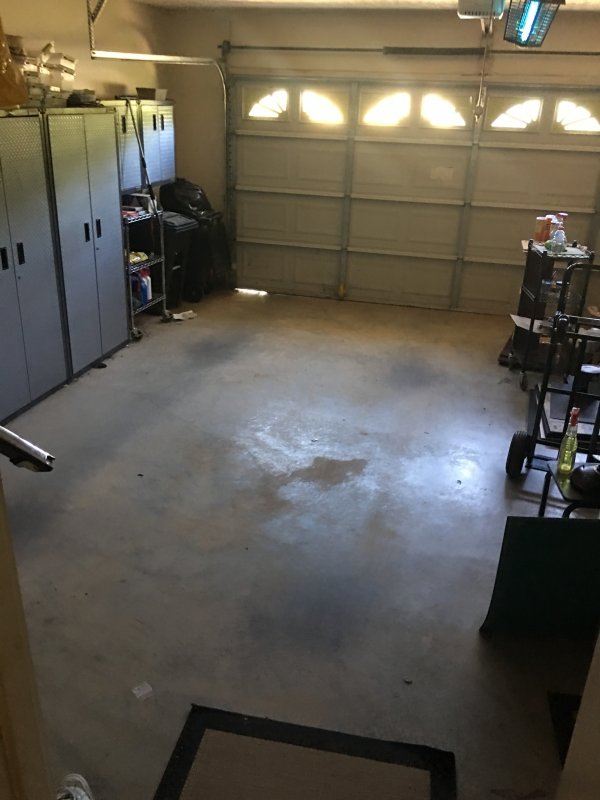
Over a week and a half, Craig ripped out the fireplace and patched in the wall and ceiling. Walls were painted. Floors patched/installed. Ceiling fans (I couldn't decide between 2 for the living room, so I opted to have 1 replace the bedroom fan) replaced. New TV mounted. Once he was finished I moved things back in to the living room and computer room and decided what to change. 4 days later my Ikea delivery showed up, which took up about 1/3 a car space in the garage. Then I spent a Saturday and put shelves together. Ikea shelves are heavy! The shelves got built, moved in, and stacked. I've got doors to add to the shelves, but there's 89 doors for me to install and I'm in no hurry. This is just my way of saying there'll be more updates about this later.


Hobbying
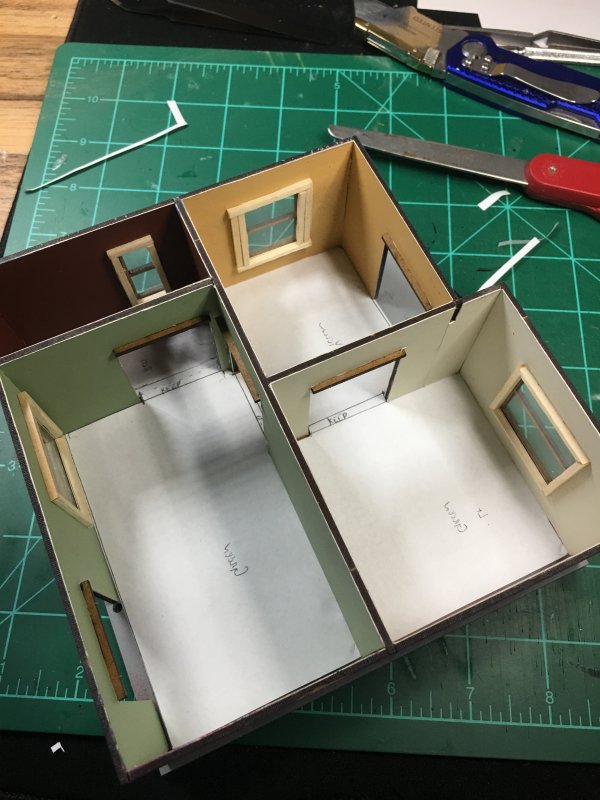
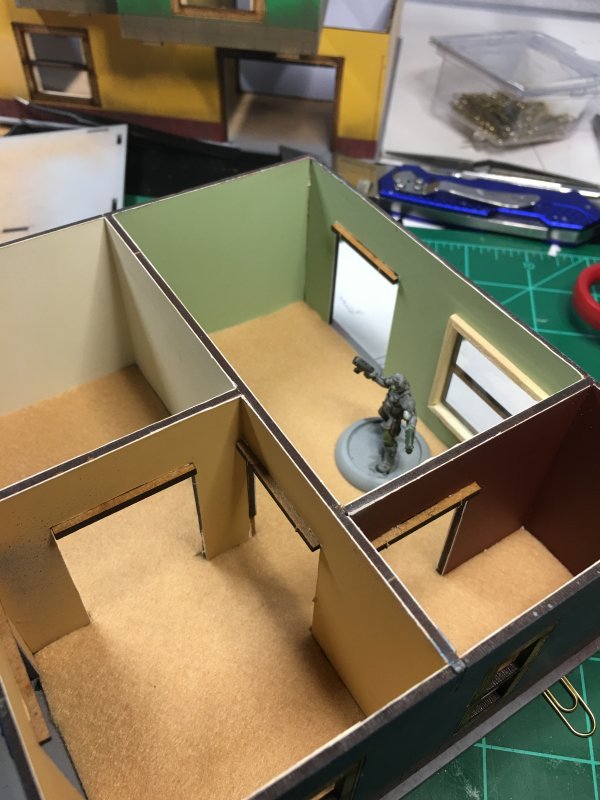
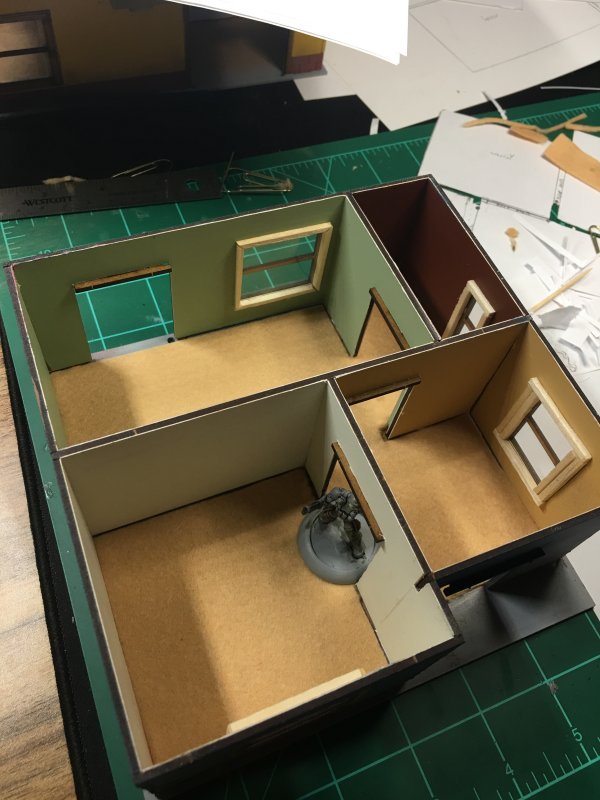
My last/latest hobby project has been taking a whole lot longer than I imagined, even without all of the life interruptions. At last report, I had 3 Walking Dead houses that I had added colored walls to thanks to Behr paint sample cards. Since then, I added some carpet to a house.
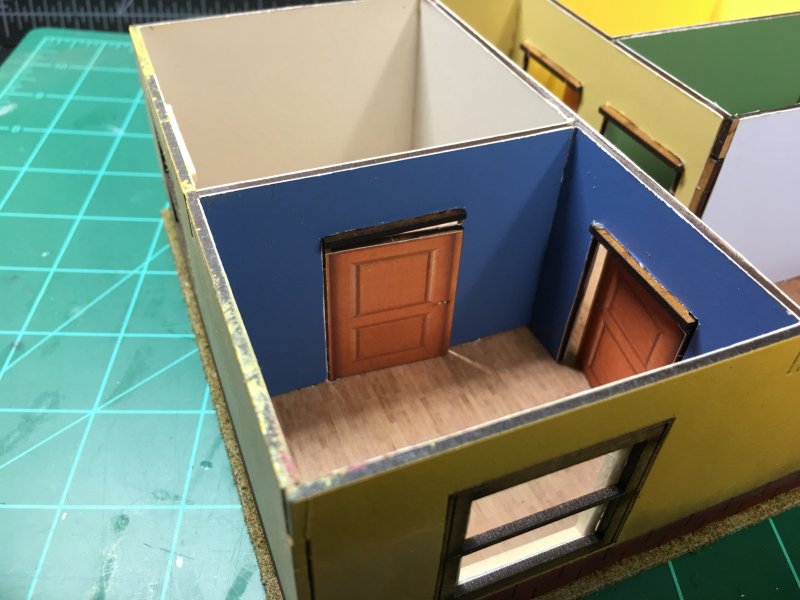
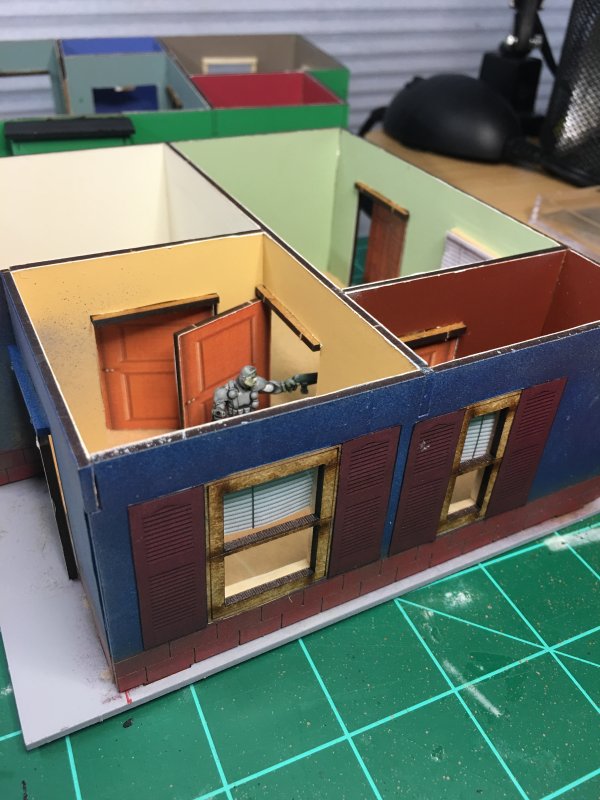
I'm not sure why/when/where I got the idea to try and use felt as carpet. I couldn't remember seeing it anywhere, and yet every rental house I grew up in had beige carpet. So I gave it a shot on 1 of the houses. I started by attempting to make a template of the floor plan with all the walls in place - having the felt run through doorways would be the most durable. The floorplan template took a couple of tries to get flush with the walls like I needed, but using it as the template to cut the felt worked perfectly. The only other tweak I made was to install the doors upside down, as the top hinge is a little longer than the bottom and that would allow for a little more clearance for the felt.
I got a little carried away adding textures (thank my mediocre 3D graphics background for that - fine, playing with Poser!). All the doors got actual door textures added. Window blinds in windows. Shutters on the outside of windows. I was sitting in front of the computer pondering "what does every room have" trying to figure little tweaks I could add. I looked at the light switch. Aha! And an electrical outlet. Aha! Then I leaned back and looked up and the air conditioning vent. Aha! I normally print out various wall decorations of framed whatnot to add onto walls. I would add these things too.
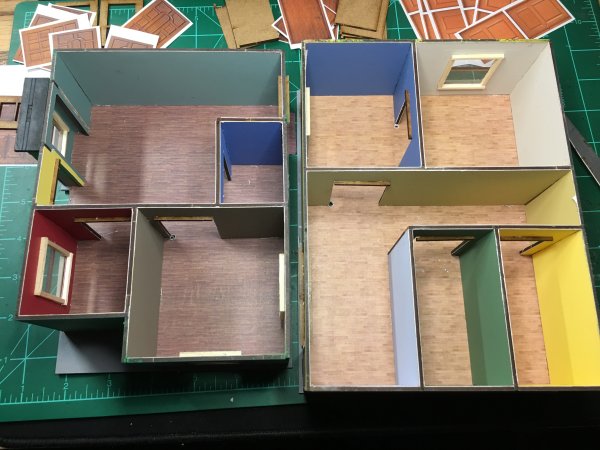
Once I got the felt and printed wall decor added to the 1st house, I didn't want to keep futzing with it all. I went old school and printed out some hardwood floor textures and added it to the other 2 houses. I left off there, unsure how far I'll go with putting stuff on the walls.
That last thing I have to do for 2 of these houses is make a roof. The roof that came with them is flattened on the top and makes them look like convenience stores. I'm going to try to make a traditional, steeped roof. I made a little template/pattern, but no idea how well it'll work out. It's next on the list, though.

Everything Else
And lots of other things happened. I had a batch of doctor visits: what looks to be the start of annual bloodwork, eye exam (new glasses, just because I'm tired of wearing what I've got after 4 years), colonoscopy (short version - I followed directions and wasn't cleaned out enough so I'm supposed to reschedule another one with a 2-day prep). I had an annoying sinus cold after the colonoscopy.
Right after this, Pawpaw was in the hospital for some upper GI bleeding which just didn't get any better, then he passed away after a week. He was 98 ½ While sad, it wasn't a surprise. Even though I was worried about my grandmother, they'd been married for 74 years, she held up better then I did. Which is what she does.
There's an old story from when I was little (6 or 7?) and Pawpaw stealing one of my Hot Wheels for his children's sermon. I'm leaving that just vague enough for anyone to ask me to tell them the story next time we're talking, because it's an in-person & talking story :)
I finally got a paint shaker for my paints. I was supposed to make one with a reciprocating saw, some clamps, and unsure safety measures. Instead I got a tattoo ink shaker/vibrator that does a spiffy job. Overpriced for $80 just to shake paint, but I've accumulated a lot of paint over the years. A lot of it on sale, to where I probably saved more than $80 on paint.
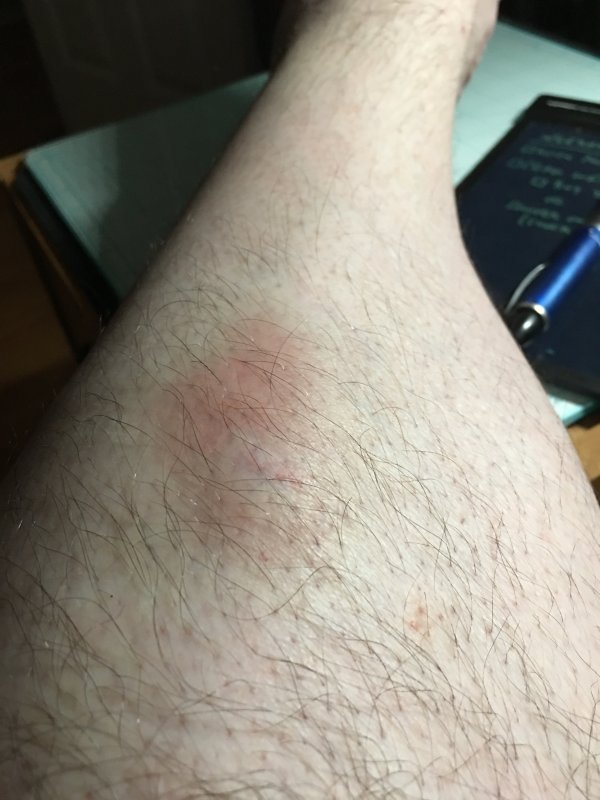
Life is also beating me up more. I bruise easier, evidently a side effect of my attempt to take my blood pressure medicine on a Regular Basis VS When I Think I Need It. I'm going to convert back to When I Think I Need It to see if a couple weird physical issues clear up. When putting the Ikea shelves together I manged to get a good knot on my shin (that hasn't happened in a couple of decades), not to mention some impressive bruising on my upper arm from just lifting a damn shelf. Granted, it was a 125 lbs of shelf. And awkward. And I may have been wrestling with it more than lifting.


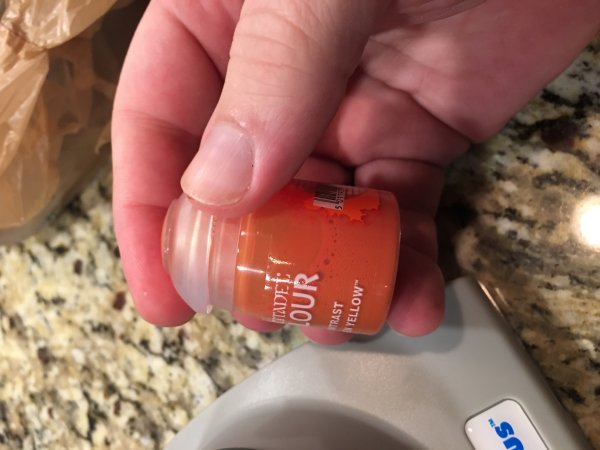

Paint shaker in action:
Things are starting to settle back into normal now. There's still some wrapping of of the remodeling I have to do. I've picked up a side-website to work on (more about that later). Keith needs some 3D printing printed. And I have to finish those blasted houses....
Permalink
gaming miniatures hobbies random renovation/remodelling
Blog Archive
As always, correct spelling is optional in any blog entry. Keep in mind that any links more than a year old may not be active, especially the ones pointing back to Russellmania (I like to move things around!).
Tags have been added to posts back to 2005. There may be an occasional old blog that gets added to the tag list, but in reality what could be noteworthy from that far back?
Blog Tags
3D Printer (27)
4ground (32)
4ground-mall (40)
5PFH (1)
action figures/toys (10)
airbrush (7)
Aliens (1)
Amazon (12)
antenocitisworkshop (11)
Atlas O Gauge (2)
Batman Miniature Game (2)
Battletech (1)
belt sander (12)
Blood Bowl (4)
boardgames (77)
books/comics (19)
computers hate me (5)
conveyances (15)
Cyberpunk Red Zone (3)
diet (53)
dreams (7)
fallout (1)
feng shui (1)
Firefight (1)
Foundry (3)
Gale Force Nine (1)
game dev (23)
gaming miniatures (237)
gaslands (10)
gastric sleeve (34)
Green Stuff World (2)
Hasslefree (9)
Hero Forge (1)
hobbies (102)
Jailbirds Minis (2)
kevin smith (1)
Knight Models (2)
malifaux (3)
Marvel Crisis Protocol (2)
mckays (1)
models (11)
mom (32)
moon light (5)
movies/tv/dvd (60)
Necromunda (4)
ninja division (1)
Pathfinder Deepcuts (1)
pilonidal cyst (5)
plastcraft (2)
programming/interweb (41)
rambling (60)
random (367)
random maintenance (3)
Reaper Bones (3)
reaper chronoscape (32)
renovation/remodelling (25)
road trip (27)
salesforce (1)
sarissa precission (2)
scenery (19)
Star Trek (2)
Star Trek Away Missions (3)
Star Wars Legion (1)
studio miniatures (3)
ttcombat (12)
video games (51)
vs Factions(PDFs) (1)
walking dead (36)
wargame foundry (3)
work (6)
wrestling (45)
zombicide (2)
Zombicide Invader (19)
zombie mall (23)