Mall Is Ready For Tenants
04.12.2020
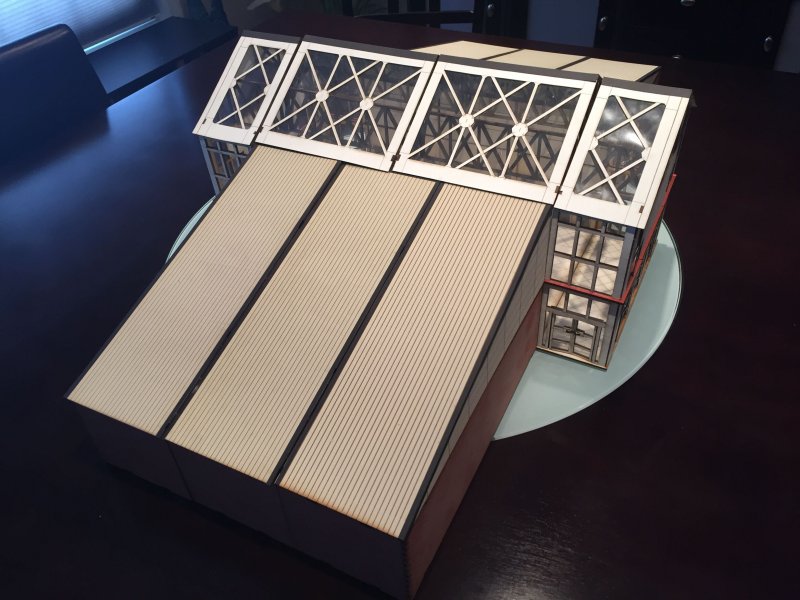
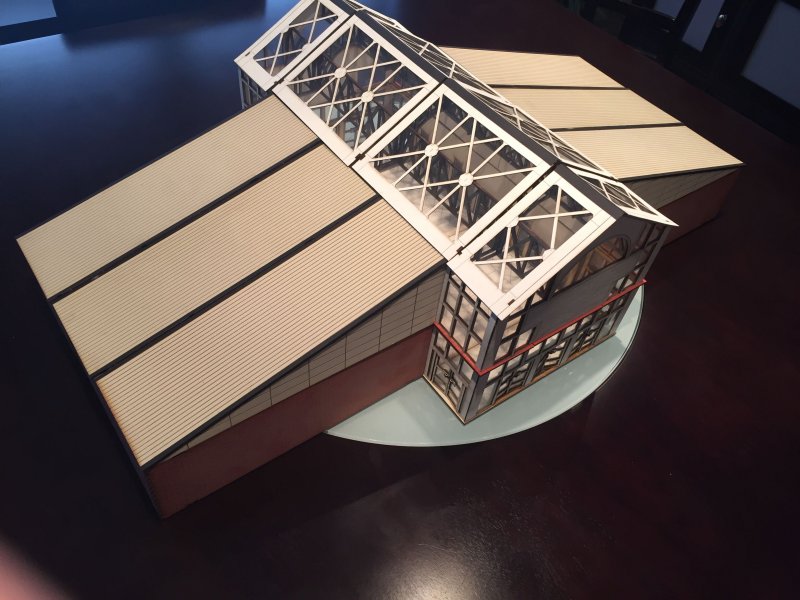
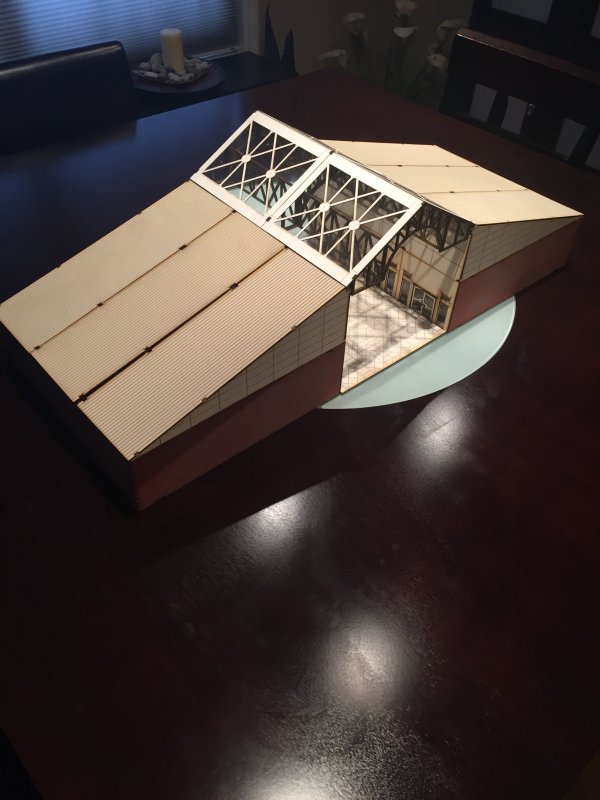
The final 5% of the outside of the mall ended up being 4%. The roof sections had a piece to add to cover seams. These were a little more straightforward than how I was interpreting the instructions. I can see Alabama humidity and the durability of Elmer's glue requiring some touch-up adhesion as time marches on.
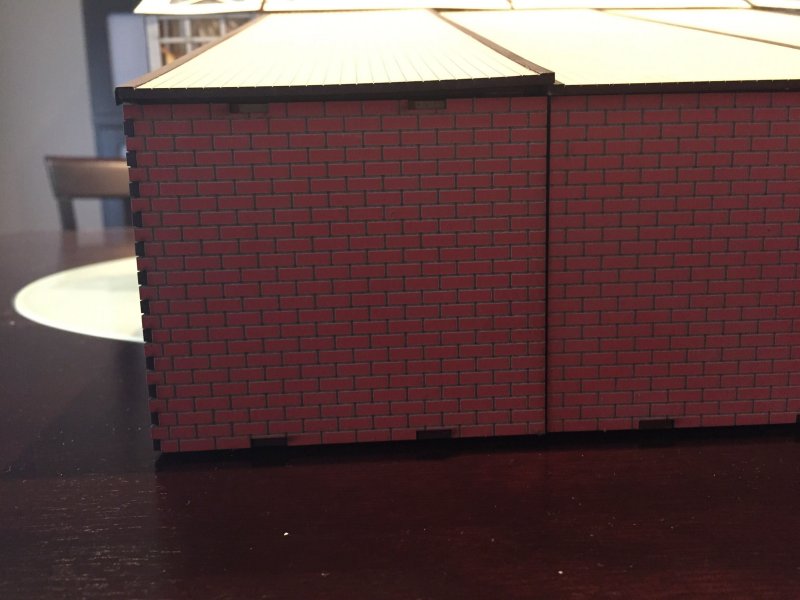
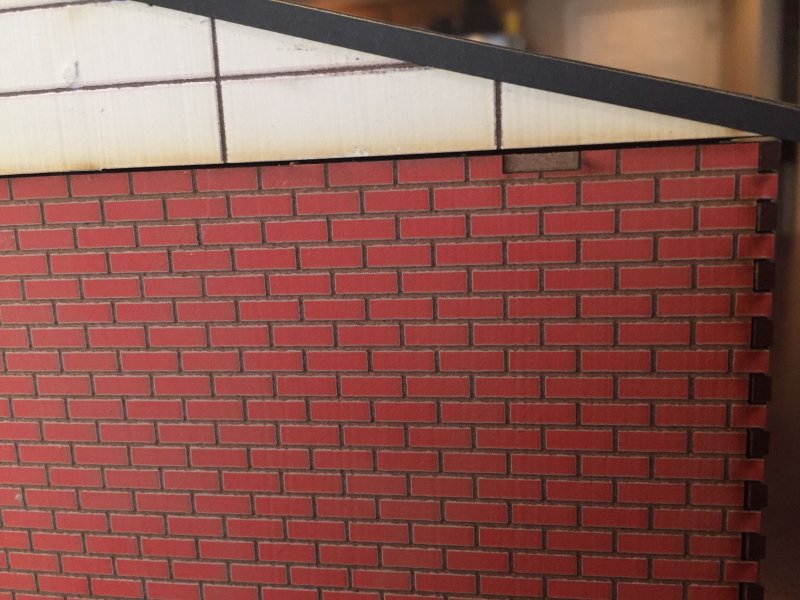
There are notches at the top/bottom of the outer brick walls. I think these come into play when adding a second story - which is part of my long term plan. There are single bricks and vent covers to place over the notches, but I'm going to wait and see how the second floor attaches before going forward on that part. I'd hate to cover up a notch that's needed to keep something above in place.
For now, I'm calling the exterior of the mall done.
What does one do with an empty mall? Stock it full of store stuff! The kit came with various shelves, counters, and sellable goods. ½ the instructions are for putting all of that together. And that's what I'm going to do. Later. Next I'm going to take a mall-break and paint some more of those minis I primed in December.
Permalink
4ground 4ground-mall
Entranced Mall
04.09.2020
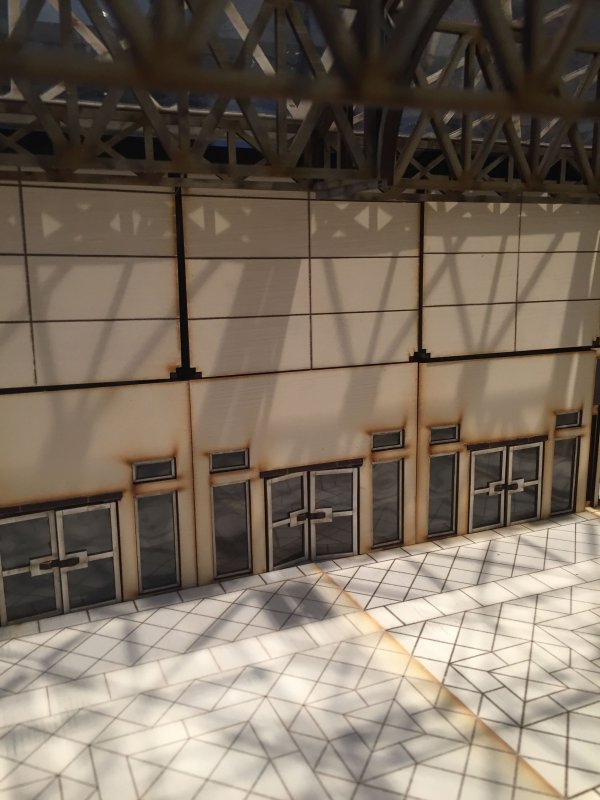
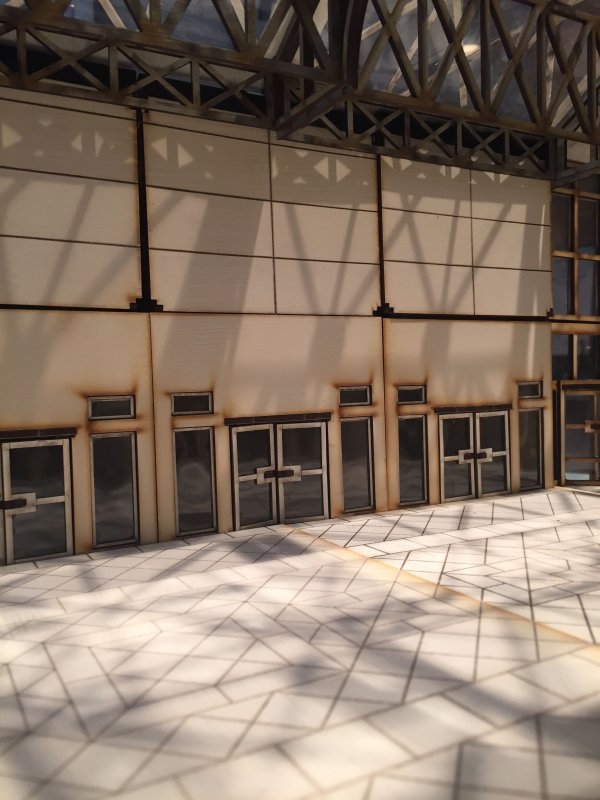
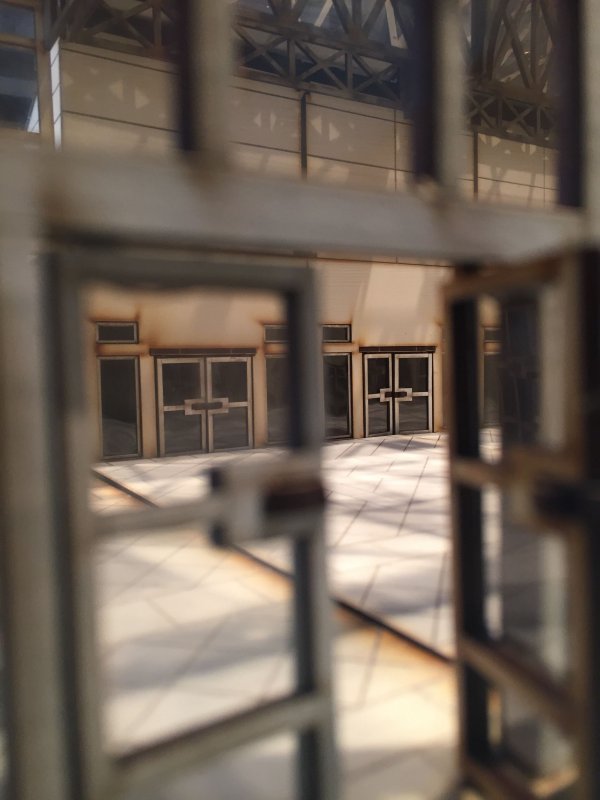
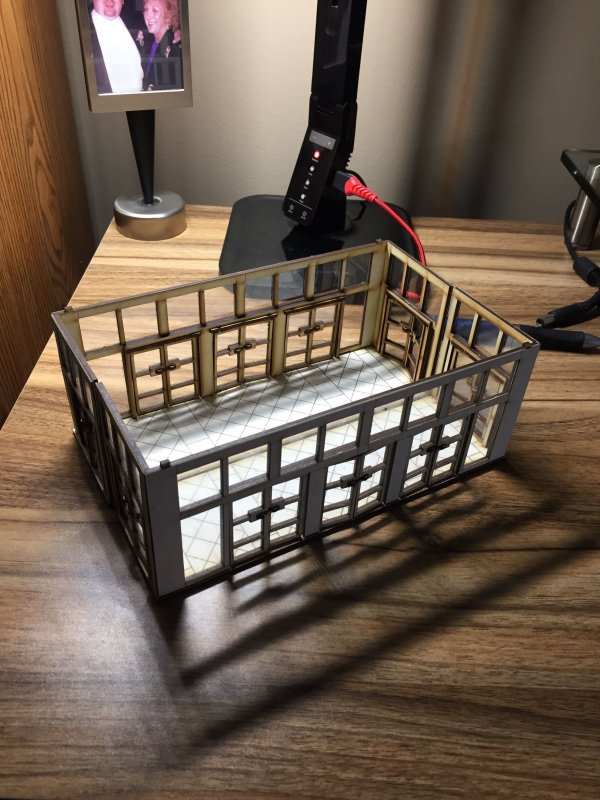
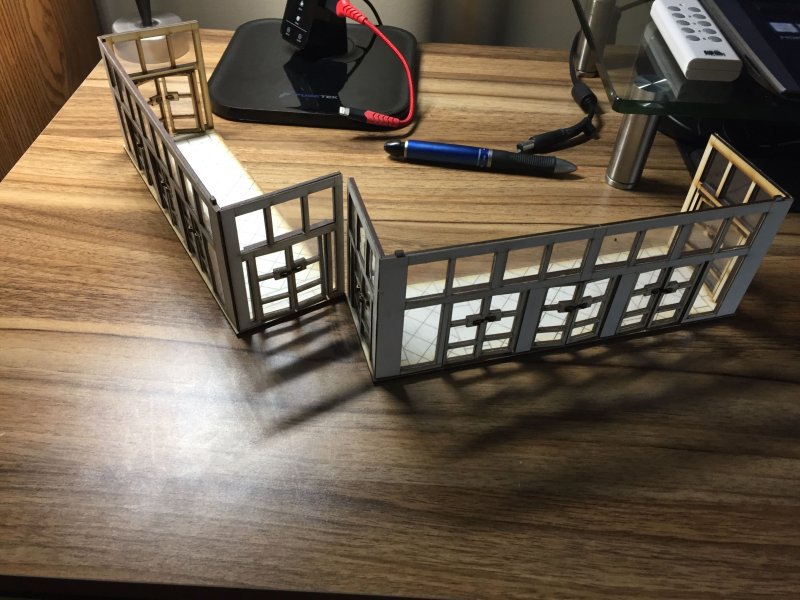
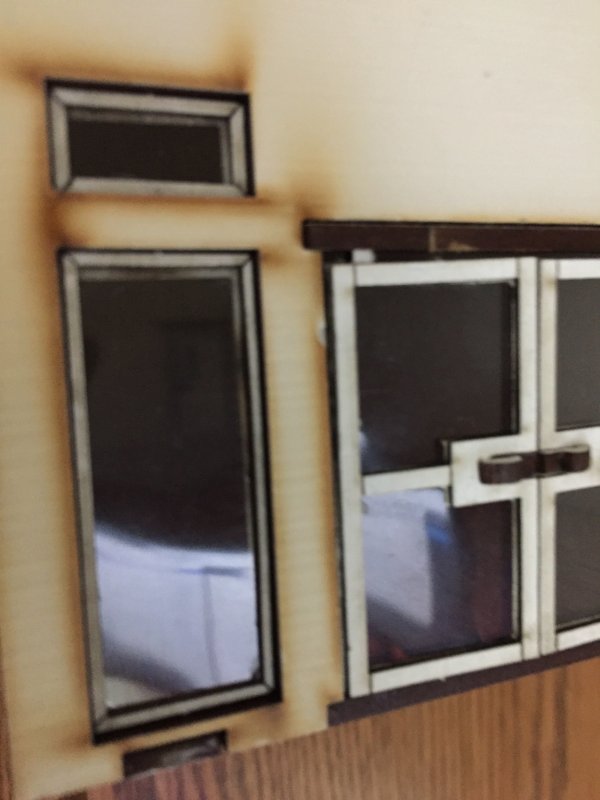
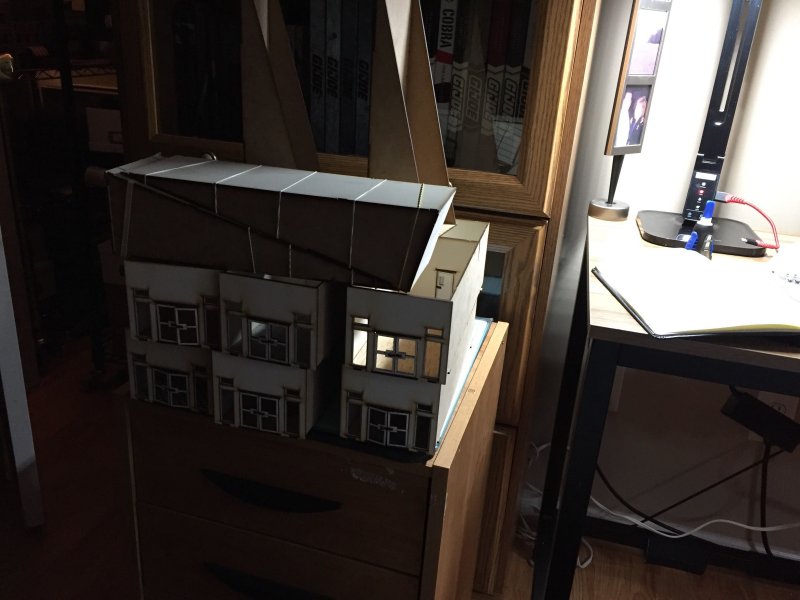
I'm not sure if it really took 2 weeks, but the mall now has entrances. I must admit, putting together the entrances was boring. I'm not really sure why, but I kept finding other things to do. Cutting 5 sheets of clear plastic into windows for roofs and doors may have been a bit part of it. Cutting clear plastic - not fun. Sandwiching little bits of that clear plastic between 2 pieces that make up a door - not too awfully bad. Repeating for 20 doors - back to not fun.
The basic (kit) mall is 95% done. There are some pieces that go on the roof sections that should cover up gaps. There's also some vents and little bits that go on the outer brick sides of the stores. At that point, I will have a little empty mall. There are still pieces in the kit to help fill the mall out - furniture and stuff for sale. Signage - there's signage to put up. That's where I'll have fun.
Now I'm going to take a little mall break. Not sure what I'll do for the next week or so. Probably paint a mini to 2. I don't think I'll be as productive as Christian, but just enough of a break to where I look forward to getting back to the next stage of the mall.


Permalink
4ground 4ground-mall
Covered Mall
03.24.2020
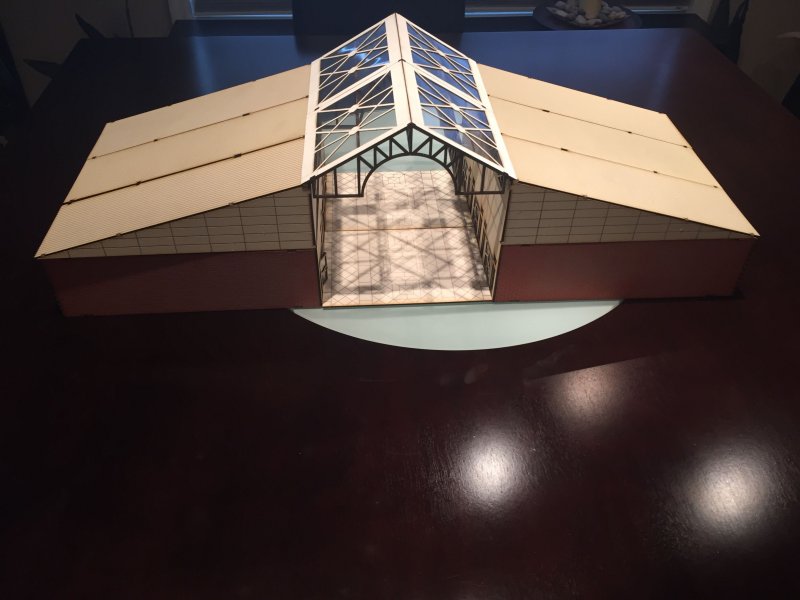
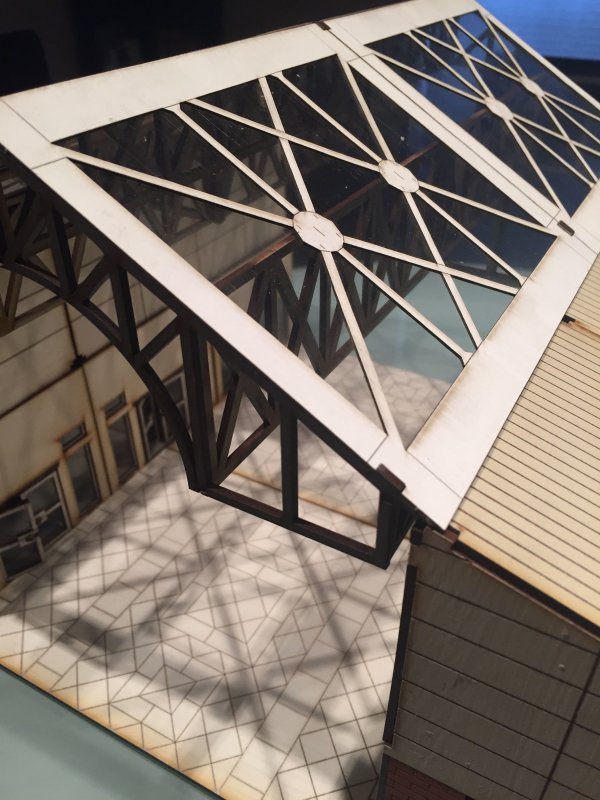
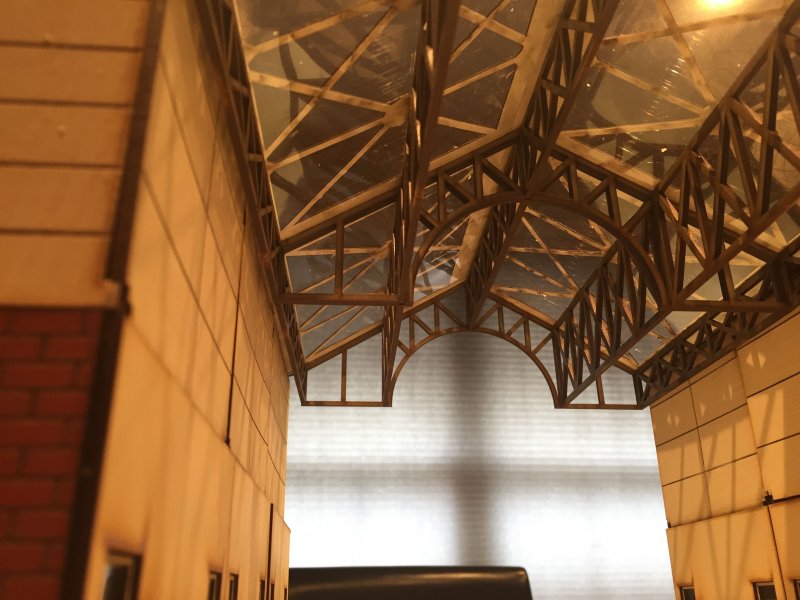
In the time of being socially distant while working from home and avoiding the plague, some more progress has been made on the 4Ground mall. The mall roof section is now done. The only hard part here was matching up the parts with the directions. There were 2 of everything, as there are 2 roof sections, and within each section there are parts that look awfully similar but are sized ever so differently.
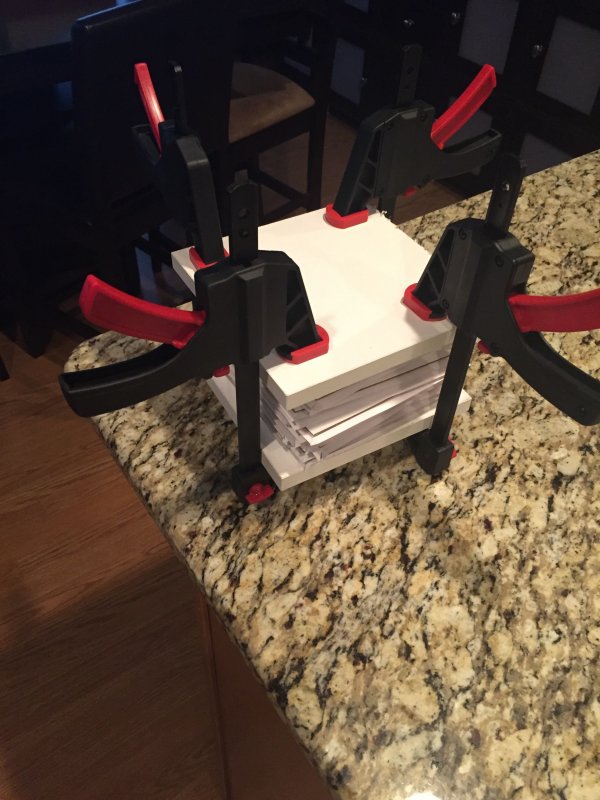
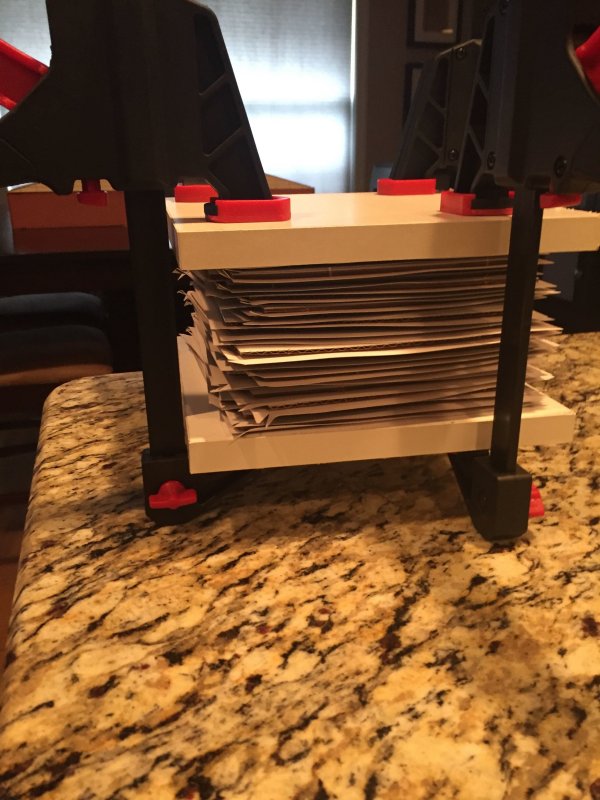
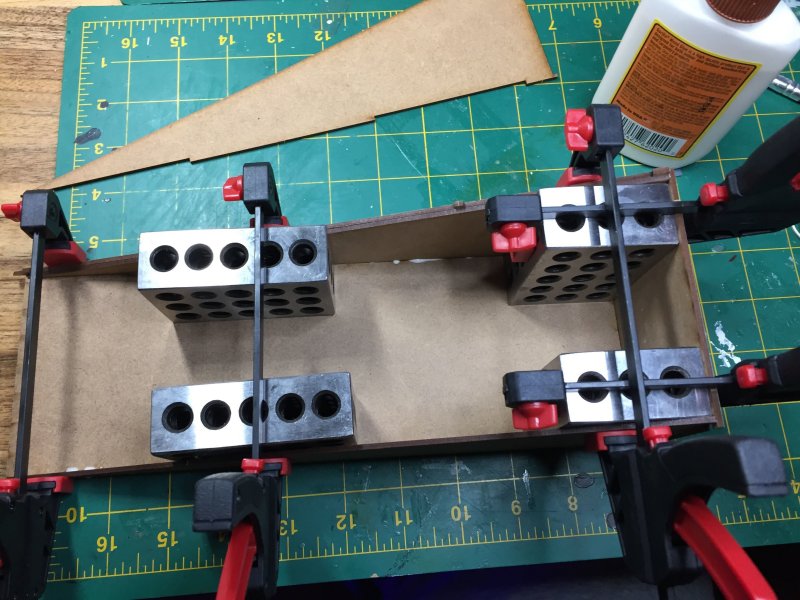
I also managed a return to my resized map tiles. Nothing noteworthy to show graphics-wise, but my homemade vise for flattening out the tiles is working well. It's a couple of pieces of wood (shelf cut courtesy of Lord Ford) with some trigger clamps to bear down on everything. Between glue and humidity these things bow a lot, and this seems to help.
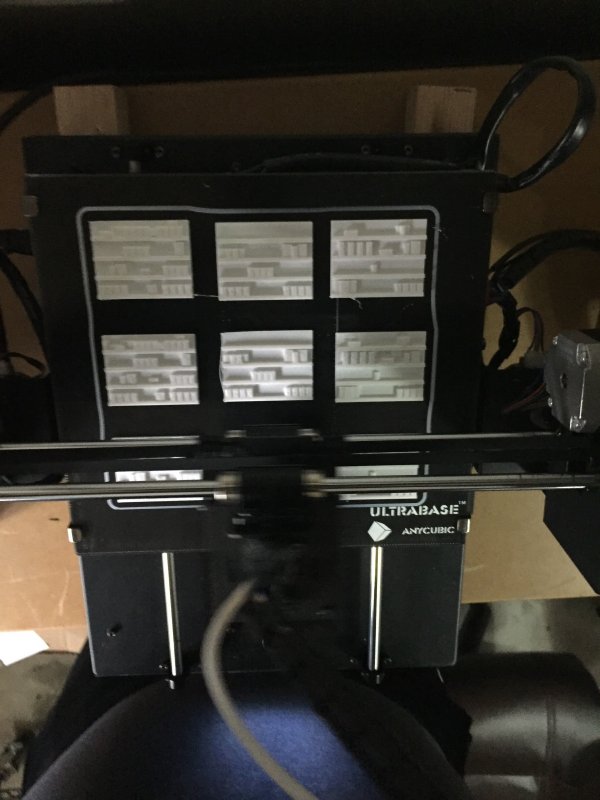
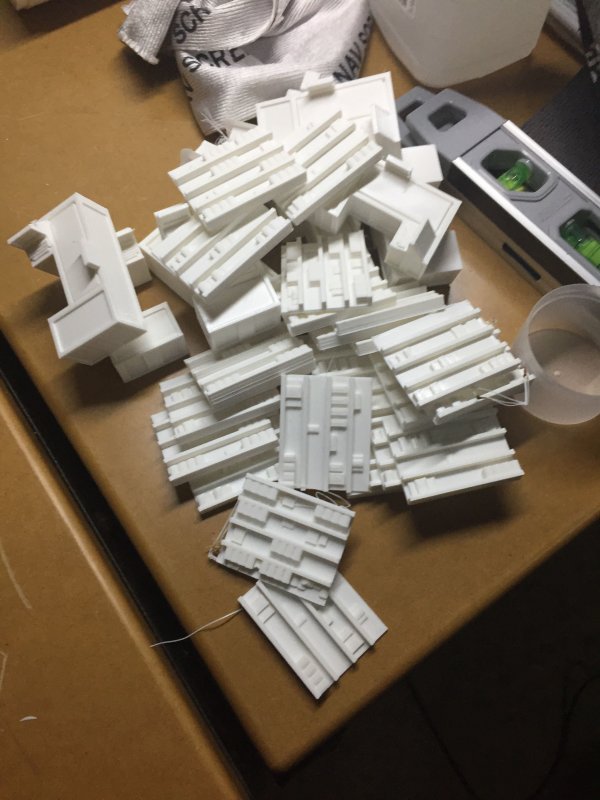
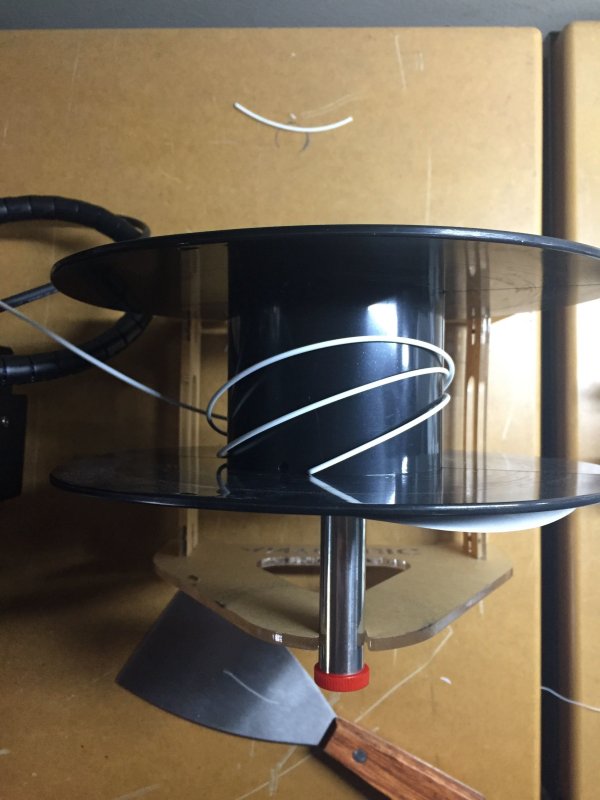
I also got the Anycubic Printer back to level and started cranking out interior clutter for mall stores - checkout stands, shelves, trash cans, etc. On Thursday I saw the spool of filament was getting low. I still had the unopened package of filament that came with the printer, but to be safe (in this age of socially distant plague) I went ahead and ordered a couple more spools as I've got a lot of printing planned.
With that said, there may now be a little printing break as I learn/figure out how to edit STL files in Fusion360. All the examples I've found so far are for earlier versions of Fusion with menu options that I don't have.
Permalink
3D Printer 4ground-mall hobbies
Professional Hitmen: Interlude One
03.19.2020
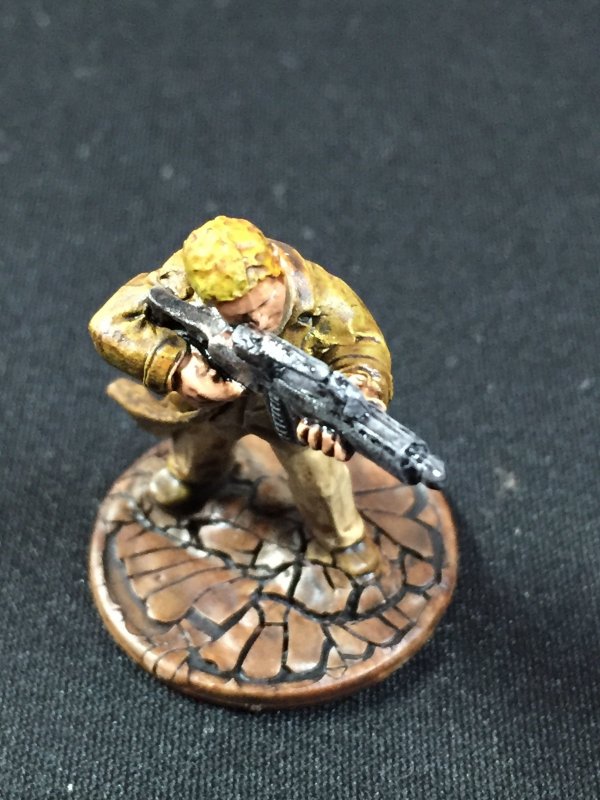
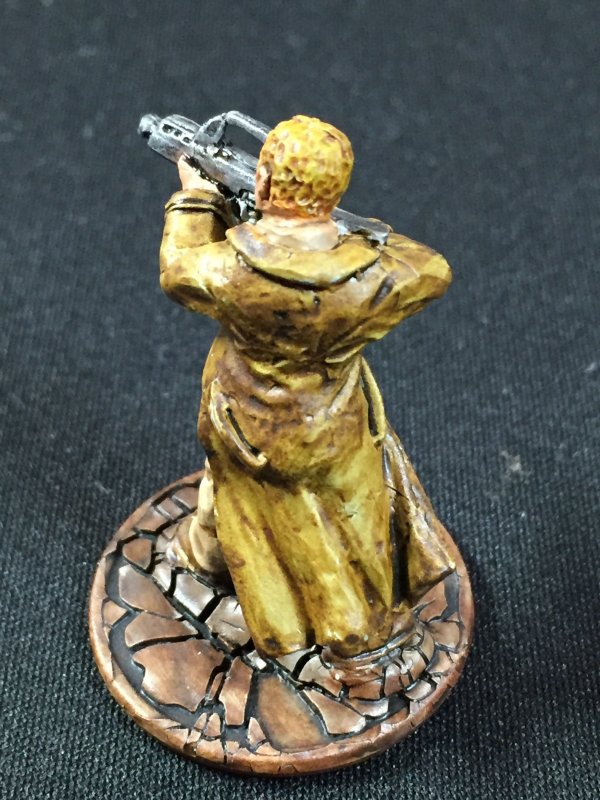
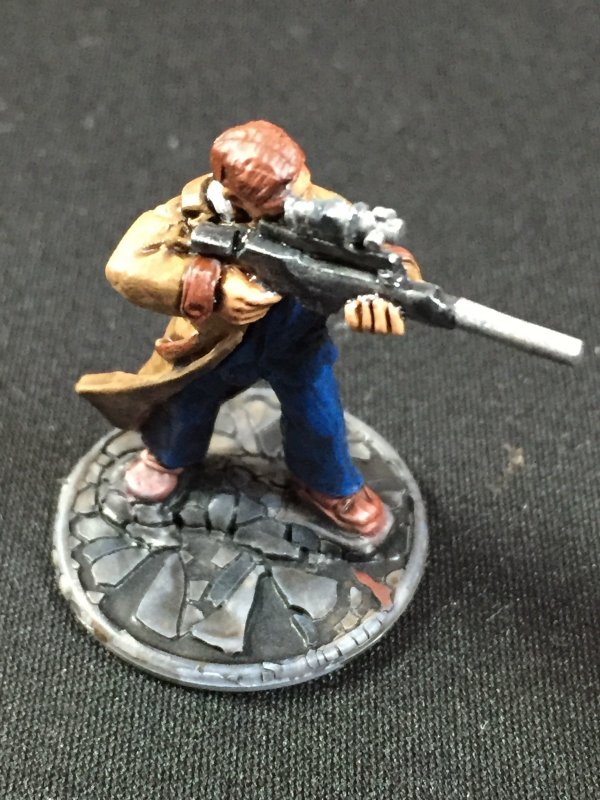
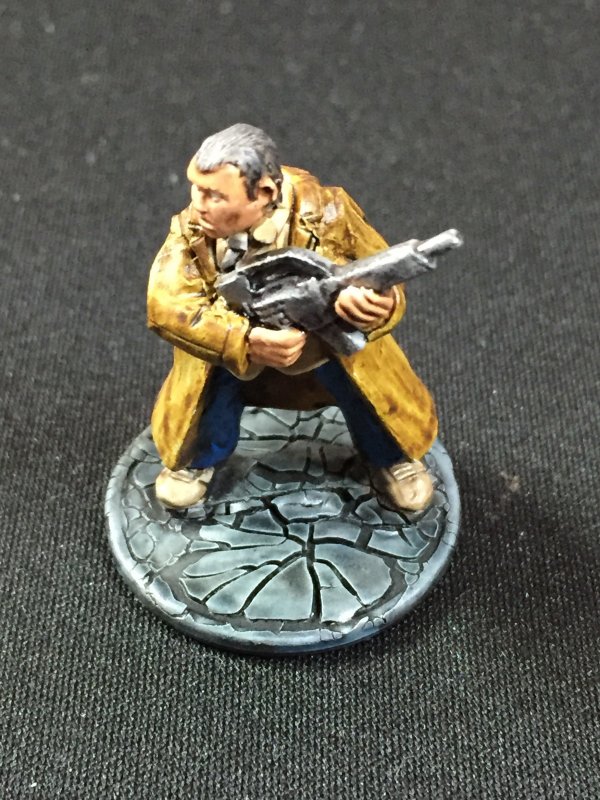
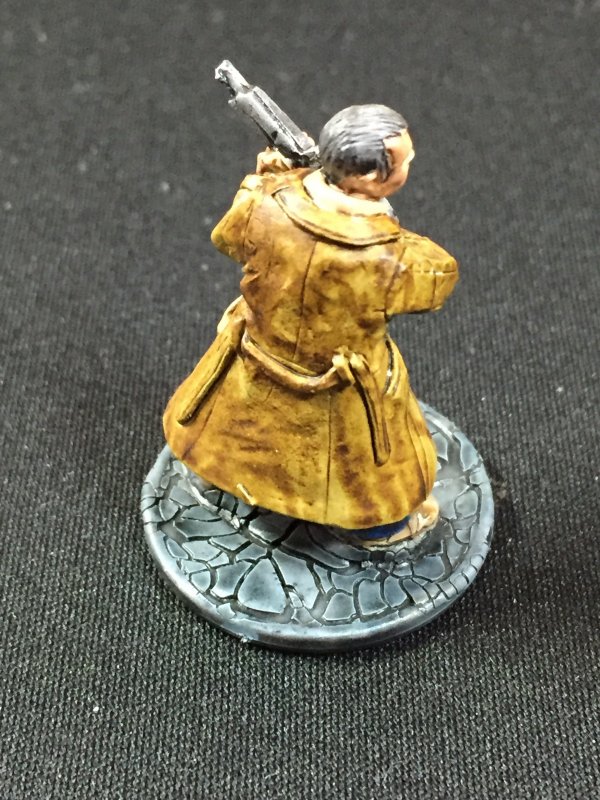
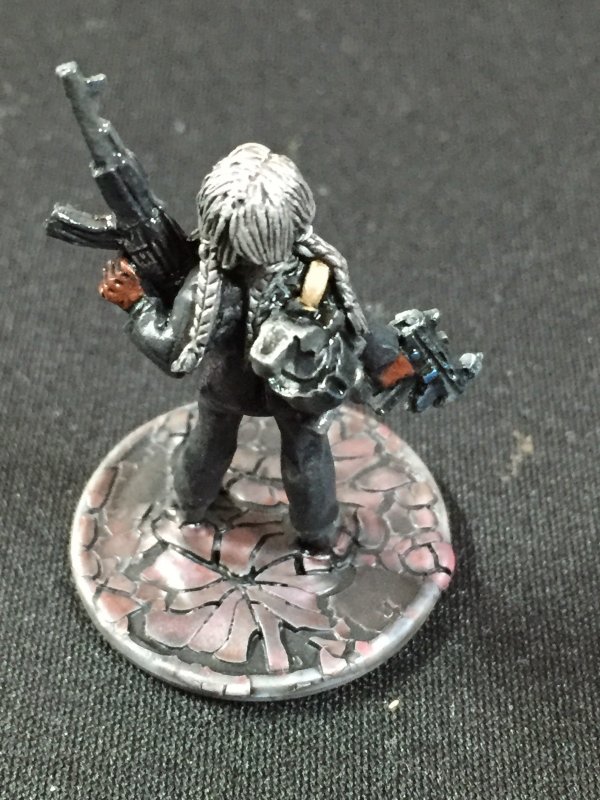
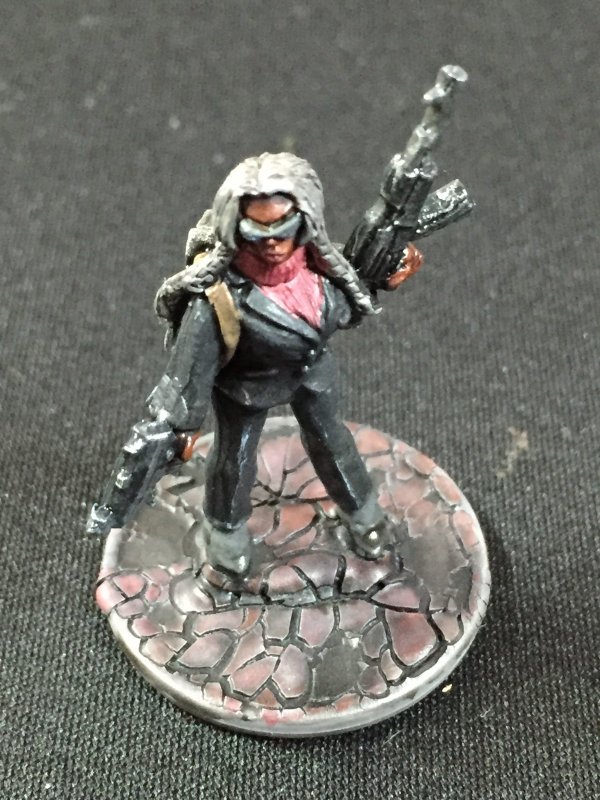
Back in December, I primed a batch of Foundry minis. A pack of Professionals and a pack of Hitmen. Honestly, it's hard to tell them apart. I guess they're Professional Hitmen. Knowing I'd need a break from all the buildings I've got lined up to put together, I just primed 10 minis with the thought of painting them here and there as the mood struck. After the deluge that managed to get 7 mall stores together, I ended up painting 4 of those 10 Professional Hitmen.
My big learning experience this time was different use of the Citadel texture paints. Usually I put texture paint on the base after the figure proper is painted, and then do things to the base. I have to be careful applying the texture paint to the base, because the mini is finished and I hate touching things up! This time, I added the texture paint and let the cracks settle in before priming. Then I played around with the base colors a little more. I've seen people online use some varying cobblestone coloring techniques. With that, I tried using some shades of red on one base, and blue/grey on another. I'm not sure if I like the end result, but I enjoyed changing it up.

Permalink
Foundry gaming miniatures
Mall: Phase 1 - 7 Stores 95% Complete
03.09.2020
It looks like I'm going to steal "phases" from Christian - at least it'll give me an impetus to move forward!
It's interesting how things to go according to plan, and how quickly that can happen. I built the first store to go in the mall as a baby step to minimize mistakes going forward, following directions, and getting 1 store put completely together. This was actually one of the ground floor expansion stores and not from the mall bundle. The bundle is just 6 of those stores, 2 entrances, and extra roof pieces. My plan was to take my time and put each store together one at a time, maybe throw in one of the entrances or extra roof sections as I got bored or needed a change of pace. As everything in the bundle is available individually, I thought the bundle would just be a box with all of those individual pieces thrown in.
It was not.
While expecting 6 copies of the store I'd put together, there were 6 stores present but they had been re-cut (re-lasered?) in order to efficiently maximize the use of MDF. Oh, here's a piece of MDF with 6 back walls. Here's another piece with 18 doors.
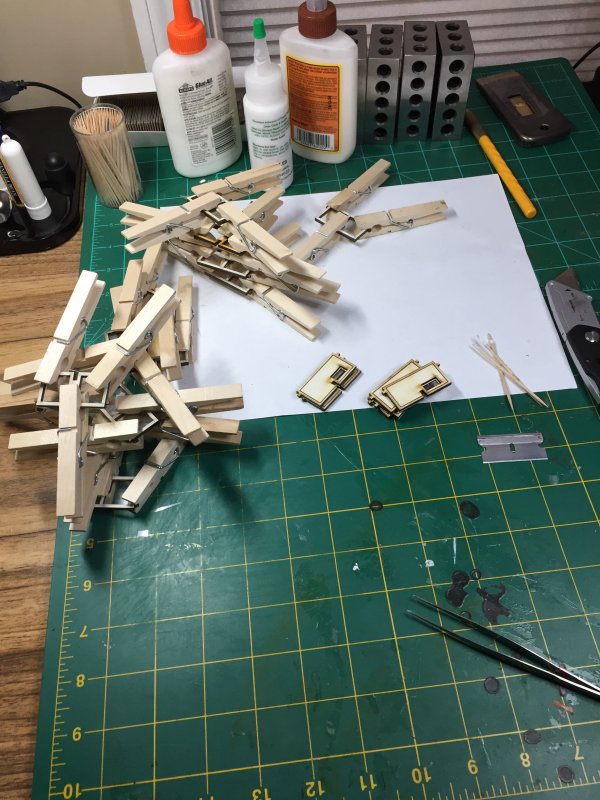
My plan of making 1 store at a time was no longer feasible. Pieces were going to come apart from their indexed locations. Those pieces were going to get misplaced. I know me. This is what happens. Instead of making stores one at a time, I was going to assembly line this mo-fo. Step 1 was taking care of doors. Each door is 2 pieces, with a piece of clear plastic to act as a window sandwiched between. My new toy here was canopy glue. While this has probably been around forever, seeing it on the shelf at Hobby Lobby made me realize that the majority of my acting-windows have a glue-smudged fingerprint or fogging from various types of glue. Would this act any better? A: Mostly. This is a very thin glue which dries mostly clear. A glob will still show as no-clear-enough when dry. No problem with fogging!
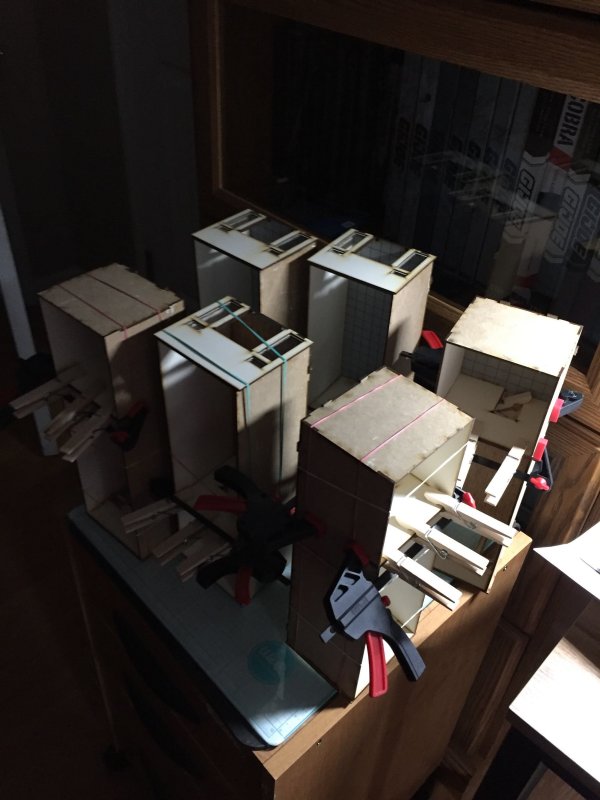
After the doors, I put the stores together - 4 outer walls + 1 inner wall. Front wall and inner wall get doors later. Stores are roughly 10" deep and 4" wide. Time to use now toy #2, which I've had for quite a while. At some point Luke used some 1-2-3 blocks in one of his builds. Straight lines and square angles have long been my bane. Some of these store walls don't have firm fitting notches for other walls, and I really didn't want to try and glue the inner and outer wall sections on at the same time in trying to get everything flush - this has been problematic in the past. The 1-2-3 blocks let me set things up square, plus gave my clamps something to... clamp on to.
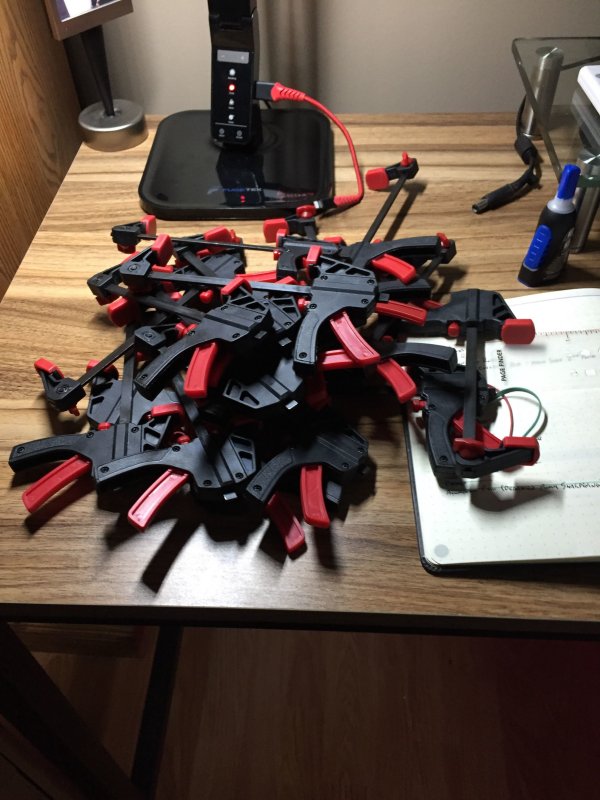
Ah, the clamps. Once upon a time while wandering Wal-Mart, I came across cheap 4" trigger clamps and thought "for $2, this might be useful". I quickly got my $2 worth and went back and got more. I still used the prescribed clothes pins and rubber bands for clamping, but these trigger clamps made some things easier. Or at the very least it felt easier. In the last building I made, before mall stores, rubber bands were putting a slow bow into the longer MDF walls. With the trigger clamps, I could localize pressure to where there was support behind and thus limit the bowing. That was my theory, at least.
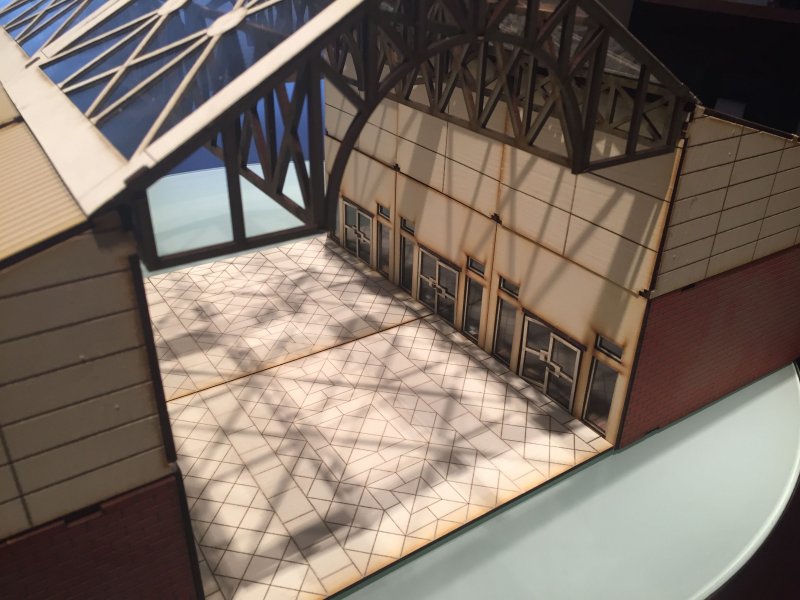
While the inner walls were drying, I made 6 roof sections. This is where the 1-2-3 blocks really came in handy. Without the blocks, there was a lot more give in the triangular side walls and the square back wall. With the way 4Ground has made the mall, 4 pieces of both the roof and stores have an extra external facade on the side. This is were things being square really paid off, and where I would traditionally have made at least 1 "oops". Once store walls and roofs were dry enough, I added in the external facades.

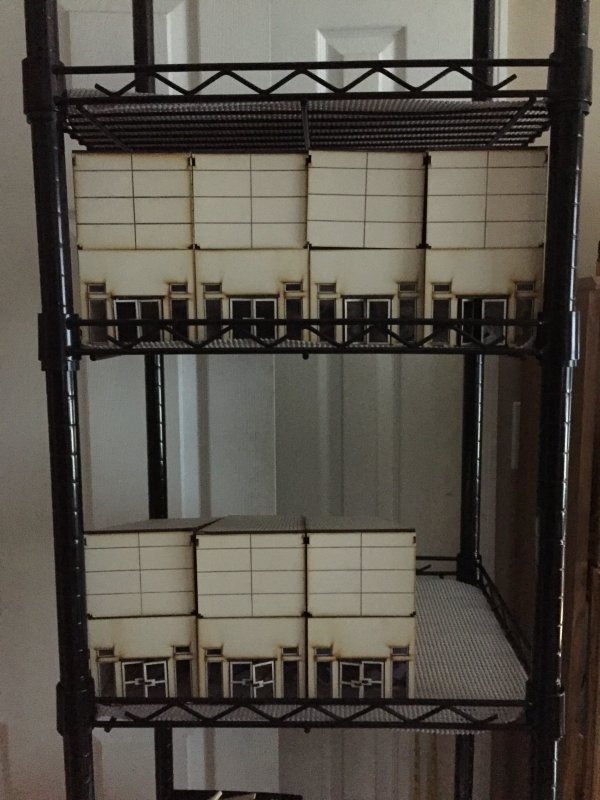
These 7 stores aren't done. They obviously need interior clutter, but I think I'm going to make an empty mall first and then lease out store space :)
The external facing facades have some detail work left to do. Vents and decorative pieces to cover the lines where things join. I'm waiting a little while to add these, as I'm not completely sure if having an optional 2nd story to the mall will make a difference on how or where any of this is placed. The entrance and roof is a whole other mini-project and counts as at least half of the built on this kit. After spending more of a week then I intended by building only stores, I'm going to take a building break the rest of the week. I've still got plenty of other things to do.
Blog Archive
As always, correct spelling is optional in any blog entry. Keep in mind that any links more than a year old may not be active, especially the ones pointing back to Russellmania (I like to move things around!).
Tags have been added to posts back to 2005. There may be an occasional old blog that gets added to the tag list, but in reality what could be noteworthy from that far back?
Blog Tags
3D Printer (26)
4ground (32)
4ground-mall (40)
action figures/toys (10)
airbrush (7)
Aliens (1)
Amazon (12)
antenocitisworkshop (11)
Atlas O Gauge (2)
Batman Miniature Game (2)
Battletech (1)
belt sander (12)
Blood Bowl (4)
boardgames (77)
books/comics (19)
computers hate me (5)
conveyances (15)
diet (53)
dreams (7)
fallout (1)
feng shui (1)
Foundry (3)
Gale Force Nine (1)
game dev (22)
gaming miniatures (228)
gaslands (10)
gastric sleeve (34)
Green Stuff World (2)
Hasslefree (9)
Hero Forge (1)
hobbies (101)
Jailbirds Minis (1)
kevin smith (1)
Knight Models (2)
malifaux (2)
Marvel Crisis Protocol (2)
mckays (1)
models (10)
mom (32)
moon light (5)
movies/tv/dvd (60)
Necromunda (1)
ninja division (1)
Pathfinder Deepcuts (1)
pilonidal cyst (5)
plastcraft (2)
programming/interweb (41)
rambling (60)
random (366)
random maintenance (3)
Reaper Bones (3)
reaper chronoscape (32)
renovation/remodelling (25)
road trip (26)
salesforce (1)
sarissa precission (2)
scenery (16)
studio miniatures (3)
ttcombat (12)
video games (51)
walking dead (36)
wargame foundry (3)
work (6)
wrestling (45)
zombicide (1)
Zombicide Invader (19)
zombie mall (23)