Sarissa Trailer No. 2 & 3
11.15.2022
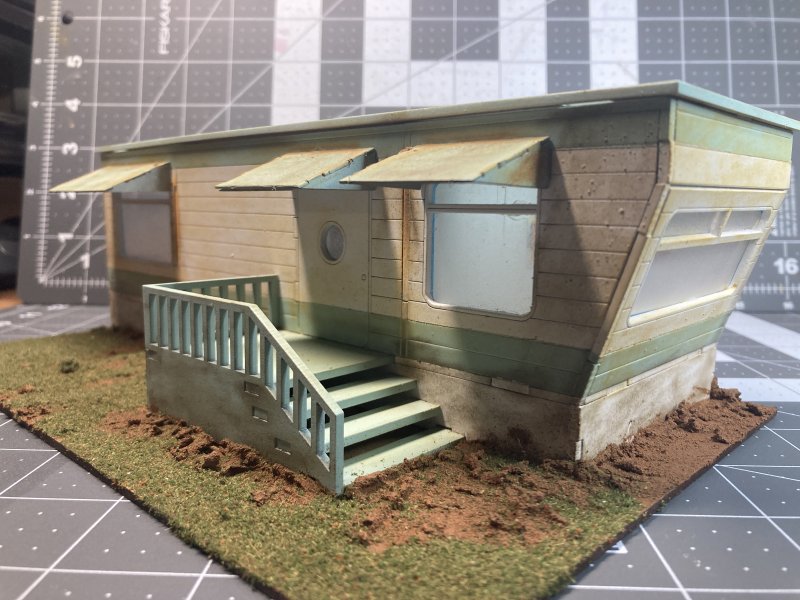
A mere 7 months after finishing my first Sarissa Trailer I've finished not just the other one, but both
other ones. Other two? Both of those.
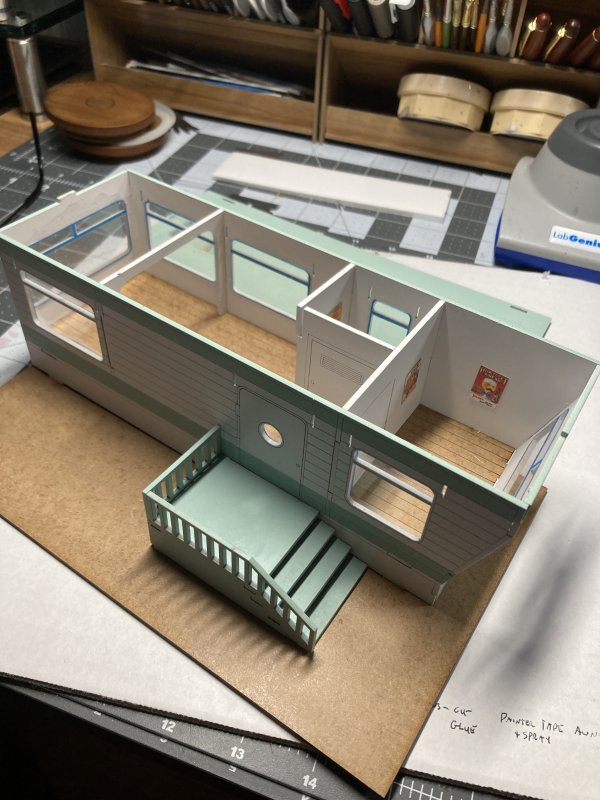
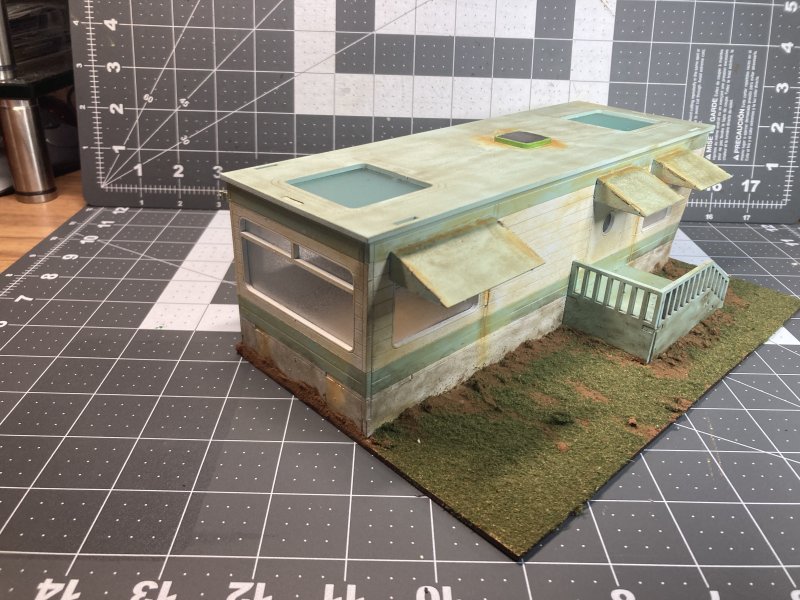
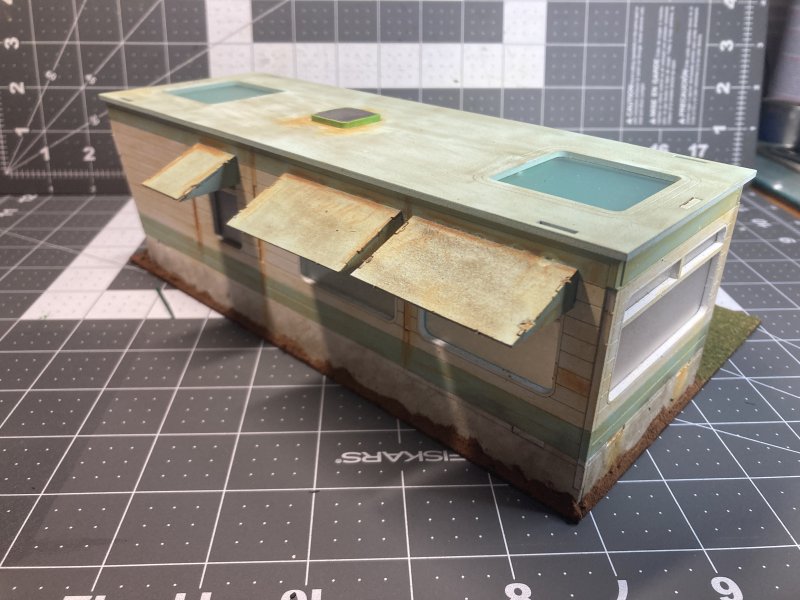
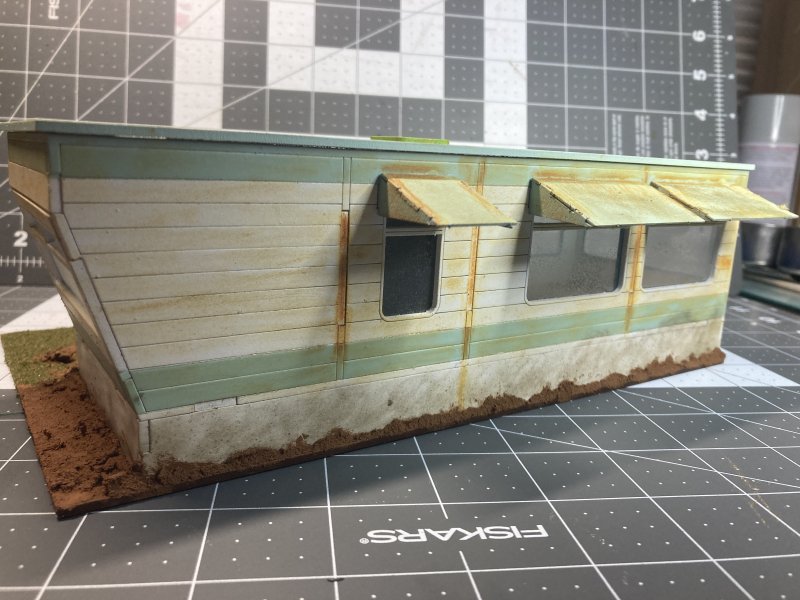
On the first trailer from April I painted and weather everything before punching the pieces from the MDF. This time I was going to try a
slightly different tactic which would hopefully help those MDF-colored seams from sticking out. Since I knew, in theory at least, how this
trailer was supposed to fit together, I was going to try to color match the white and striped parts after punching the pieces but before gluing it all together.
And it worked. Pretty much.
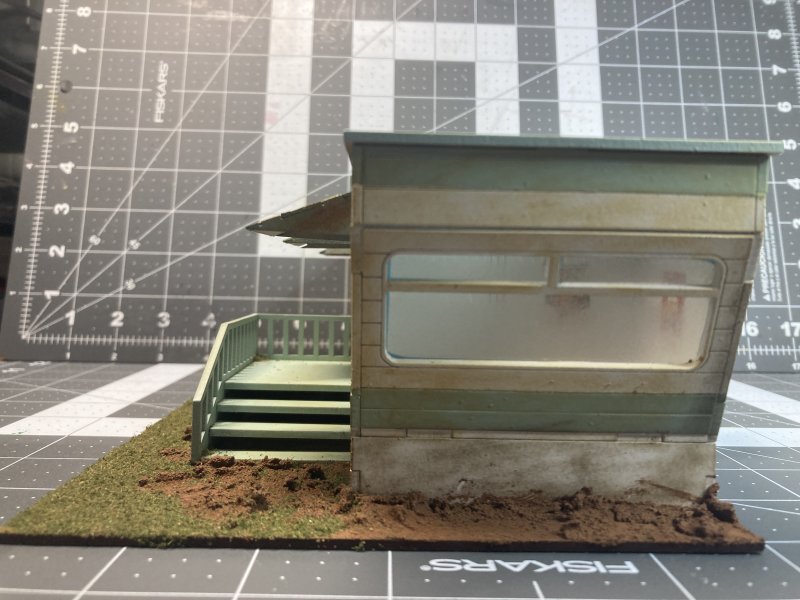
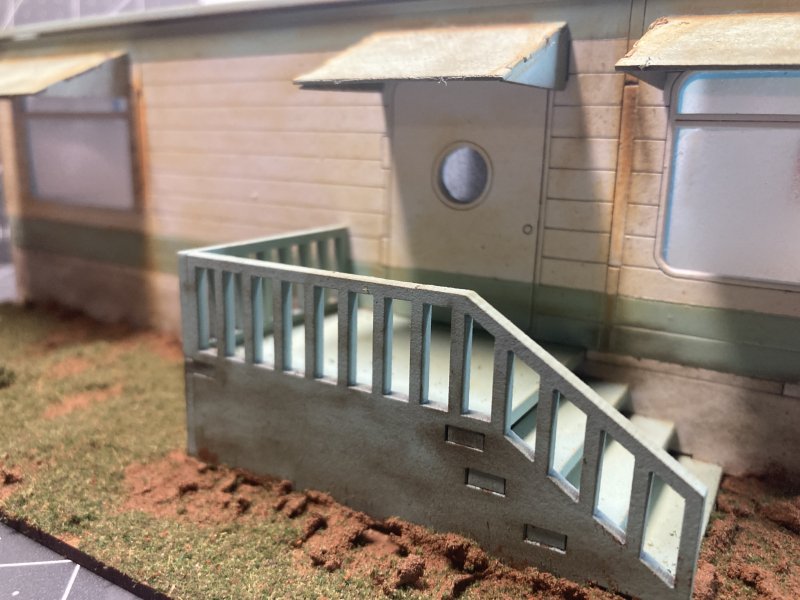
I don't think some of my lines are as straight as before, and maybe some pieces don't fit as flush as I would like, but it works. And it didn't take forever to get together, with the associated fretting if any of it's going to work. The special bonus was that I didn't glue any of the walls. With primer, sealant, masking, sealant, stripe, sealant as my process, those layers provided a tight enough fit where things came together. Maybe it'll all fall apart later, but for now it's a nice snap together model.
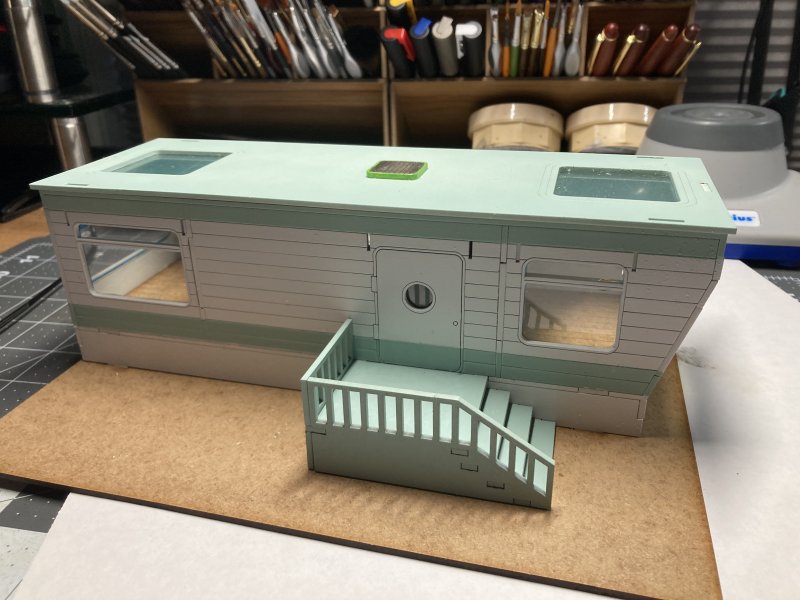
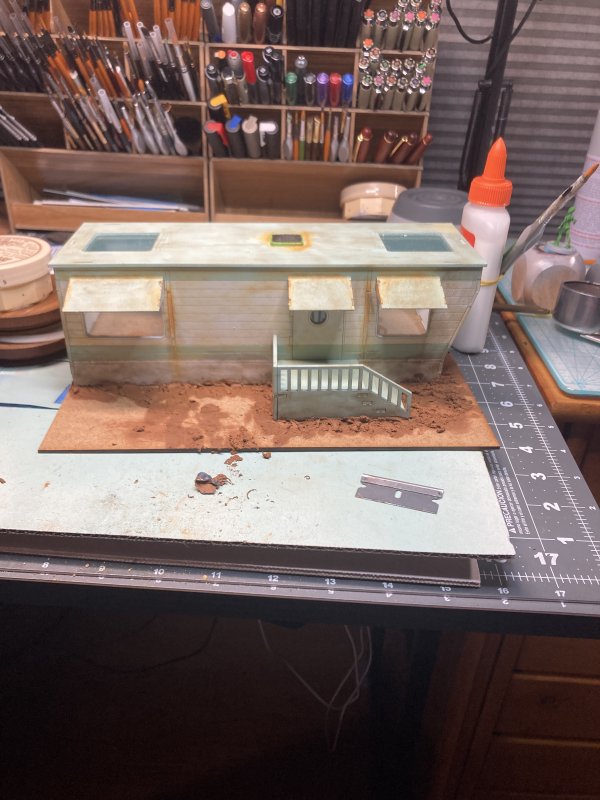
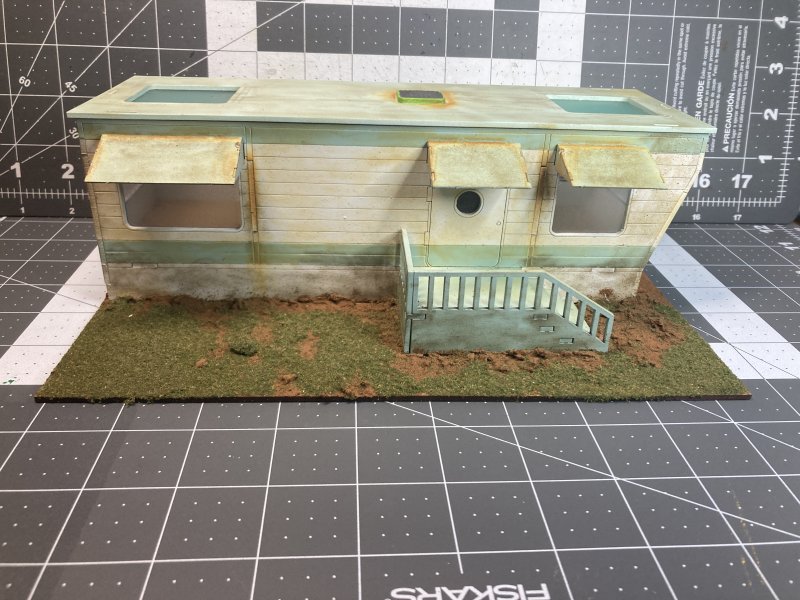
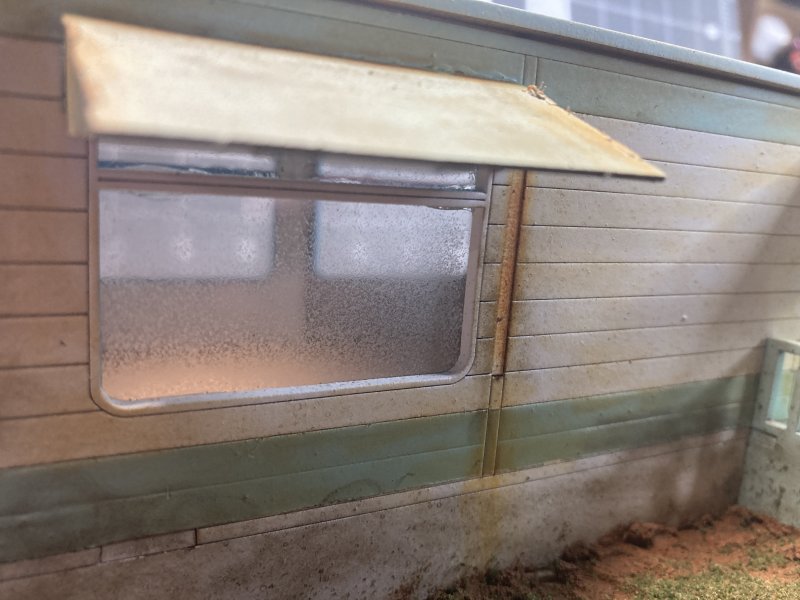
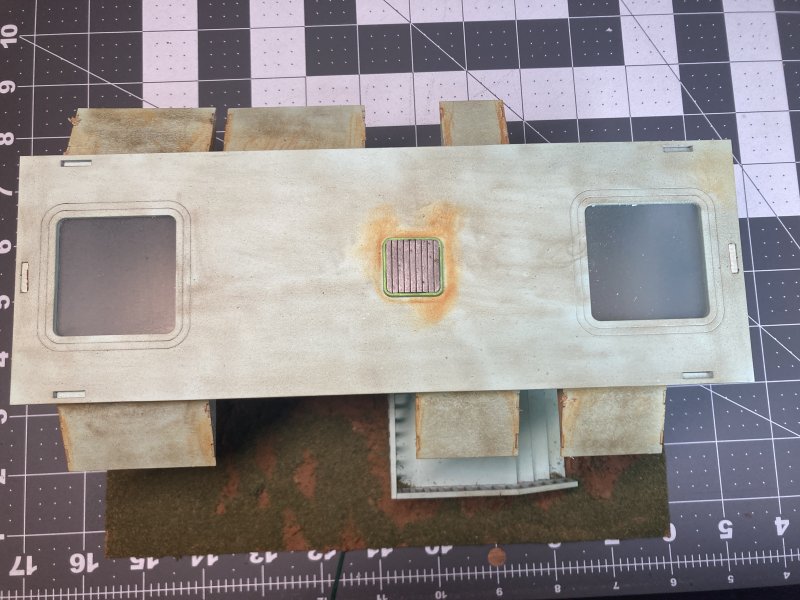
One thing I waited to do until everything was together was to weather the trailer. Honestly, I had forgotten I had weathered the 1st trailer before putting it all together. Since I had already added the plastic (transparency paper) windows I didn't want to get carried away with weathering and the needed heavy layer of sealant after. Thus, a milder weathering was added. I also skimped on the interior, leaving it primer-white with some paper printed wall decorations. I used my delayed weathering as an excuse as when I went to apply sealant I didn't mask the windows. The sealant helps make for dirty windows where you can see inside, but can't make out any details.
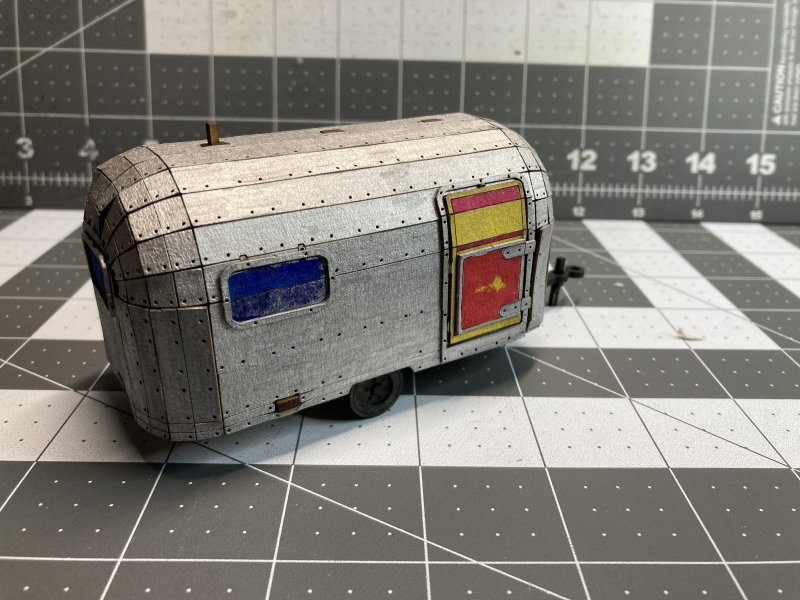
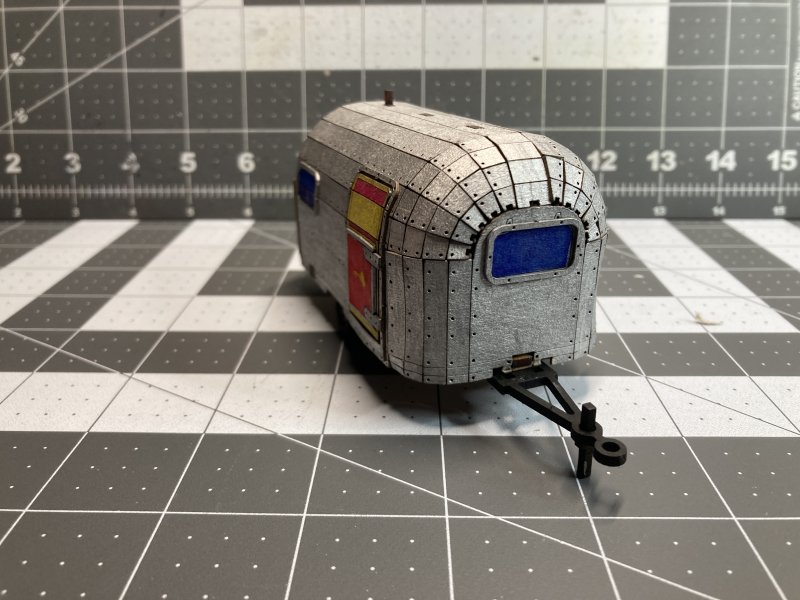
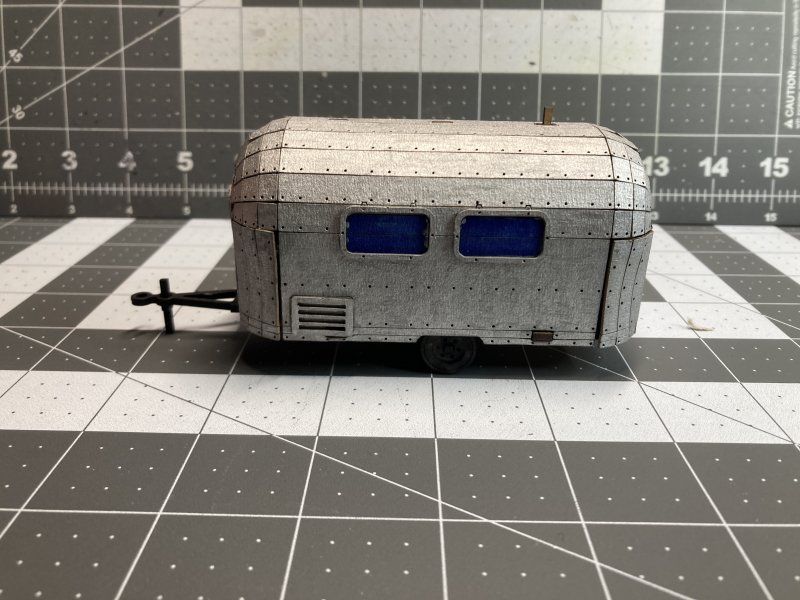
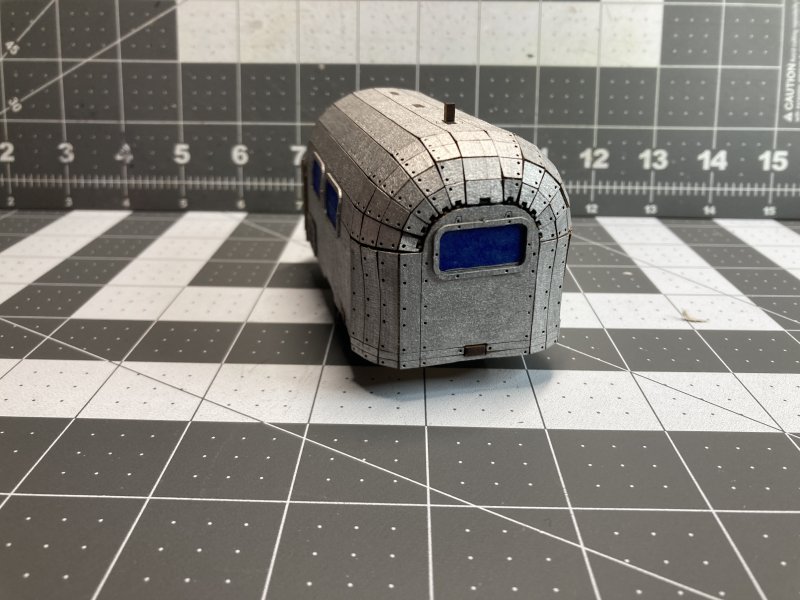
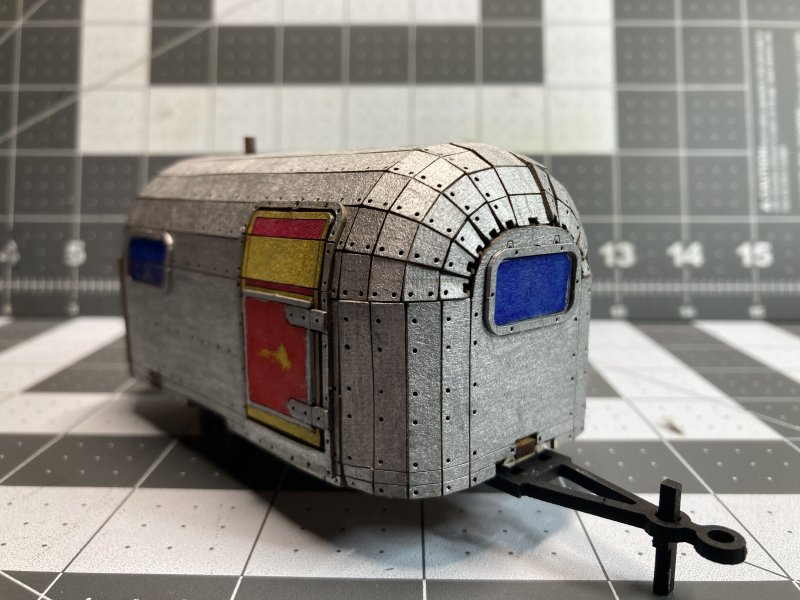
Lastly was the Airstream trailer. I was curious as to how this thing was made since it's an MDF kit. Turns out it's an inner MDF frame with a cardstock shell to bend and glue on. With it being an Airstream my plan was to apply silver spray paint, but the cardstock that comes with these kits tends to soak up spray paint if you're not careful. Luckily I have a plan B - a silver Sharpie and some colored brush-pens to add a little color on the door (because that was a lot of silver) as well as blue-in the windows.
As with any mostly-cardboard thing that has to be applied to curved surfaces, it worked but not as well as I hoped. There's gaps, but I was already starting to tear things apart to get them to fit in the right spot so I left it at good enough.
Now with 3 trailers I can start a proper mobile home community.
Permalink
gaming miniatures sarissa precission
The Zombicide Invader Six - Speed Paint Edition
10.27.2022
Last Week I had my first post in a month with 3 so-so minis. Now, I have a much better batch to show off.
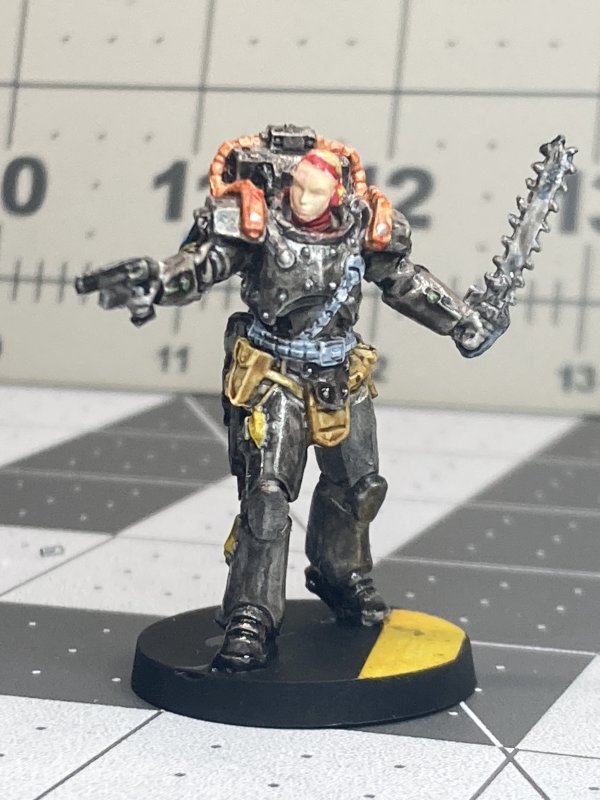
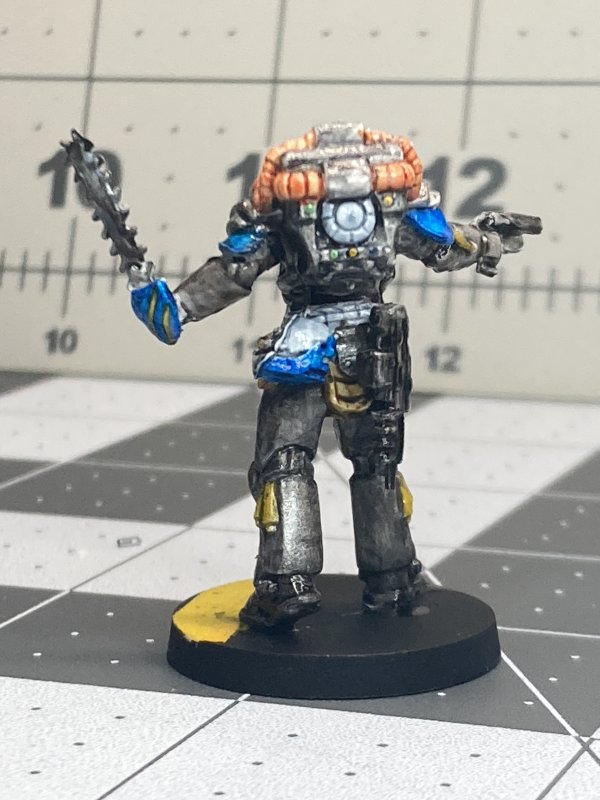
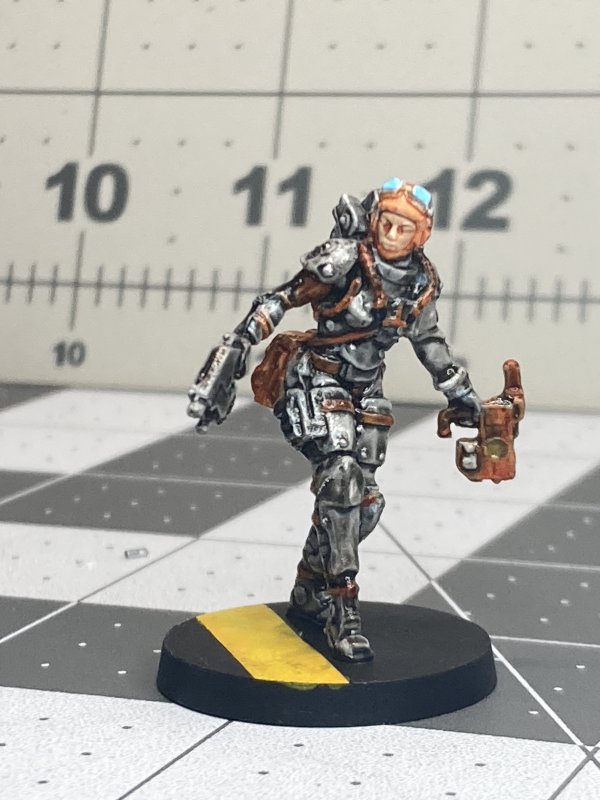
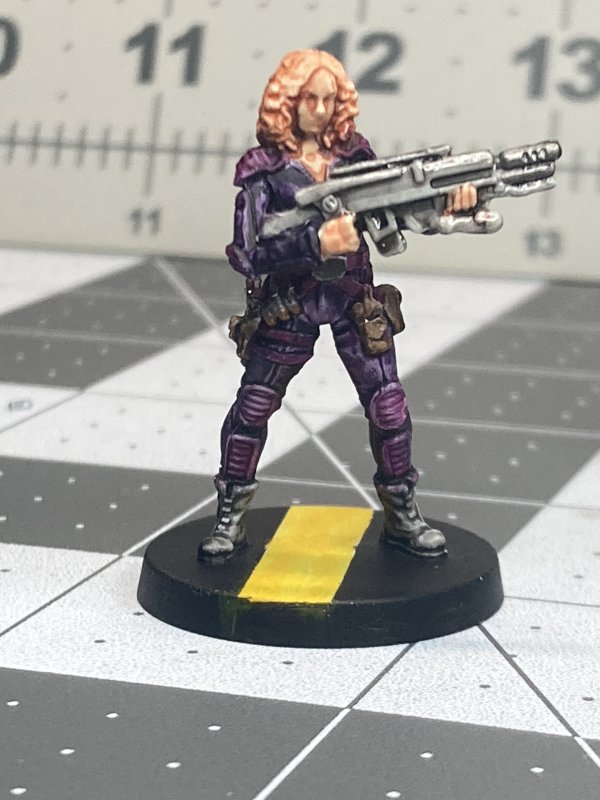
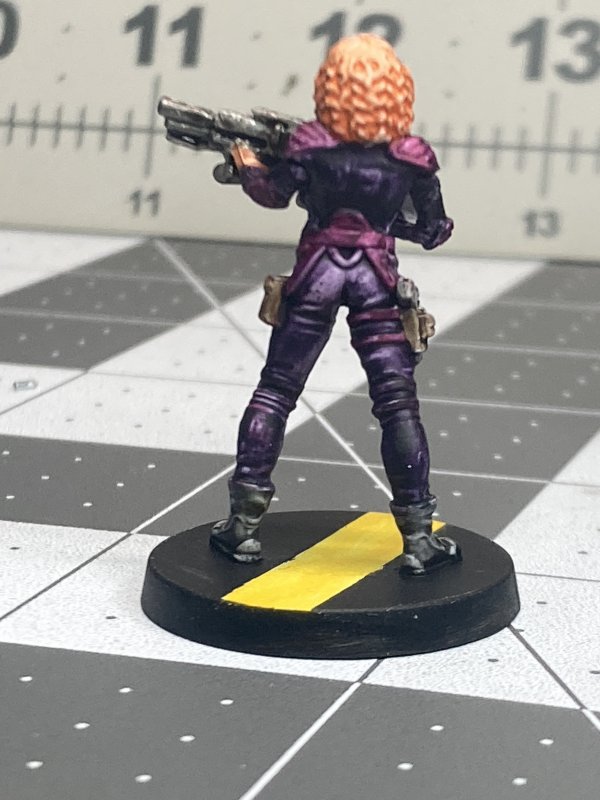
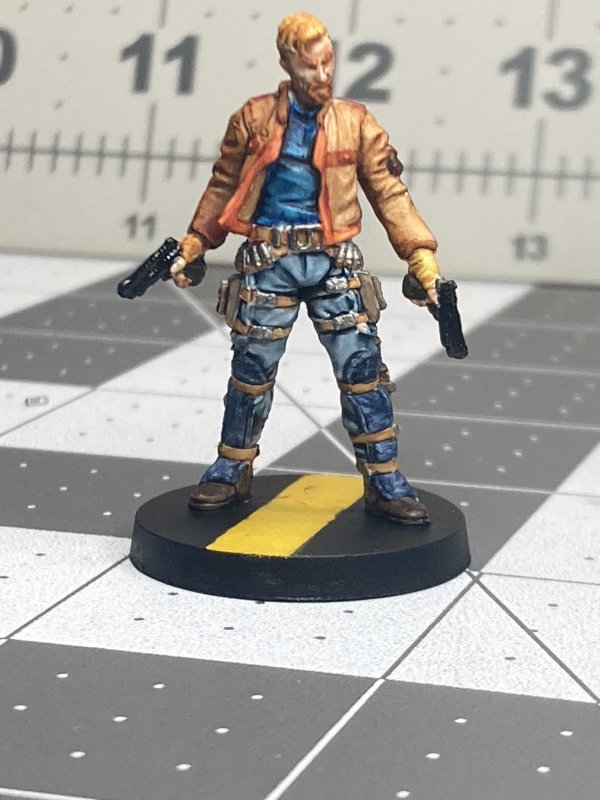
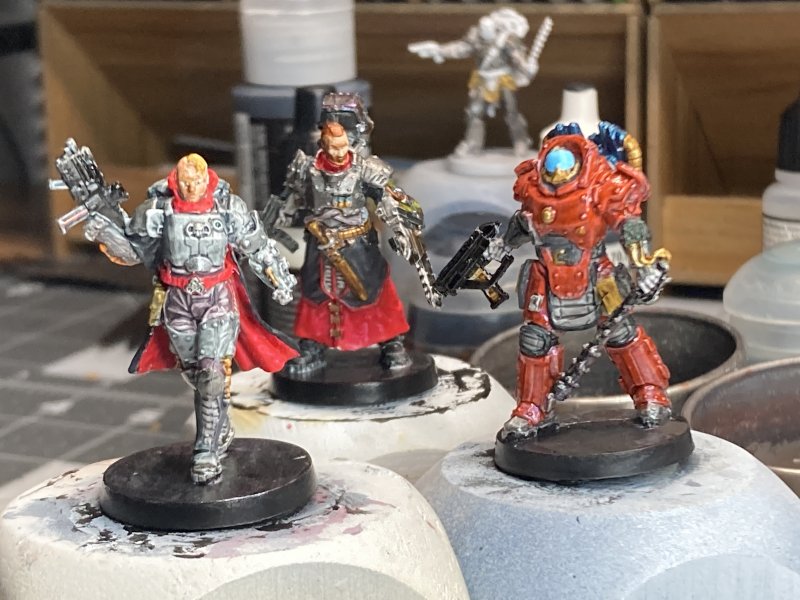
I had already started on 1 more armored mini, with another one primed, when I told Jerry I thought I needed a break from armor. He wholeheartedly agreed, which is what any good friend should do. I picked 4 more minis devoid of armor and primed them. To make it even more fun, I decided to break open the Army Painter Speed Paint set I bought sometime last year. I've read mixed reviews on these - mainly that they will sometimes reactivate the paint they're layered on. Since you can't learn unless you do, I went and did.
Didding worked out well. Partially because I had 23 paints to choose from in the kit, I had fun using little bits of different colors here and there. The Speed Paint Leather works a lot better for me than the Citadel Contrast Leather. That seemed true for most of the browns. I ran into the paint re-activation problem when adding a purple (Citadel) wash on top of a couple of layers of purple Speed Paint. I think I salvaged it, as it was on the butt of a purple jumpsuit. Now a very highlighted purple jumpsuit. The 2 armored guys also got a taste of some Speed Paint dabs here and there.
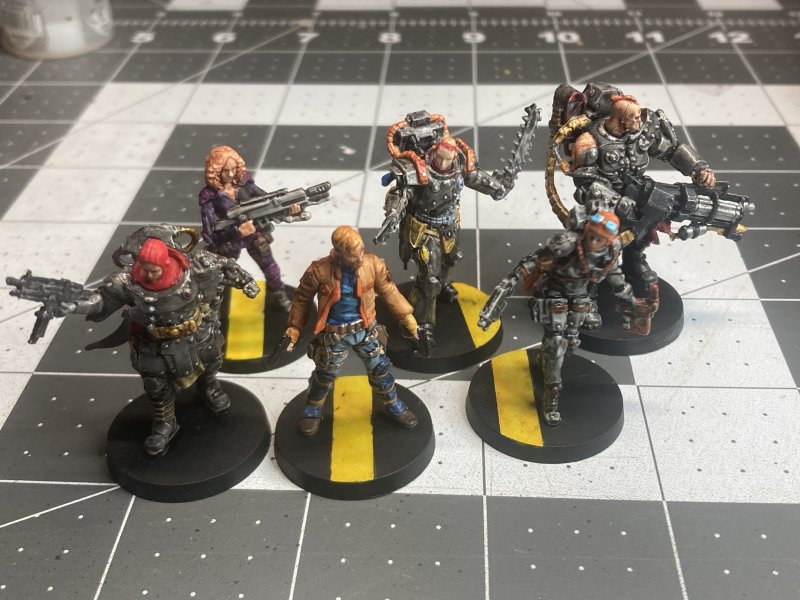


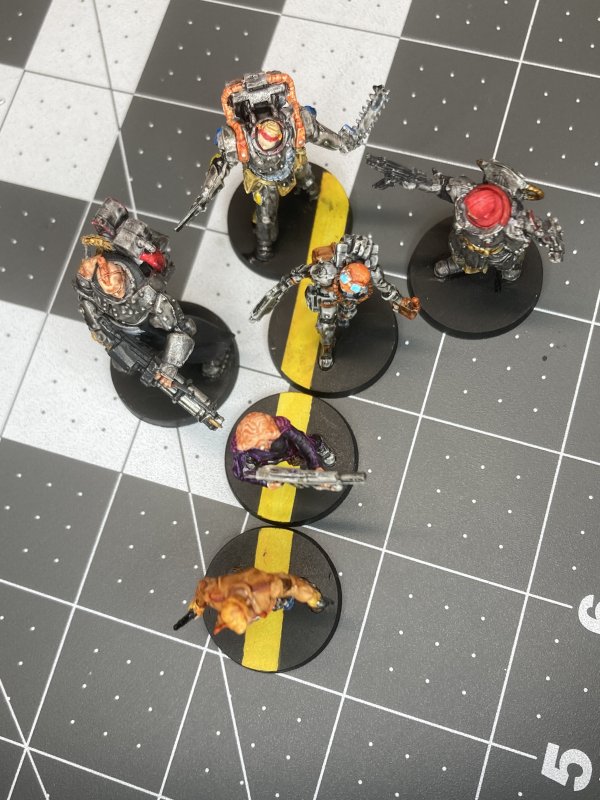
Now there are 10 more minis left for Zombicide Invader. Some have armor. Some do not. 1 is an alien pig.
The weather is also in the sweet spot for me to get back to putting together buildings, well really 2 Trailers, for Potham. I want to finish ZI, but I also don't want to wait again until it's too cold to get outside for multiple passes of spray paint. I don't do well when I mix my focus, but we'll see what happens on the next post.
Permalink
gaming miniatures Zombicide Invader
Zombicide Invader - 3 More Good Guys
10.20.2022
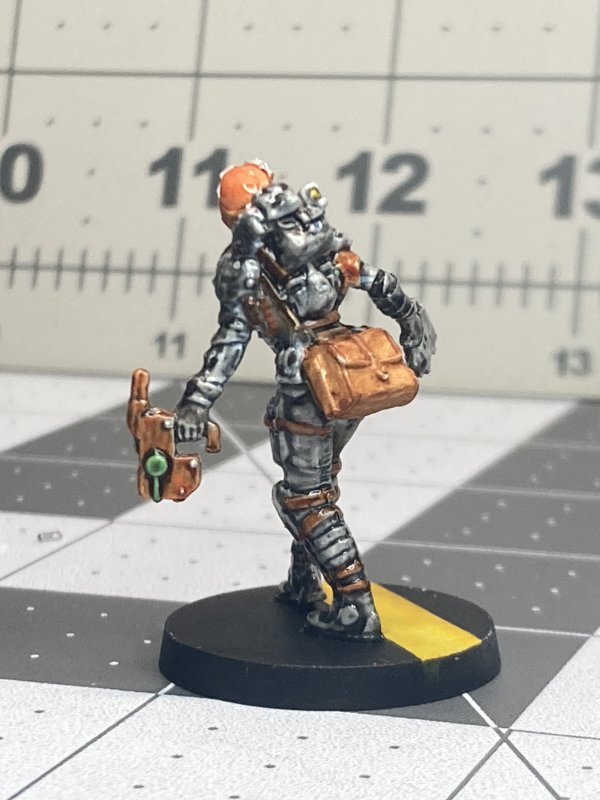
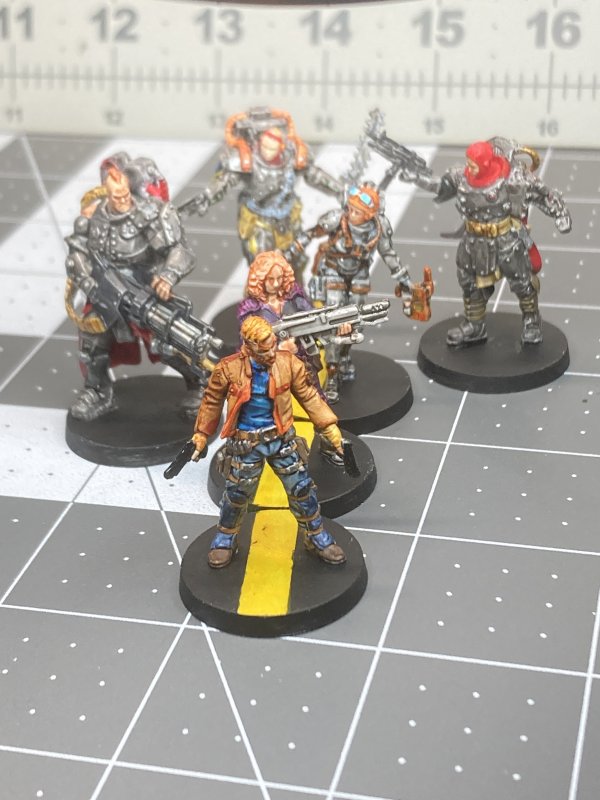
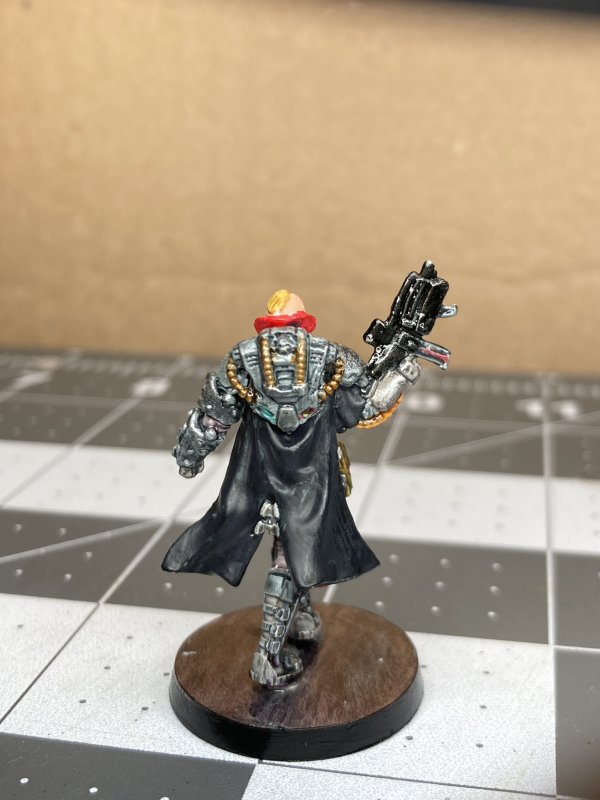
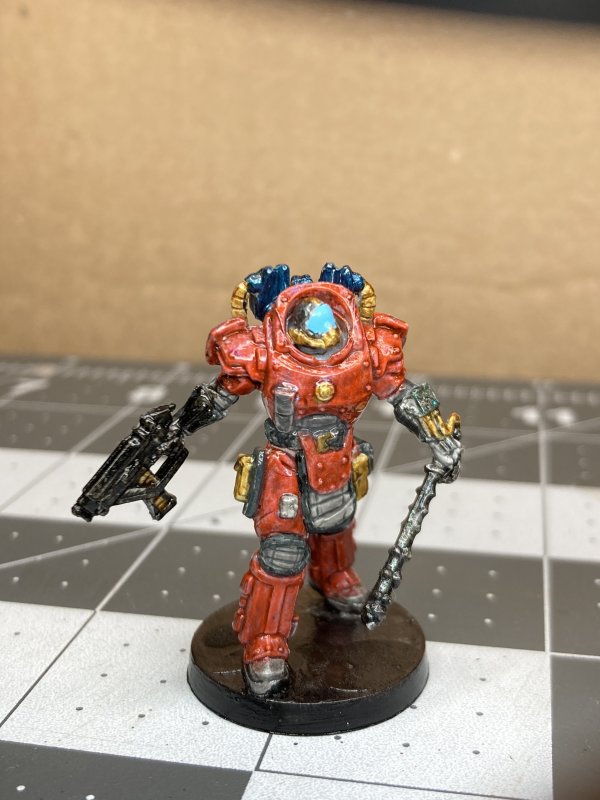
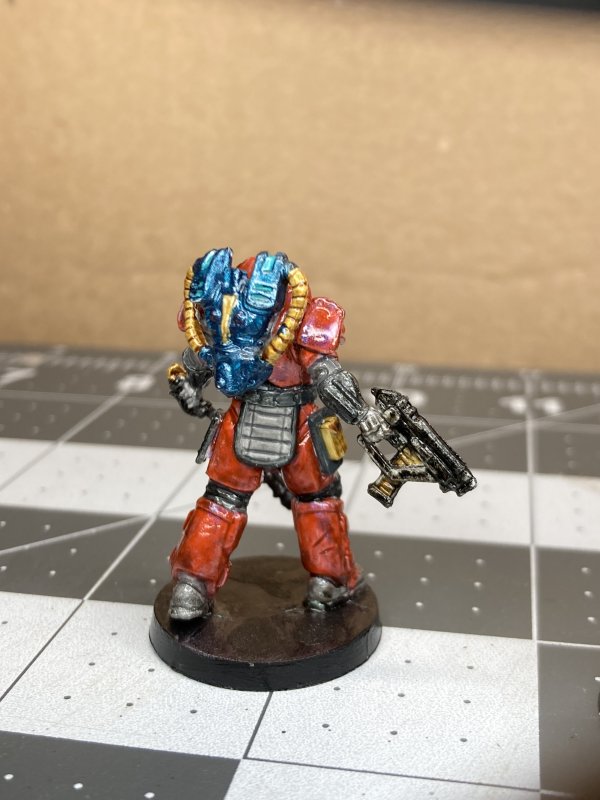
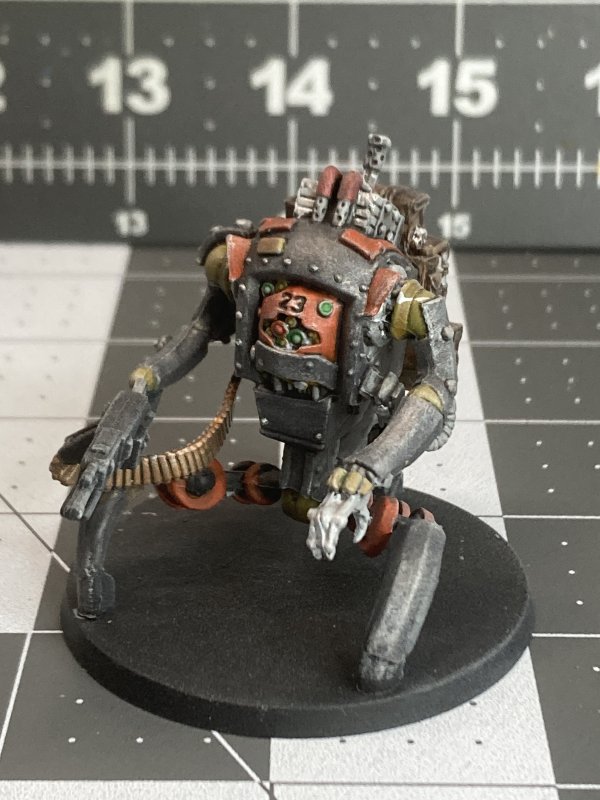
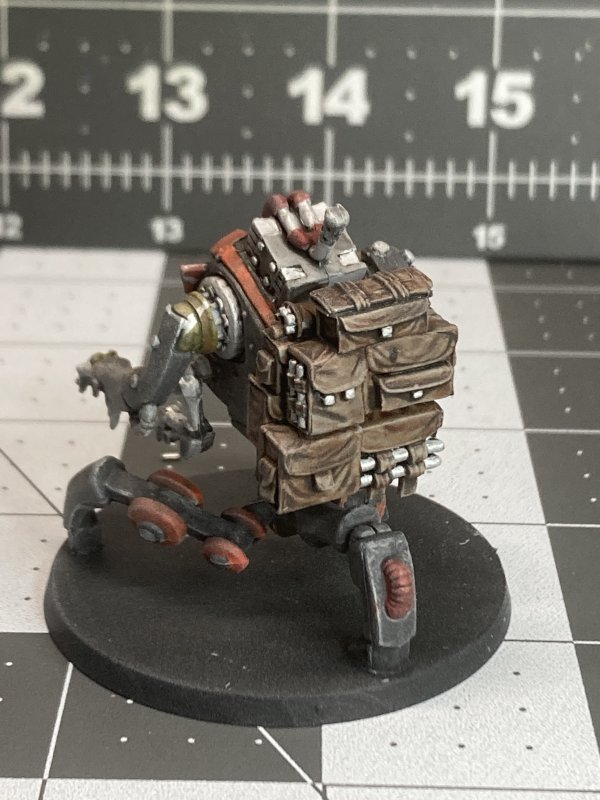
3 more non-zombie Good Guys for Zombicide Invader. This isn't much to show after almost a month of no updates, where I've undoubtedly been toiling endlessly painting these little buggers. I was trying to up my game on painting details. It halfway worked. While I think I did a better job painting and bringing out those details I concentrated on, overall these minis just seem... kind of ok.
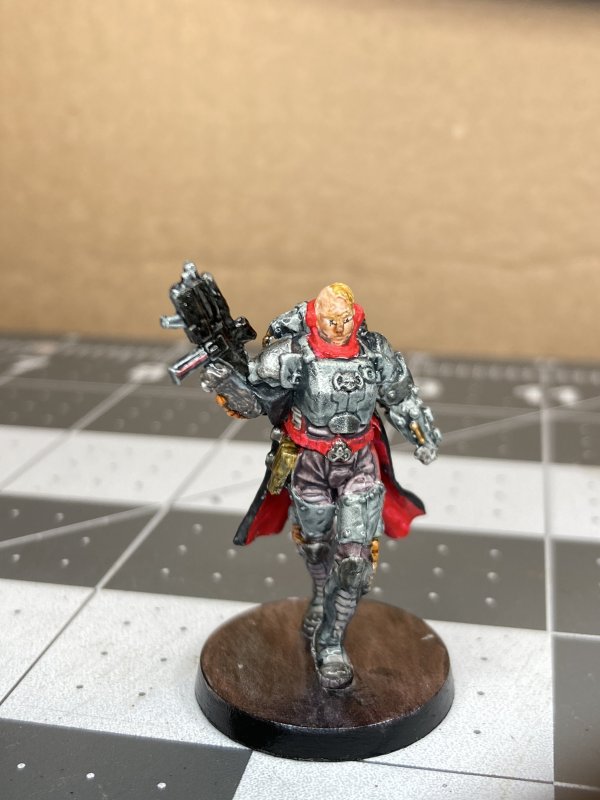
Playing around with my selection of metallic paints for armor bits looks ok, but everything seems more muted. I tried out some of the colors I forgot I had, like Gunmetal Blue. I should remember that's to be used sparingly on accent bits, not most of a backpack. I'm still getting splotchy skin - maybe it's time to go back to adding a pale/flesh coat before skin-like contrast paint, instead of applying directly to white primer?
As it is, these 3 are done enough. There's 3 more that I've been working on a little bit at the same time, so maybe there won't be another month before the next update. Maybe.
Permalink
gaming miniatures Zombicide Invader
Zombicide Invader: 3-Guy 2-Guns
09.26.2022
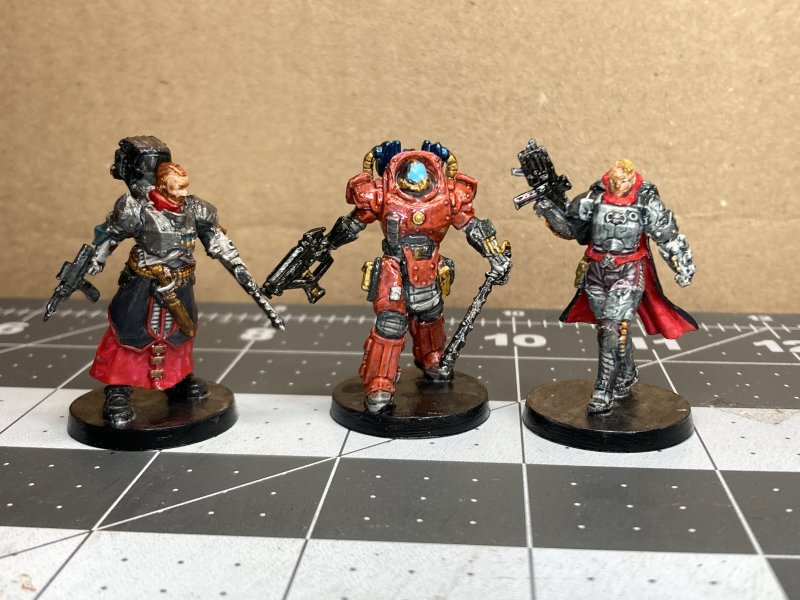
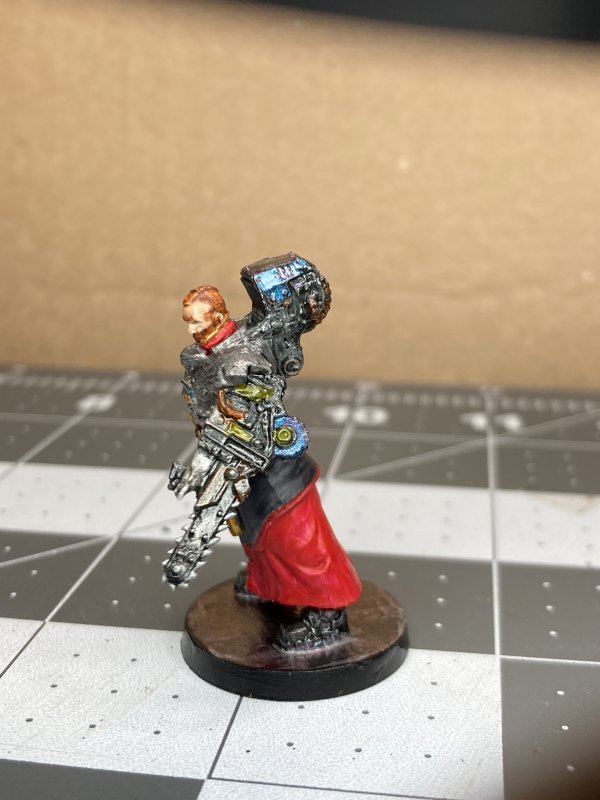
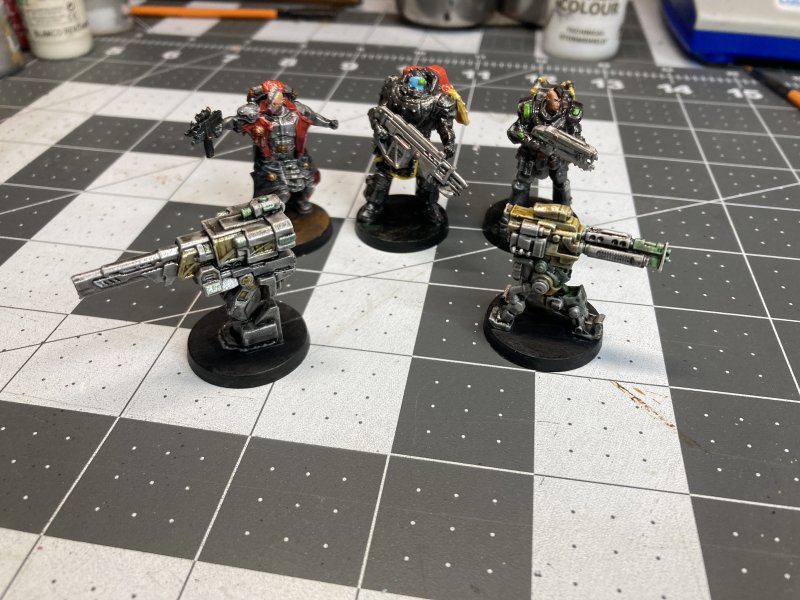
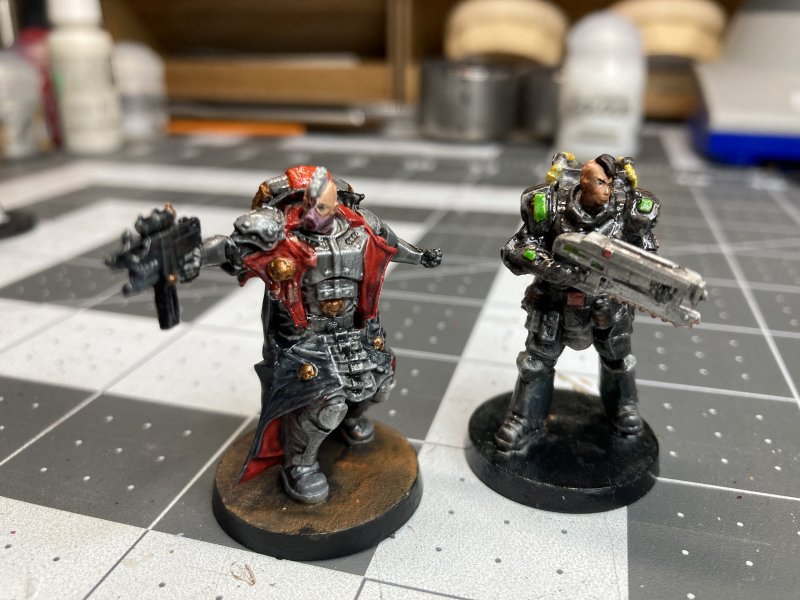
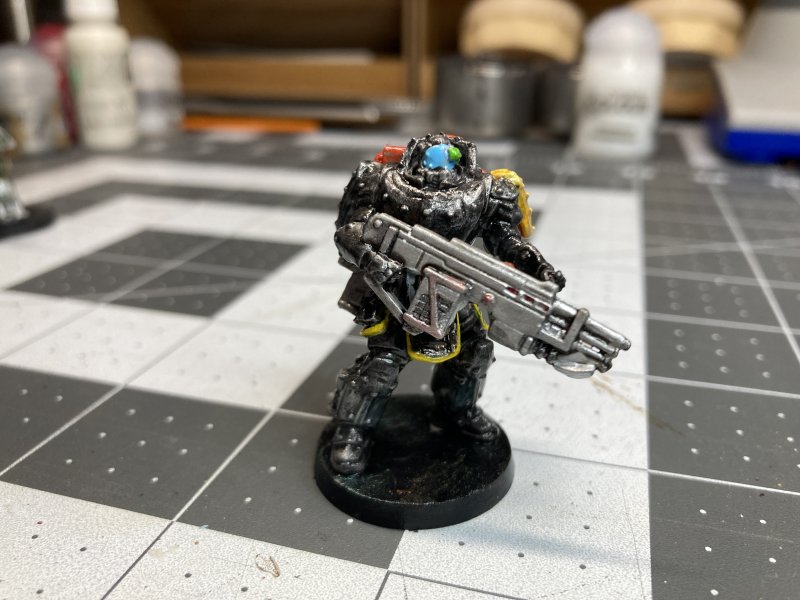
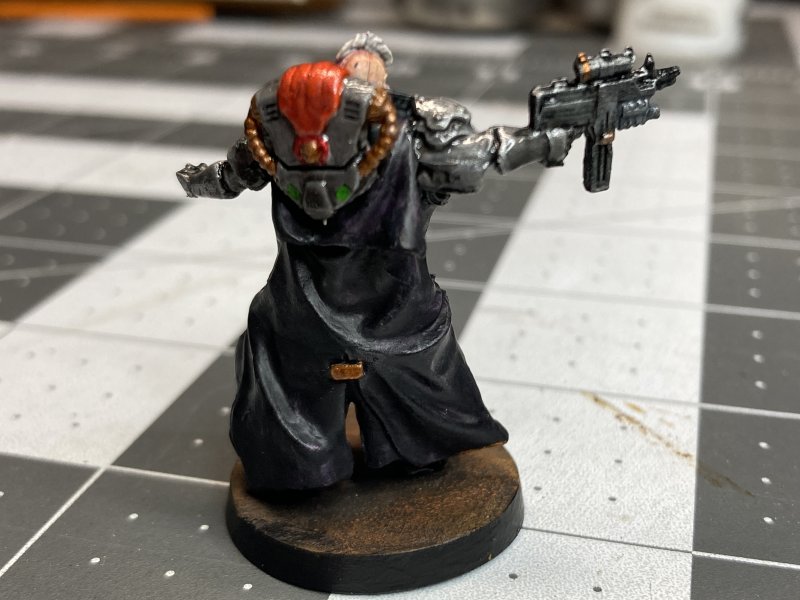
A continuation of my Zombicide Invader Good Guys (I think) progress, as 2 gun thingies and 3 people thingies get checked off.
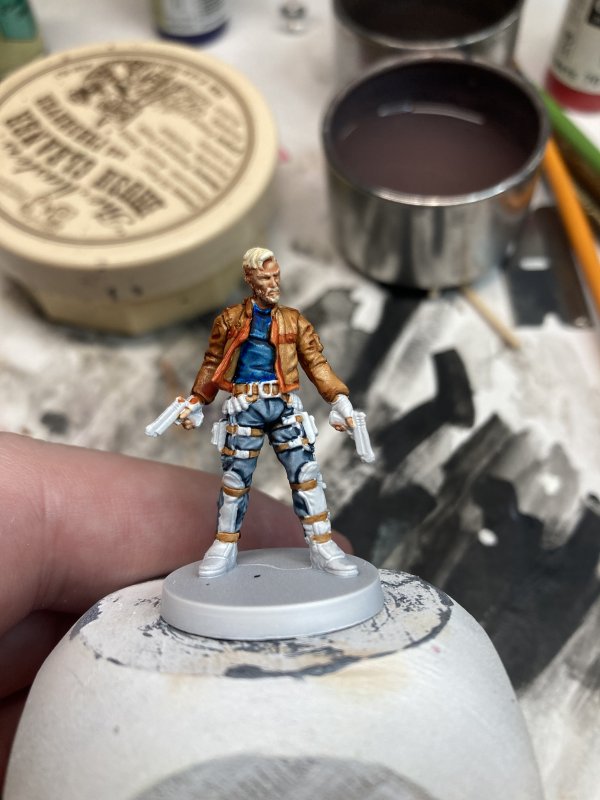
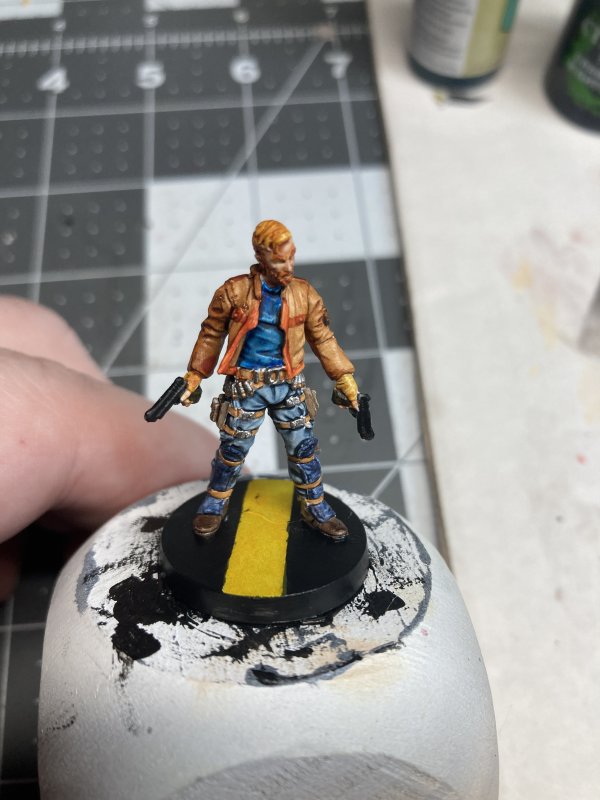
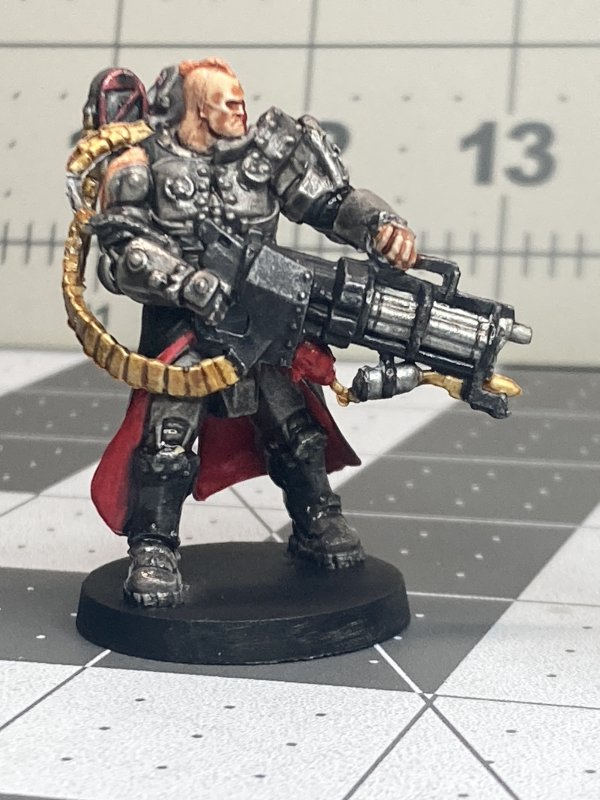
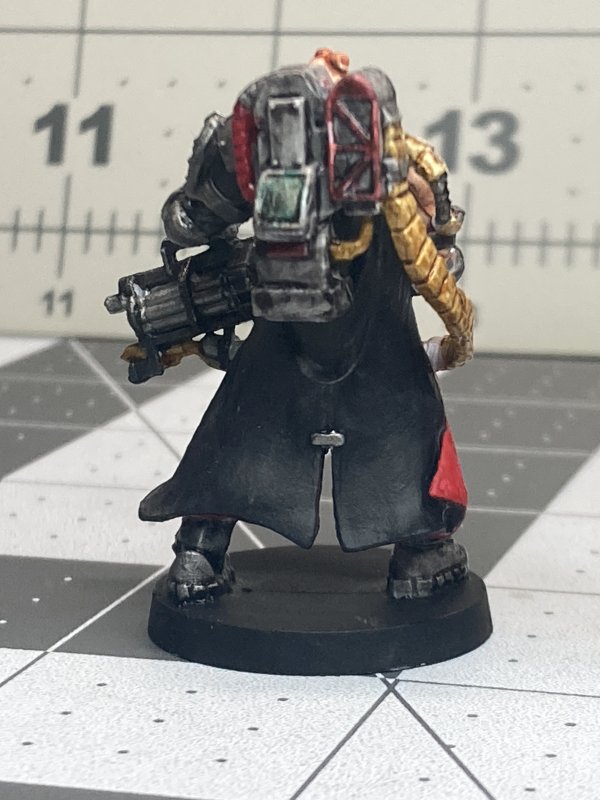
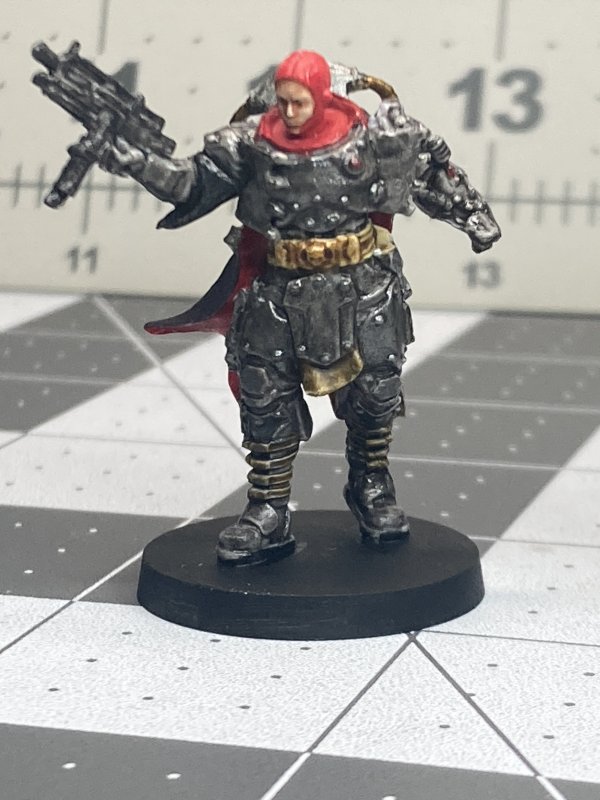
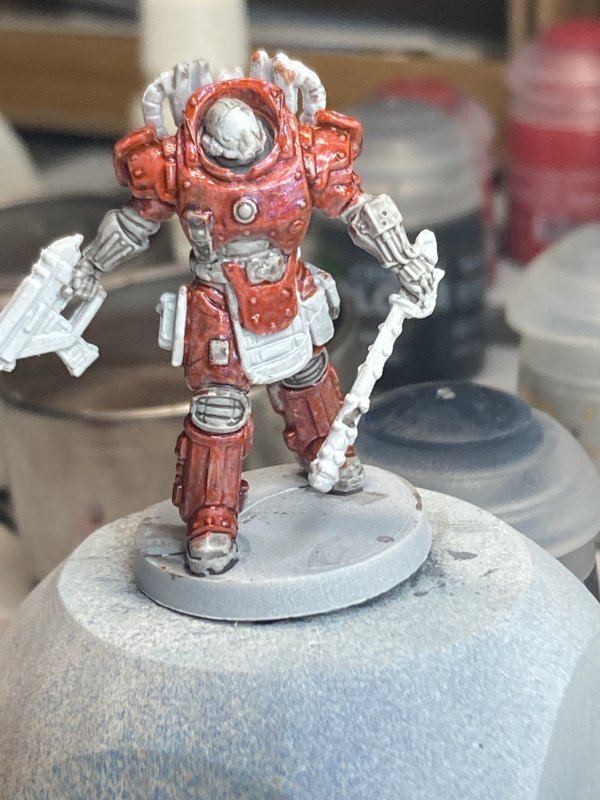
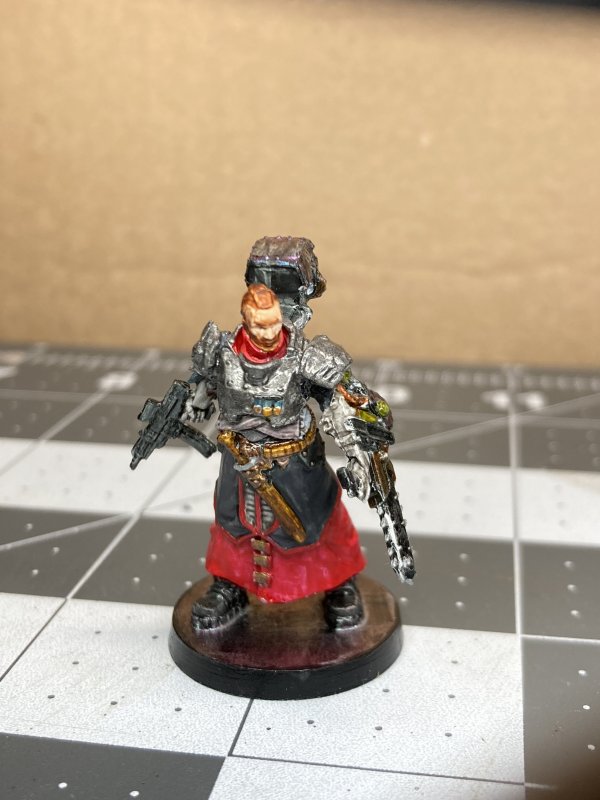
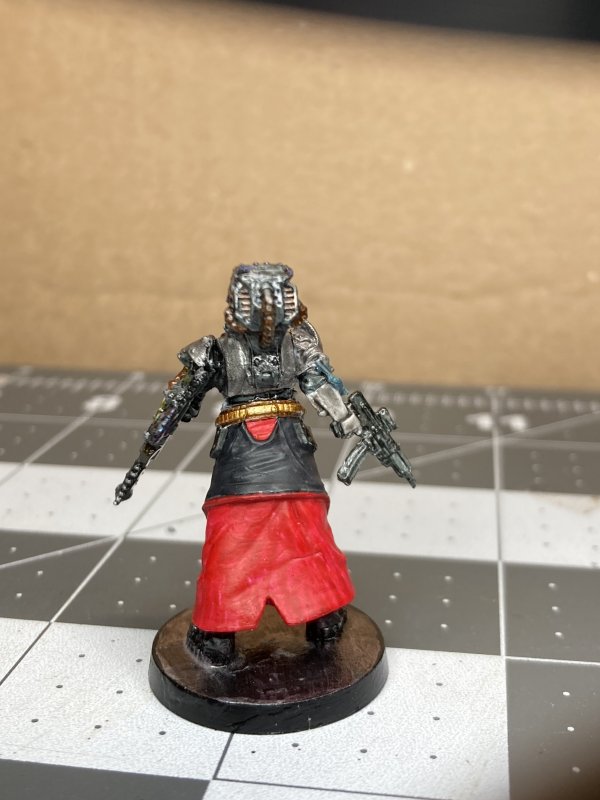
I really needed some color choice help on the guns. Even looking at what other people have painted, I didn't find a combination that I liked and thought I could pull off. As it is, I stuck with some simple colors hoping to not make things look too cartoonish, while still trying to keep the metallic look to things. I'd give myself a solid C on those.
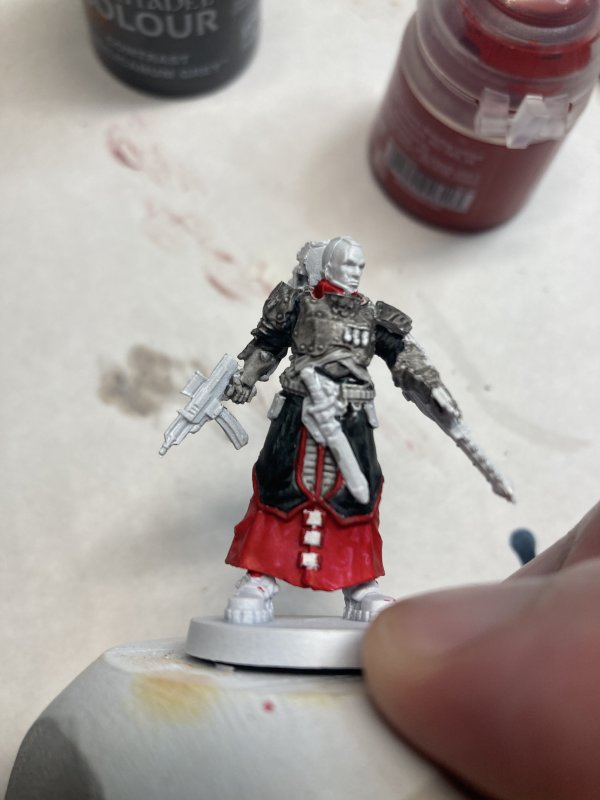
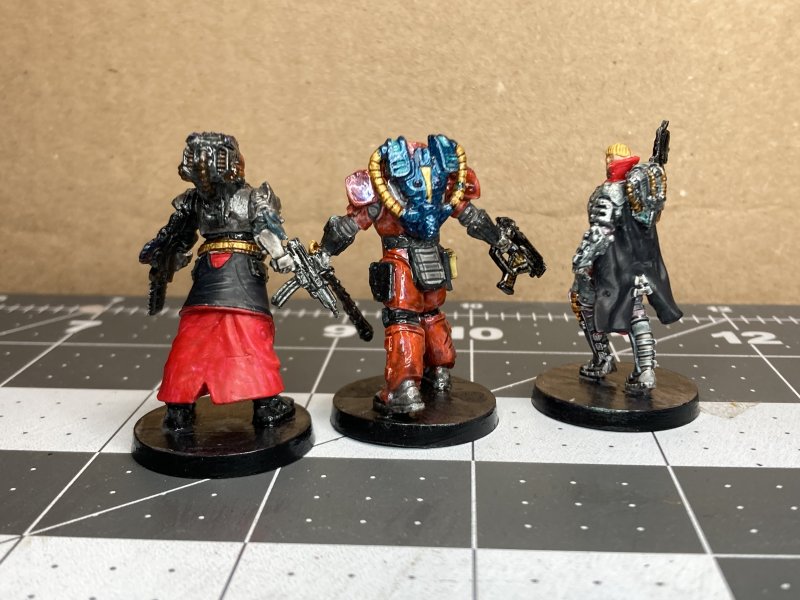
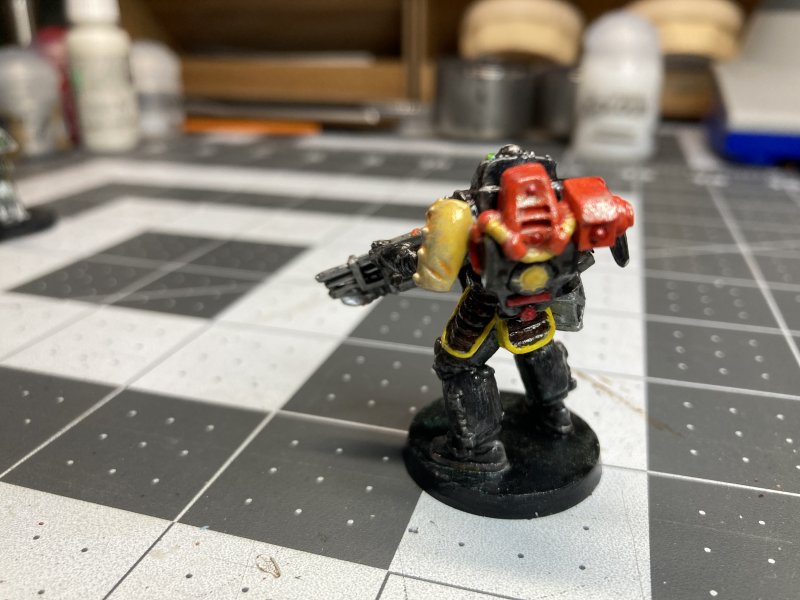
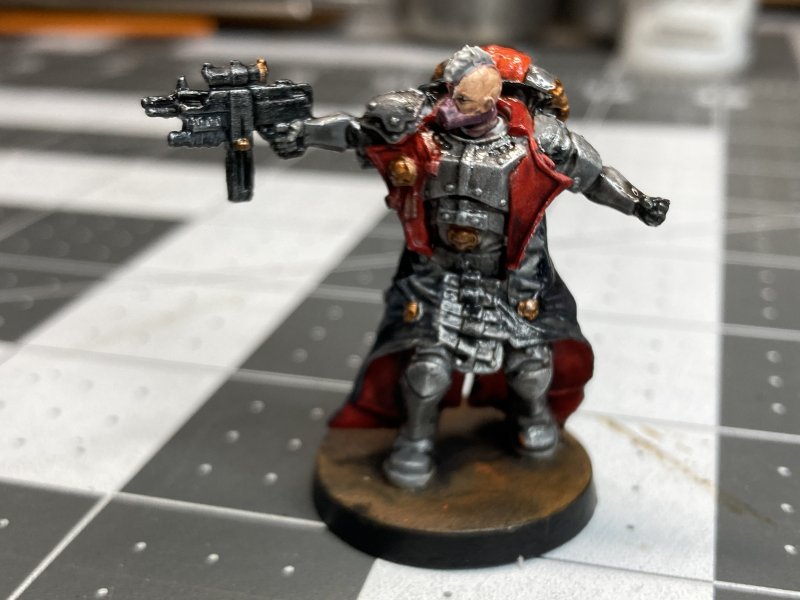
For the trio of people, I found a black with red lining color scheme I liked for the clothes, and I had fun trying that out. I've done some similar things in the past, but this was the first time I went into with forethought and took into account not just she colors and shadows, but also the nooks and crannies where I was going to put the wrong color of paint while trying to get to another part. These turned into a weird balance of good and bad discoveries. I'm not sure what I did different than normal, but the skin was splotchy. For the (outer) black coats, I used a purple wash to try and bring out some shadowy highlights. That's a trick I picked up from all of the Batman cape painters on YouTube. For a first attempt at it.... not too bad.
I seem to take horrible pictures of minis with a gloss seal. Picture-wise the details seem to be covered up on these, but with a naked eye they're not that bad. or maybe I have a forgiving eye?

Permalink
gaming miniatures Zombicide Invader
Zombicide Invader: The Return
09.08.2022
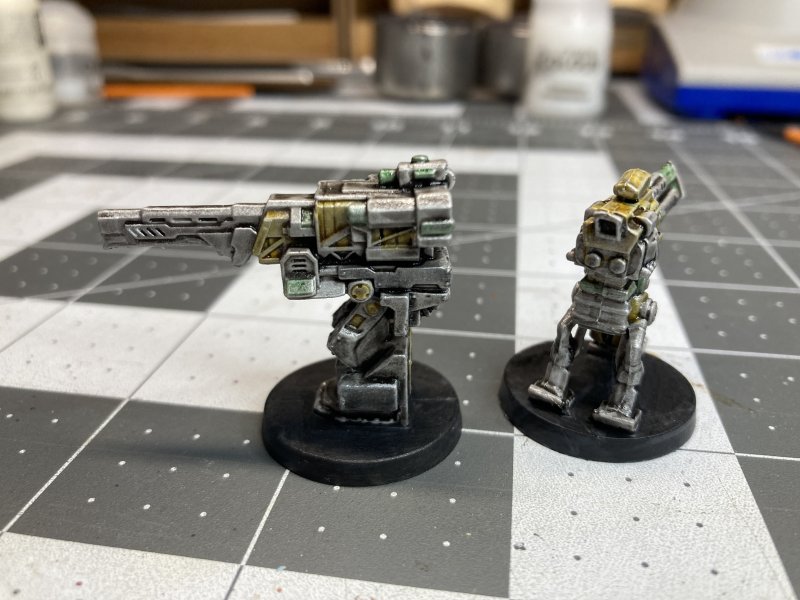
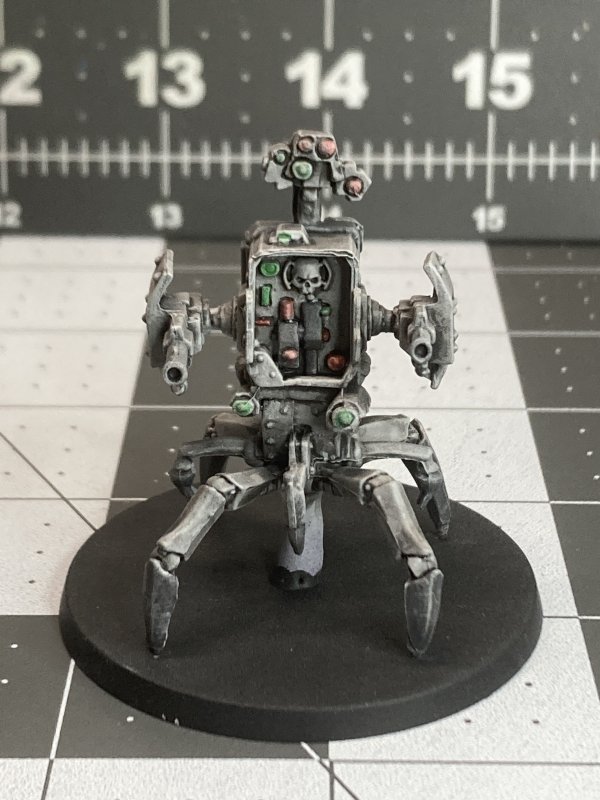
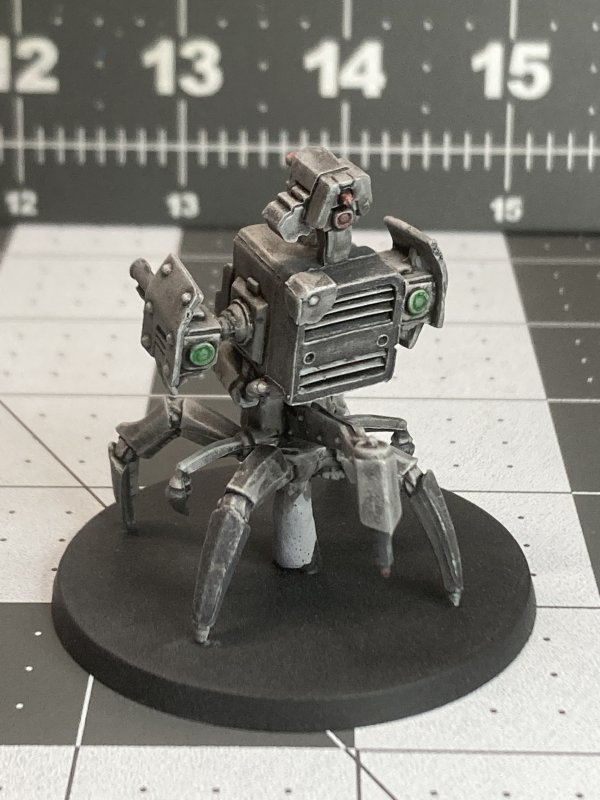
After mechs last time I find myself returning to Zombicide Invader, but this time going the opposite direction of alien zombos and instead sticking to the mech-like blockiness afforded by gun emplacements wielded by robots.
Yet again I still have no idea about the rules that go with what I'm painting, but all that can come later and would just get in the way now!
I still have the goal of getting Zombicide Invader painted and ready for a potential game with Jer and Keith by the end of the year. All of the alien zombos are painted. All that's left is 28 non-alien zombos. I would say good guys, but those unread rules could come back to haunt me.
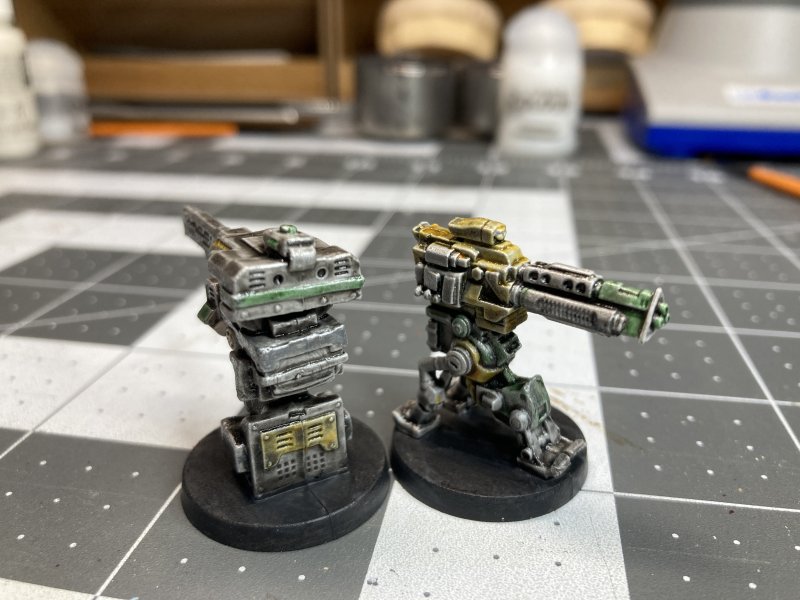
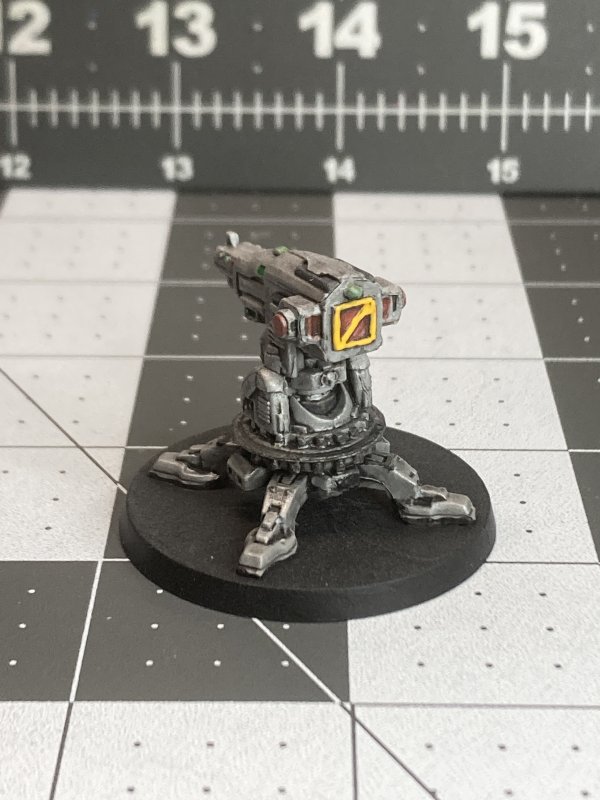
I picked the biggest things remaining to paint first. Some evil looking robot thingies, with guns and pointy bits. Like the Battletech mechs from last time, I didn't want to go too colorful to keep things from looking cartoonish. This also ended up being discovering that I really like Citadel Necron Compound for a metallic drybrush. For most of these I just primed grey, Nuln Oil wash, Necron drybrush, and then picked out some details to colorize. After the fact I might need to use some gloss coat to make the metallic parts stand out better, but I kind of like the dull look right now.
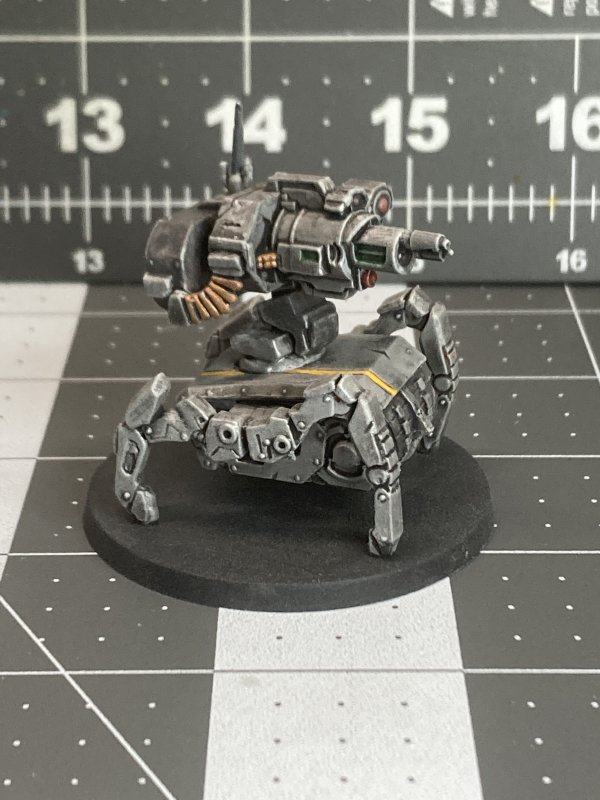
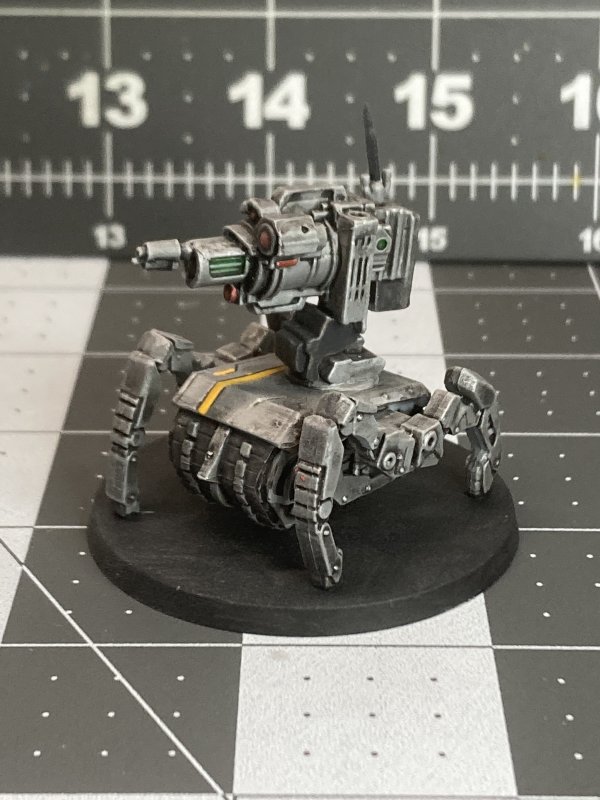
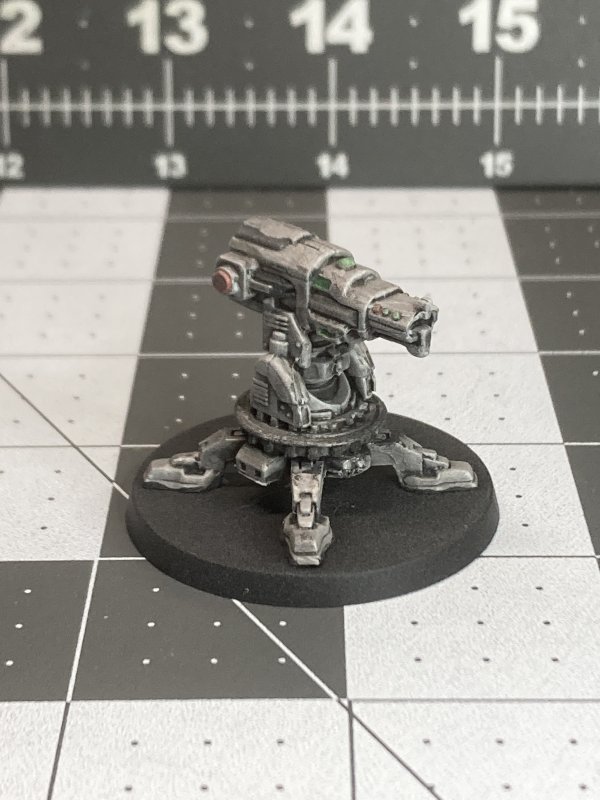
4 down, 24 to go.
Blog Archive
As always, correct spelling is optional in any blog entry. Keep in mind that any links more than a year old may not be active, especially the ones pointing back to Russellmania (I like to move things around!).
Tags have been added to posts back to 2005. There may be an occasional old blog that gets added to the tag list, but in reality what could be noteworthy from that far back?
Blog Tags
3D Printer (29)
4ground (32)
4ground-mall (40)
5PFH (1)
action figures/toys (10)
airbrush (7)
Aliens (1)
Amazon (12)
antenocitisworkshop (11)
Atlas O Gauge (2)
Batman Miniature Game (2)
Battletech (1)
belt sander (12)
Blood Bowl (4)
boardgames (79)
books/comics (19)
computers hate me (5)
conveyances (15)
Cyberpunk Red Zone (4)
diet (53)
dreams (7)
fallout (1)
feng shui (1)
Firefight (1)
Foundry (3)
Gale Force Nine (1)
game dev (23)
gaming miniatures (240)
gaslands (10)
gastric sleeve (34)
Green Stuff World (2)
Hasslefree (9)
Hero Forge (1)
HeroQuest (4)
hobbies (102)
Jailbirds Minis (2)
kevin smith (1)
Knight Models (2)
malifaux (3)
Marvel Crisis Protocol (2)
mckays (1)
models (12)
mom (32)
moon light (5)
Moonbus (1)
movies/tv/dvd (60)
Necromunda (4)
ninja division (1)
Pathfinder Deepcuts (1)
pilonidal cyst (5)
plastcraft (2)
programming/interweb (42)
rambling (62)
random (367)
random maintenance (3)
Reaper Bones (3)
reaper chronoscape (32)
renovation/remodelling (25)
road trip (27)
salesforce (1)
sarissa precission (2)
scenery (19)
Star Trek (2)
Star Trek Away Missions (3)
Star Wars Legion (1)
studio miniatures (3)
ttcombat (12)
video games (51)
vs Factions(PDFs) (1)
walking dead (37)
wargame foundry (3)
work (6)
wrestling (45)
zombicide (2)
Zombicide Invader (19)
zombie mall (23)